
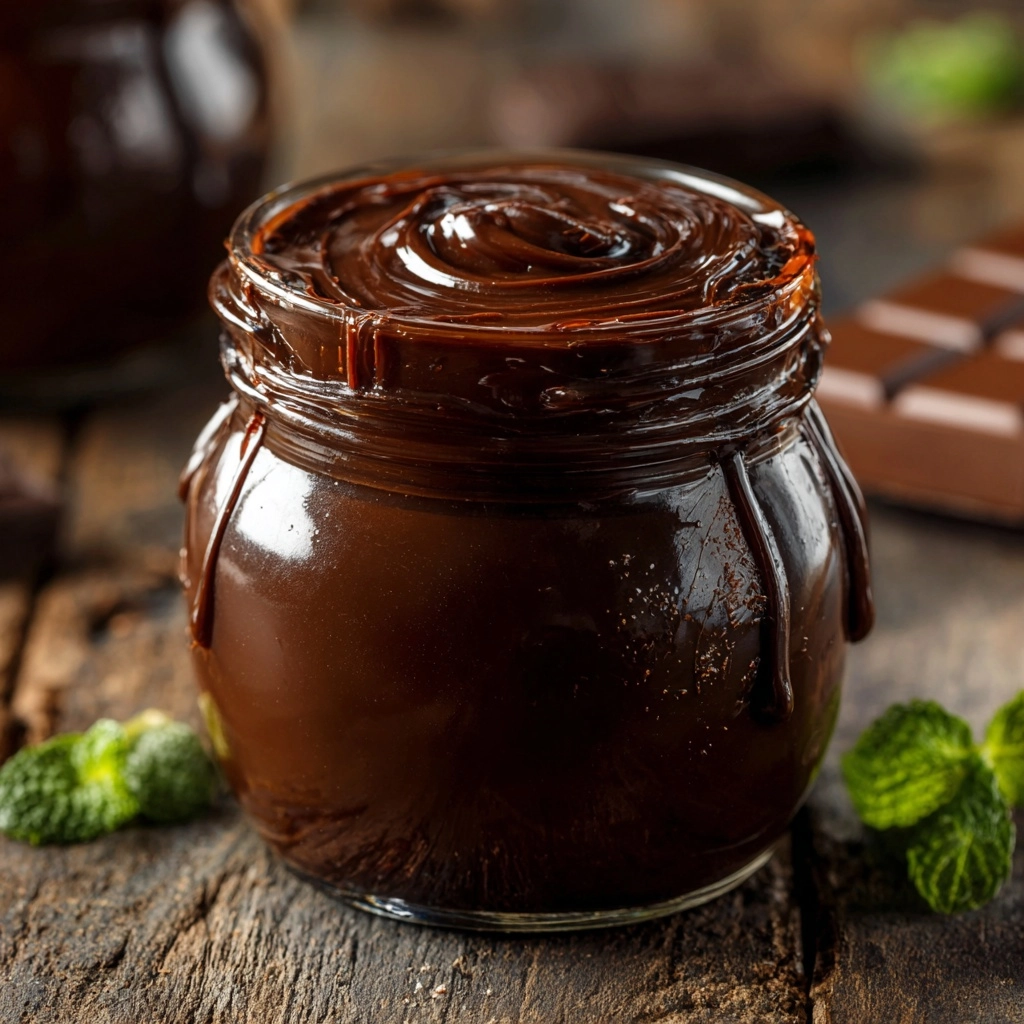
If you’ve ever wished for the perfect, glossy, deeply chocolatey drizzle to grace your ice cream, coffee, or stack of pancakes, look no further than this Homemade Chocolate Syrup Recipe. It’s rich but not too sweet, easy enough for a weeknight treat, and leagues above anything you’ll ever find in a store-bought bottle. With just a handful of pantry staples, you can create your own luscious syrup that captures that classic nostalgic flavor—just updated for your modern kitchen and your favorite desserts!
Ingredients You’ll Need
The beauty of this Homemade Chocolate Syrup Recipe is in its delightful simplicity. Each ingredient brings something essential to the final result: depth of flavor, silky texture, and that irresistible shine. Here’s what you’ll need and why you shouldn’t skip a single one:
- Unsweetened cocoa powder: The star ingredient provides bold chocolate flavor and that signature dark color. Choose a good-quality cocoa for the best taste.
- Granulated sugar: This sweetens the syrup and balances the slightly bitter notes of cocoa, creating a harmonious chocolate experience.
- Water: Simple and essential, it dissolves the sugar and cocoa powder, turning them into a gorgeous, pourable syrup.
- Salt: A pinch might seem small, but it enhances all the flavors and keeps the sauce from tasting flat.
- Vanilla extract: Adds a warm, aromatic finish that perfectly rounds out the chocolatey goodness.
How to Make Homemade Chocolate Syrup Recipe
Step 1: Mix the Cocoa and Sugar
Start by grabbing a medium saucepan and whisking together the unsweetened cocoa powder and granulated sugar. You want to combine these thoroughly and break up any lumps in the cocoa. Whisking them dry first ensures that your syrup will be ultra-smooth rather than gritty or clumpy later on.
Step 2: Add Water and Salt
Once your cocoa and sugar are well-mixed, pour in the water and sprinkle in the salt. Stir everything together until the mixture is uniform and there are no pockets of dry cocoa powder. The water is going to draw out all the flavors while the salt gives your Homemade Chocolate Syrup Recipe an edge of complexity.
Step 3: Cook Over Medium Heat
Set the saucepan over medium heat and begin whisking as the mixture warms up. You’ll notice it quickly transforms from a grainy paste into a velvety liquid. Bring the mixture to a gentle boil, whisking frequently to make sure the bottom doesn’t scorch. This process helps dissolve the sugar and develops the syrup’s glossy texture.
Step 4: Simmer to Thicken
Now, reduce the heat just a bit and let it simmer for 3 to 4 minutes. Continue to whisk or stir often. This step gently thickens your syrup to the perfect consistency—it should still be pourable but look luscious and shiny. If you like your syrup extra thick (hello, decadent ice cream sundaes!), you can let it simmer for an additional 2 to 3 minutes.
Step 5: Add Vanilla and Cool
Remove the saucepan from the heat and stir in the vanilla extract. This little addition makes a world of difference, infusing the syrup with a lovely aroma and rounding out the chocolate flavor. Let your syrup cool completely before transferring it to a glass jar or bottle. As it cools, the Homemade Chocolate Syrup Recipe will thicken up just a bit more—perfect for drizzling, swirling, and spooning over all the treats you can imagine.
How to Serve Homemade Chocolate Syrup Recipe

Garnishes
Feel free to get creative with your garnishes! Whipped cream, a dusting of cinnamon, chopped nuts, or even a pinch of flaky sea salt can transform this simple Homemade Chocolate Syrup Recipe into a five-star experience. You can also toss a few chocolate shavings or a sprinkle of espresso powder on top of your syrup to add sophistication and extra flavor.
Side Dishes
This syrup isn’t just for dessert; it’s amazingly versatile! Pour it over pancakes, waffles, or French toast for a breakfast treat that will have everyone rushing to the table. It’s also the finishing touch for brownies, cakes, and even fruit platters. Try drizzling it over sliced bananas or strawberries for a simple snack with a chocolatey twist.
Creative Ways to Present
For a stunning presentation, pour your cooled Homemade Chocolate Syrup Recipe into a pretty glass bottle or mason jar. Tie on a ribbon and you’ve got a thoughtful homemade gift! When serving, try creating chocolate “art” by drizzling designs on plates or coating the inside of drinking glasses for chocolate milk or iced coffee. You can even swirl it into yogurt or oatmeal for a sweet morning surprise.
Make Ahead and Storage
Storing Leftovers
After making your Homemade Chocolate Syrup Recipe, simply transfer any leftovers to a clean glass jar or bottle with a tight-fitting lid. Keep it refrigerated, and it will stay fresh and delicious for up to two weeks. Give it a little shake or stir before each use, as it may separate slightly over time.
Freezing
If you want to make a big batch, freezing is an option! Pour the cooled syrup into an airtight, freezer-safe container, leaving a bit of space at the top for expansion. It will keep in the freezer for up to 3 months. Thaw overnight in the refrigerator before using, then give it a good stir.
Reheating
Should your Homemade Chocolate Syrup Recipe become too thick after chilling, simply reheat what you need in a heatproof bowl in the microwave for 10-15 seconds, or warm briefly on the stovetop. Stir well until it’s smooth and fluid again, ready to pour or drizzle to your heart’s content.
FAQs
Can I use Dutch-processed cocoa powder instead of natural unsweetened?
Absolutely! Dutch-processed cocoa will give your syrup a smoother, milder chocolate taste and an even deeper, richer color. It’s a fun way to experiment and see which style you prefer in your Homemade Chocolate Syrup Recipe.
How do I make the syrup thicker?
Just allow the syrup to simmer for a few extra minutes during cooking. The longer it cooks, the more concentrated and thick it becomes. Go slowly and stir often to reach the perfect consistency for your particular craving!
Is this syrup suitable for vegan and gluten-free diets?
Yes! This Homemade Chocolate Syrup Recipe is naturally vegan, gluten-free, and dairy-free. It’s a dessert everyone can enjoy, and it contains no tricky ingredients—just chocolatey goodness.
Can I use a sugar substitute?
Great question! You can experiment with cup-for-cup sugar substitutes (like some blends of stevia, monk fruit, or erythritol), though flavors and textures may vary. Traditional granulated sugar or brown sugar will always give the best result, but feel free to get creative if you have dietary needs.
How should I use this syrup in drinks?
Stir it into cold milk for instant chocolate milk, add it to hot coffee or espresso drinks, or blend into smoothies for a rich chocolatey twist. You can even mix a spoonful into seltzer water for a homemade chocolate soda float—enjoy experimenting with this versatile syrup!
Final Thoughts
Once you taste this Homemade Chocolate Syrup Recipe, you’ll never look back at store-bought bottles again. It truly has the power to make everyday desserts or drinks feel special, and it’s a joy to whip up in mere minutes. So go ahead, grab a saucepan and let your inner chocolatier shine—your taste buds (and friends and family) will thank you!
Print
Homemade Chocolate Syrup Recipe
- Prep Time: 5 minutes
- Cook Time: 10 minutes
- Total Time: 15 minutes
- Yield: 1 1/2 cups
- Category: Condiment
- Method: Stovetop
- Cuisine: American
- Diet: Vegan
Description
Indulge in the rich, velvety sweetness of this Homemade Chocolate Syrup. Perfect for drizzling over ice cream, stirring into milk, or enhancing your favorite beverages with a burst of chocolate flavor.
Ingredients
Dry Ingredients:
- 1 cup unsweetened cocoa powder
- 1 cup granulated sugar
Wet Ingredients:
- 1 cup water
- 1/8 teaspoon salt
- 1 teaspoon vanilla extract
Instructions
- Mix Dry Ingredients: In a medium saucepan, whisk together cocoa powder and sugar until smooth.
- Add Wet Ingredients: Stir in water and salt, then heat over medium heat.
- Boil and Simmer: Bring to a boil, then simmer for 3–4 minutes until slightly thickened.
- Finish and Cool: Remove from heat, stir in vanilla, and cool before transferring to a jar. Refrigerate for up to 2 weeks.
- Enjoy: Shake or stir before using in your favorite treats.
Notes
- Great for chocolate milk, ice cream, and coffee drinks
- For a thicker sauce, simmer longer
- Try brown sugar for a deeper flavor
Nutrition
- Serving Size: 2 tablespoons
- Calories: 60
- Sugar: 13 g
- Sodium: 20 mg
- Fat: 0 g
- Saturated Fat: 0 g
- Unsaturated Fat: 0 g
- Trans Fat: 0 g
- Carbohydrates: 15 g
- Fiber: 1 g
- Protein: 1 g
- Cholesterol: 0 mg


