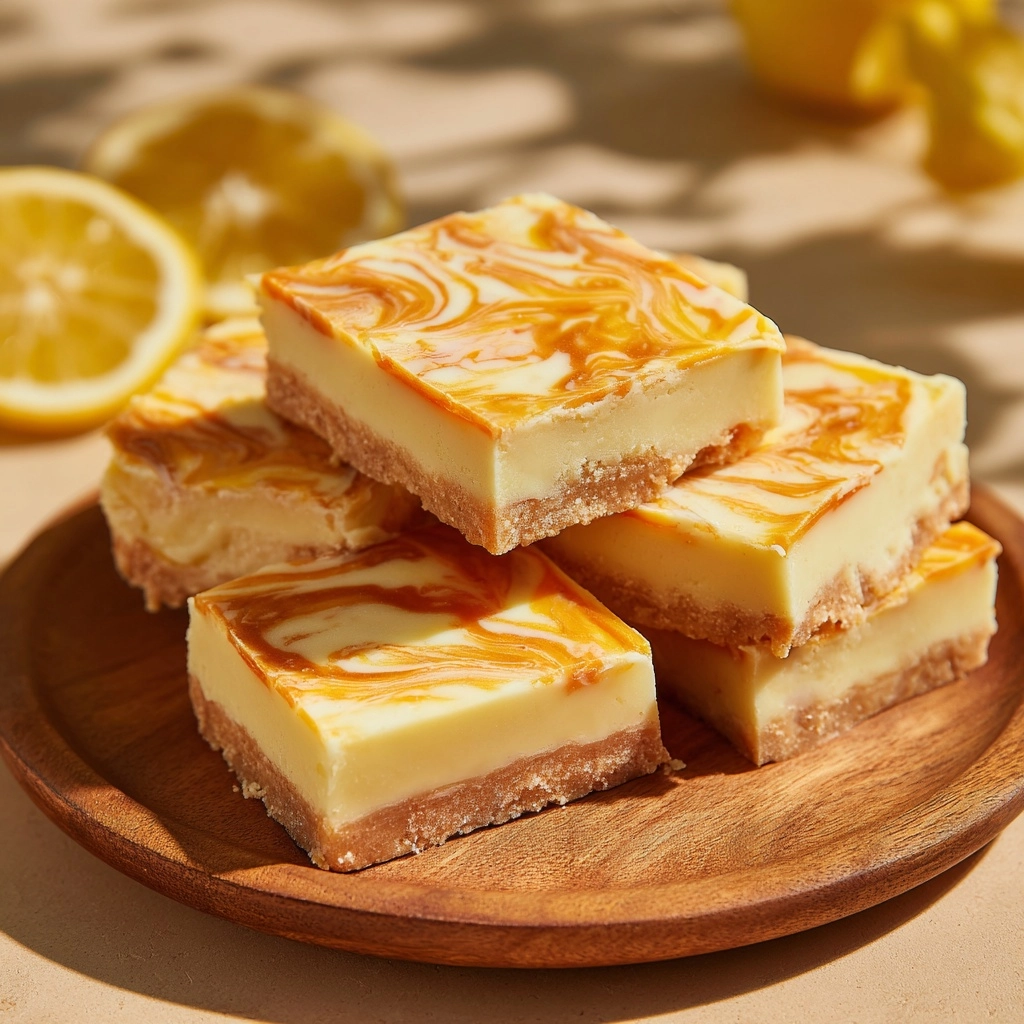
If you’re seeking a dessert that absolutely bursts with creamy citrus nostalgia, Orange Dreamsicle Fudge is a must-try. This no-bake treat instantly transports you to the best parts of summer, blending silky white chocolate with zesty orange flavor for a square of pure bliss. Every bite is deliciously smooth, delightfully vibrant, and reminiscent of the iconic frozen treat we all adore. Whether you’re new to candy-making or a seasoned fudge fanatic, this recipe is a sure way to brighten up your sweets table and bring joyful smiles to anyone lucky enough to grab a piece.
Ingredients You’ll Need
Ingredients You’ll Need
The beauty of making Orange Dreamsicle Fudge is in the simplicity of its ingredients. Each one plays a special role, working together to create that signature luscious texture and bold orange cream flavor. Grab these pantry staples and get ready for fabulously fuss-free fudge!
- White Chocolate Chips: These are key for the fudge’s ultra-creamy texture and mellow, milky base that lets the orange flavor shine through.
- Sweetened Condensed Milk: Delivers that rich, fudgy consistency and lovely balanced sweetness without any graininess.
- Unsalted Butter: Adds silkiness and helps everything meld together for a smooth, sliceable finish.
- Orange-Flavored Gelatin: The secret star! This provides bright, authentic orange citrus taste and a striking pastel color.
- Orange Extract: Intensifies the orange aroma so your fudge tastes just like those dreamy popsicles of childhood summers.
- Vanilla Extract: Softens the citrus and rounds out the flavor, giving that creamy “dreamsicle” finish.
- Orange Food Coloring (optional): For an eye-popping, extra-vivid look that makes your fudge as cheerful on the plate as it is on your taste buds.
How to Make Orange Dreamsicle Fudge
Step 1: Prep Your Pan
First things first: line an 8×8-inch baking pan with parchment paper or give it a light slick of nonstick spray. This step is your ticket to removing the fudge in nice, neat squares. The parchment also makes clean-up a breeze—never a bad thing after you’ve been making sweets!
Step 2: Melt and Mix the Base
In a medium saucepan over low heat, combine your white chocolate chips, sweetened condensed milk, and unsalted butter. Stir this cozy trio slowly and constantly—patience is key!—until everything is completely melted and the mixture is velvet-smooth. Keep an eye out for any stubborn chocolate chips and make sure they’re fully dissolved; this gives your Orange Dreamsicle Fudge that unmistakable creamy texture.
Step 3: Add the Orange Flavors
Take the saucepan off the heat, then quickly stir in the orange-flavored gelatin, orange extract, and vanilla extract. Make sure you mix thoroughly so the gorgeous orange color and flavor is completely even throughout. If you’re after that perfect creamsicle-orange hue, now’s the time to swirl in a couple of drops of orange food coloring.
Step 4: Pour and Swirl
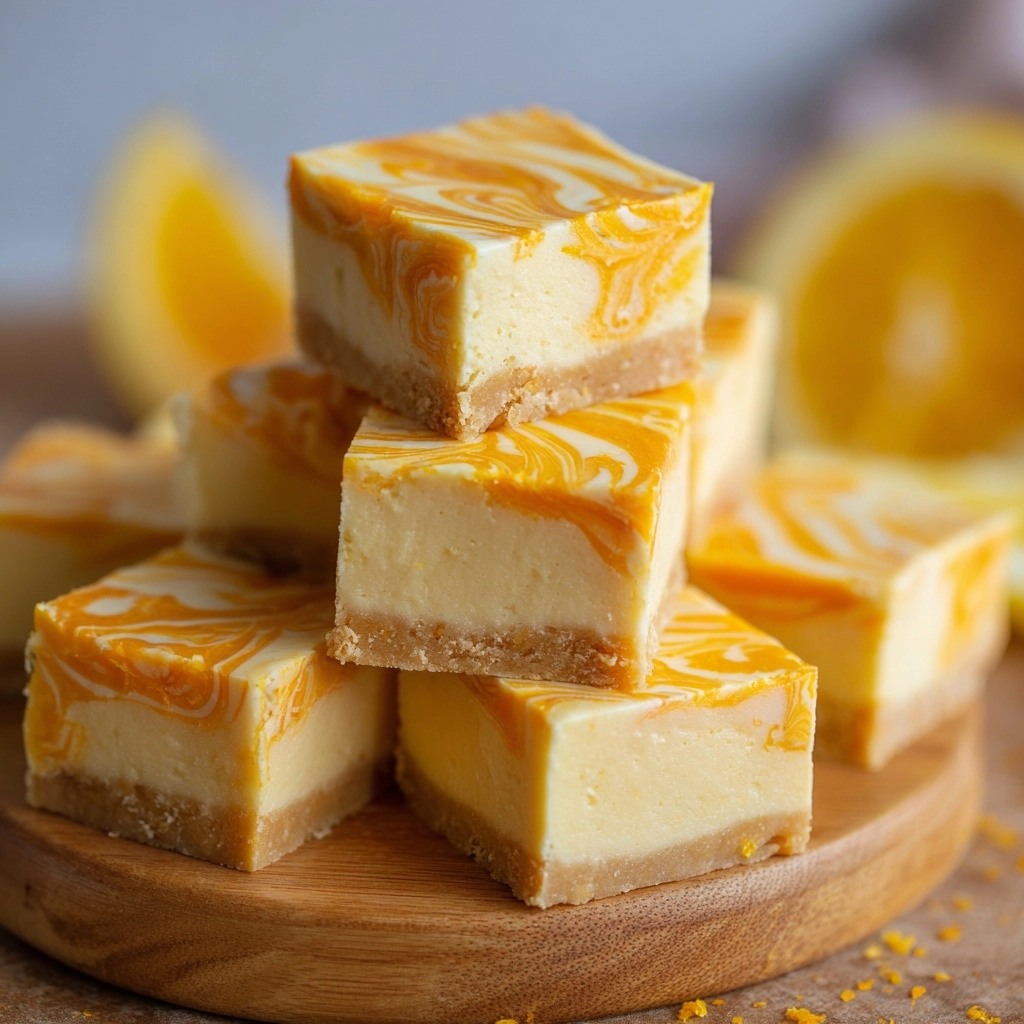
Pour your fudge mixture into the prepared pan, using a spatula to smooth it out on top. Want a marbled effect? Simply reserve a few spoonfuls of the fudge before adding the gelatin, then dollop and gently swirl it over the top for a pretty, two-tone appearance. It’s a simple trick that makes the Orange Dreamsicle Fudge look like it came straight from a candy shop!
Step 5: Chill and Slice
Let your fudge cool at room temperature for about an hour, then transfer the pan to the refrigerator for a minimum of 2 hours until it’s completely firm. Once set, lift the fudge out using the parchment, then slice into 36 lovely little squares. Each one should have that bright, glossy sheen and melt-in-your-mouth creaminess you expect from the perfect fudge.
How to Serve Orange Dreamsicle Fudge
Garnishes
Keep things playful and pretty by topping your Orange Dreamsicle Fudge with delicate curls of white chocolate, tiny orange zest sprinkles, or a little dusting of powdered sugar. Even a few edible gold stars or sprinkles can give your fudge a magical dessert-table sparkle.
Side Dishes
Fudge this luscious is fabulous alongside a scoop of vanilla ice cream, citrusy fruit salad, or even a warm cup of coffee for contrast. If you’re serving at a party, pair it with other light, fruity desserts for a fun, colorful treat spread.
Creative Ways to Present
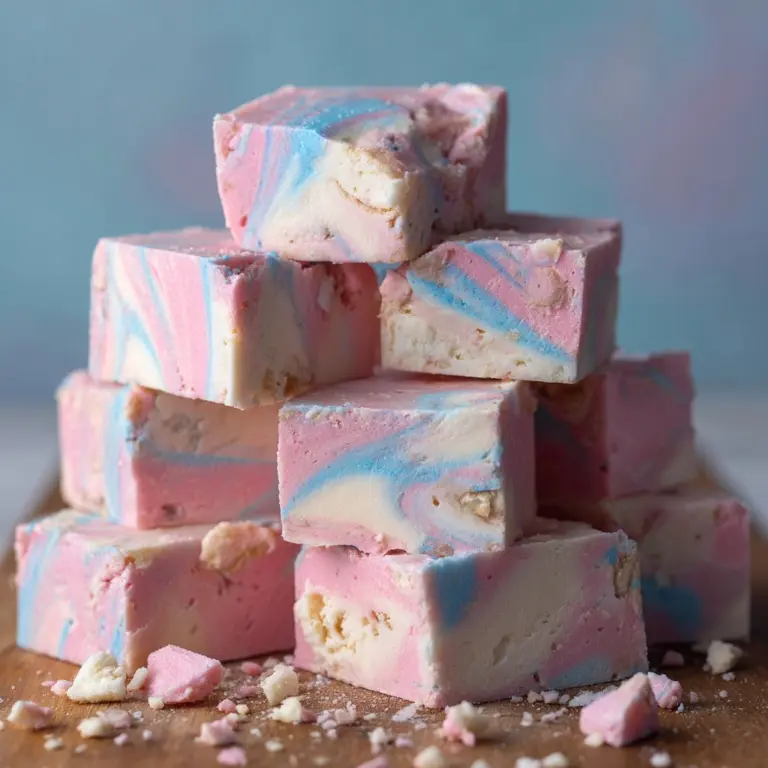
Try layering cubes of Orange Dreamsicle Fudge with fresh berries in parfait glasses for an easy showstopper. Or, wrap each square in bright cellophane for party favors and gifts. If you’re in a festive mood, create a dreamy dessert board with other flavors of fudge and candies—everyone will love this playful pop of orange.
Make Ahead and Storage
Storing Leftovers
Once you’ve fallen head over heels for Orange Dreamsicle Fudge, you’ll want to keep it luscious and fresh for as long as possible. Simply store the fudge in an airtight container in the refrigerator, where it will keep its dreamy texture and vibrant flavor for up to one week.
Freezing
If you’re planning ahead or have made a double batch, Orange Dreamsicle Fudge freezes beautifully. Cut into squares, separate layers with parchment, and stash in a zipper bag or tightly sealed container. It’ll keep for up to three months—just thaw in the fridge whenever a craving hits!
Reheating
No need to reheat fudge, but if you find it just a tad too firm straight from the fridge, let it rest at room temperature for 10-15 minutes. This brings back the perfect, creamy consistency without any fuss.
FAQs
Can I use regular orange juice or zest instead of gelatin and extract?
The orange-flavored gelatin and extract are what infuse Orange Dreamsicle Fudge with that unmistakably bold, creamsicle flavor. While orange juice or zest add freshness, they won’t deliver the same concentrated flavor or color intensity; the fudge might also turn out softer. Stick with the gelatin for best results!
Can this Orange Dreamsicle Fudge be made vegan?
With a few clever swaps—like vegan white chocolate, dairy-free sweetened condensed milk, and plant-based butter—you can create a vegan version. Just be sure to check the orange-flavored gelatin (gelatin-free alternatives like flavored agar or vegan jello work well) and extract labels.
How do I get perfect, clean slices?
A sharp knife is essential! For ultra-neat squares, dip your knife in hot water, wipe it dry, then slice in one clean motion. Wipe the blade between cuts for a professional-looking finish.
Is food coloring necessary?
Nope, it’s totally optional! The fudge will be flavorful and creamy without it, but a few drops of orange food coloring really make the Orange Dreamsicle Fudge pop and look extra appetizing—especially on a festive dessert table.
Can I double this recipe for a party?
Absolutely! Just use a 9×13-inch pan, double every ingredient, and follow the same steps. It’ll yield more squares—the perfect solution for sharing at potlucks, bake sales, or family gatherings.
Final Thoughts
There’s something undeniably magical about a homemade batch of Orange Dreamsicle Fudge: it’s easy, crowd-pleasing, and packed with joy in every citrusy nibble. Make it once, and you’ll want to share this sunshiny fudge at every celebration, picnic, and afternoon coffee break—just don’t be surprised when everyone asks for the recipe!
Print
Orange Dreamsicle Fudge Recipe
- Prep Time: 10 minutes
- Cook Time: 10 minutes
- Total Time: 2 hours 20 minutes (including chilling time)
- Yield: 36 small squares
- Category: Dessert
- Method: No-Bake
- Cuisine: American
- Diet: Non-Vegetarian
Description
Indulge in the creamy, dreamy goodness of Orange Dreamsicle Fudge. This no-bake dessert combines the classic flavors of white chocolate and citrus for a delightful treat that’s perfect for any occasion.
Ingredients
For the Fudge:
- 3 cups white chocolate chips
- 1 can (14 ounces) sweetened condensed milk
- 1/2 cup unsalted butter
- 1 (3-ounce) package orange-flavored gelatin
- 1 teaspoon orange extract
- 1/2 teaspoon vanilla extract
- Orange food coloring (optional)
Instructions
- Prepare the Pan: Line an 8×8-inch baking pan with parchment paper or lightly grease it.
- Melt Ingredients: In a medium saucepan over low heat, combine white chocolate chips, sweetened condensed milk, and butter. Stir until melted and smooth.
- Add Flavors: Remove from heat and stir in the orange gelatin, orange extract, and vanilla extract until fully combined. Add orange food coloring if desired.
- Set the Fudge: Pour the mixture into the prepared pan, smooth the top, and let it cool at room temperature for 1 hour. Refrigerate for at least 2 hours until firm.
- Serve: Once set, cut into squares and enjoy!
Notes
- For a marbled effect, reserve a small amount of the mixture before adding gelatin, swirl it into the top of the fudge after pouring.
- Store fudge in an airtight container in the fridge for up to 1 week.
Nutrition
- Serving Size: 1 square
- Calories: 130
- Sugar: 15 g
- Sodium: 25 mg
- Fat: 6 g
- Saturated Fat: 4 g
- Unsaturated Fat: 1 g
- Trans Fat: 0 g
- Carbohydrates: 17 g
- Fiber: 0 g
- Protein: 1 g
- Cholesterol: 10 mg

