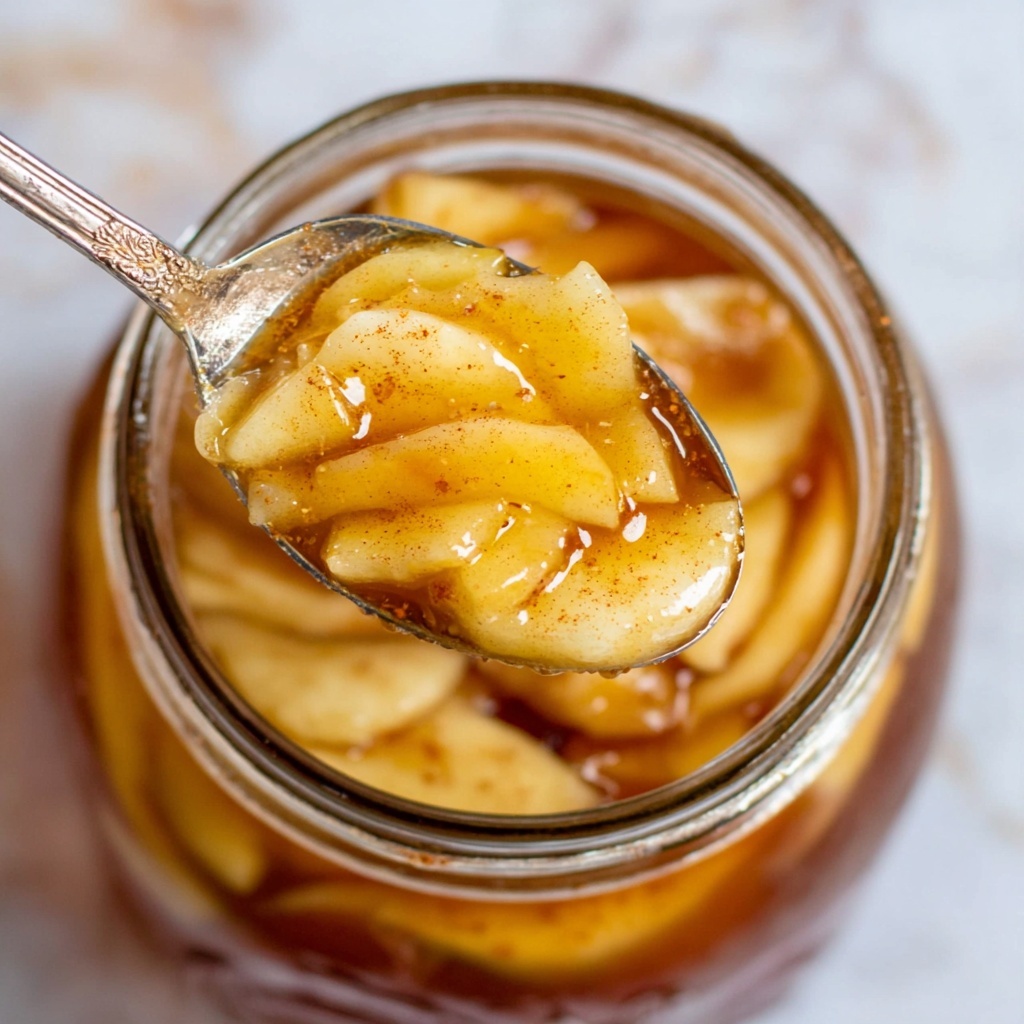
If you have ever dreamed of homemade pie perfection, then this Best Apple Pie Filling Recipe is exactly what you need in your kitchen arsenal. It captures that nostalgic balance of sweet, tart, and warmly spiced apples simmered to tender goodness and coated in a luscious, glossy syrup that clings beautifully to every slice. Whether you’re gearing up for a classic apple pie or simply want a simple yet spectacular fruit filling for pancakes, waffles, or ice cream, this recipe consistently delivers unmatched flavor and texture that will have everyone asking for seconds.
Ingredients You’ll Need
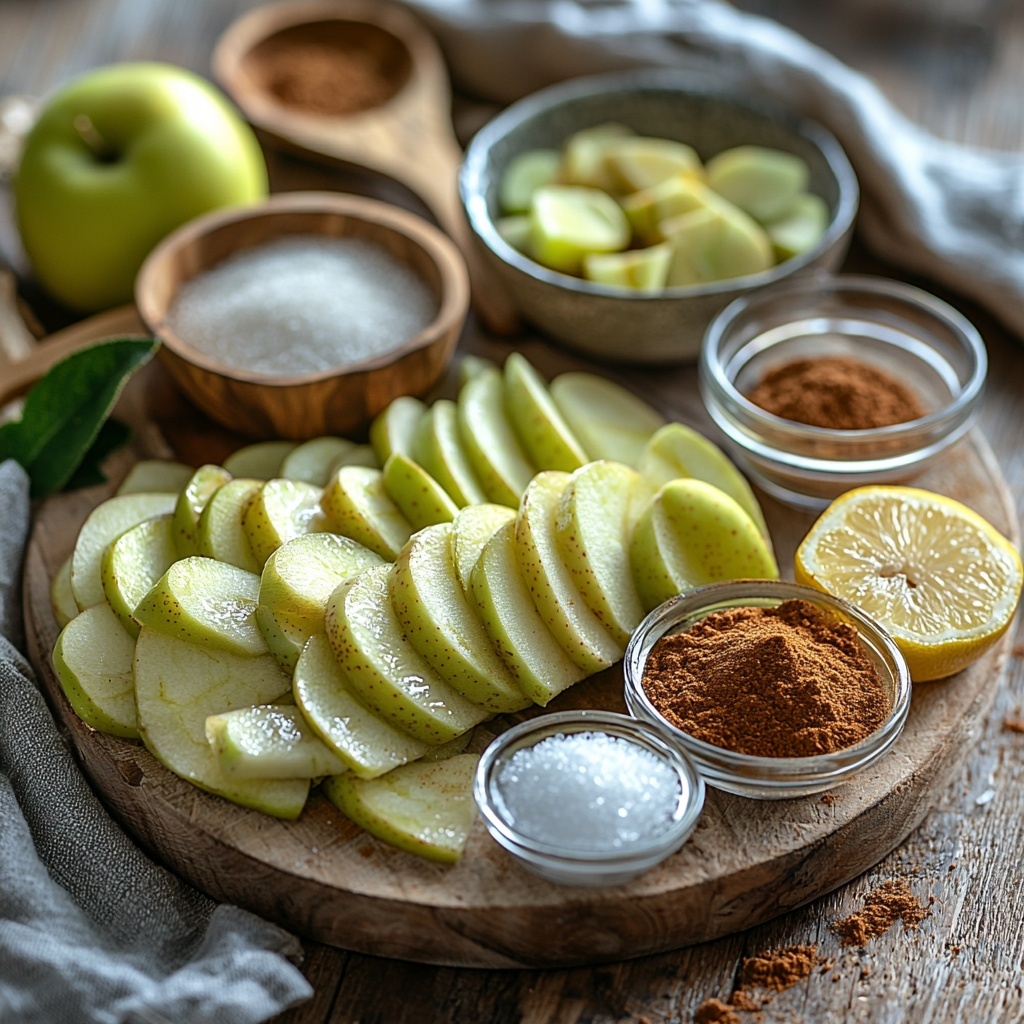
The magic of the Best Apple Pie Filling Recipe lies in its straightforward and thoughtfully chosen ingredients. Each one plays a crucial role in building the perfect combination of sweetness, spice, and texture that makes this filling truly delicious.
- 6 cups sliced apples (Granny Smith, Honeycrisp, or a mix): A balance of tart and sweet apples ensures a complex flavor and firm bite.
- 1/2 cup brown sugar: Adds rich, caramel undertones and deep sweetness.
- 1/4 cup granulated sugar: Provides clean sweetness and helps with caramelization.
- 1/4 cup cornstarch: Thickens the filling into that perfect glossy syrup that coats every apple slice.
- 1 1/2 cups water: Creates the base for the syrup and helps cook the apples evenly.
- 1 tablespoon lemon juice: Brightens the flavor and prevents the apples from browning.
- 1 1/2 teaspoons ground cinnamon: Infuses the filling with warm, comforting spice.
- 1/8 teaspoon ground nutmeg (optional): A subtle spark of earthy aroma that enriches the spice profile.
- 1/4 teaspoon salt: Elevates all the flavors and balances the sweetness beautifully.
How to Make Best Apple Pie Filling Recipe
Step 1: Prepare the Apples
Start by peeling, coring, and slicing your apples into even 1/4-inch thick slices. Choosing uniform slices ensures they cook evenly so every bite has that tender but still slightly firm texture that distinguishes this filling.
Step 2: Mix the Syrup Ingredients
In a large saucepan, whisk together the water, brown sugar, granulated sugar, cornstarch, cinnamon, nutmeg if using, and salt until it becomes a smooth mixture. This step lays the foundation for a syrup that’s both flavorful and beautifully thickened.
Step 3: Cook the Syrup
Bring the mixture to a gentle boil over medium heat, stirring constantly. You’ll know it’s ready when it thickens into a glossy syrup that’s smooth and slightly translucent. This syrup is the secret to the luscious texture holding the apple slices together.
Step 4: Add Brightness with Lemon Juice
Once the syrup is thick, stir in the fresh lemon juice. This adds a pop of acidity that balances the sweetness and keeps the filling taste lively and fresh.
Step 5: Coat the Apples
Add your sliced apples to the saucepan and gently fold them into the syrup. Make sure every slice is coated evenly — this is when the flavors start to marry and the apples begin to absorb that warm, spiced sweetness.
Step 6: Simmer to Perfection
Let the apples simmer for 8 to 10 minutes while stirring occasionally. This timed simmer softens the apples but keeps them from turning mushy, achieving that perfect tender bite that is essential in the Best Apple Pie Filling Recipe.
Step 7: Cool Down
Remove the pan from heat and allow the filling to cool slightly. Cooling helps the flavors deepen and the syrup thicken a bit more, readying it for your favorite recipes or storage.
Step 8: Store for Later Use
Transfer the cooled apple pie filling to airtight containers or jars. Proper storage not only preserves freshness but also makes this filling a convenient, ready-to-go option whenever the craving hits.
How to Serve Best Apple Pie Filling Recipe
Garnishes
Sprinkle the filling with a dusting of cinnamon or a pinch of freshly grated nutmeg before serving to amplify the warm spice notes. For an extra indulgence, a dollop of whipped cream or a scoop of vanilla ice cream on top complements the filling’s rich texture and sweetness beautifully.
Side Dishes
Pair your apple pie filling with flaky pie crust for the classic dessert, or serve it alongside pancakes or French toast for a delightful breakfast twist. Its versatility also shines as a topping for oatmeal or yogurt, bringing a cozy charm to morning routines.
Creative Ways to Present
Think beyond the traditional pie and consider layering this filling into parfaits with granola and yogurt for a fun treat, or use it as a filling for puff pastry turnovers or crumbles. You can even swirl it into cheesecake batter for a spiced apple surprise that wows guests.
Make Ahead and Storage
Storing Leftovers
Keep any leftover Best Apple Pie Filling Recipe in airtight containers in the refrigerator. It will stay fresh and retain its flavor for up to five days, making it perfect for quick snacks or last-minute desserts.
Freezing
If you want to save your filling for longer, freezing is an excellent option. Store it in freezer-safe containers or heavy-duty freezer bags, and it will maintain its quality for up to three months. Just remember to thaw it in the refrigerator overnight before use.
Reheating
When ready to enjoy again, gently reheat the filling in a saucepan over low heat, stirring occasionally. This will restore its warmth and re-incorporate any liquid that may have separated during storage, bringing it back to that signature glossy coat.
FAQs
Can I use different types of apples for this filling?
Absolutely! Mixing tart apples like Granny Smith with sweeter varieties such as Honeycrisp creates a more complex and balanced flavor profile, but feel free to experiment with your favorites ensuring they hold their shape when cooked.
Is it necessary to peel the apples?
Peeling is recommended for a smoother texture and presentation, but if you prefer a more rustic filling with extra fiber and color, leaving the skin on works too — just wash them thoroughly first.
Can I make this filling ahead of time?
Yes! This is one of the best make-ahead recipes. It can be prepared days in advance and stored in the fridge or freezer, which makes it perfect for busy schedules or holiday baking prep.
How do I prevent the filling from becoming too watery?
The cornstarch in this recipe is key to thickening. Make sure to cook the syrup until it becomes glossy and thick before adding the apples, and simmer the filled mixture just enough to maintain structure without releasing excess liquid.
Can I use this filling for other desserts?
Definitely! While it’s perfect for pies, this filling is incredibly versatile. Use it as a topping for ice cream, in crumbles, tarts, or even as a sweet spread on toast or crepes for a delicious twist.
Final Thoughts
There is something truly special about mastering the Best Apple Pie Filling Recipe; it brings the heart of homemade baking into your kitchen with every simmered batch. I encourage you to try this recipe and make it your own — your family and friends will thank you for the warm, sweet moments it creates at your table.
Print
Best Apple Pie Filling Recipe
- Prep Time: 10 minutes
- Cook Time: 15 minutes
- Total Time: 25 minutes
- Yield: 4 servings
- Category: Dessert Filling
- Method: Stovetop
- Cuisine: American
- Diet: Vegetarian
Description
This Best Apple Pie Filling recipe delivers a deliciously sweet and cinnamon-spiced apple filling that’s perfect for pies, tarts, or as a topping for desserts. Made from fresh apples simmered in a fragrant syrup of brown sugar, cinnamon, and lemon juice, this classic filling is easy to prepare on the stovetop and offers a tender but still firm texture.
Ingredients
Apple Pie Filling Ingredients
- 6 cups sliced apples (Granny Smith, Honeycrisp, or a mix)
- 1/2 cup brown sugar
- 1/4 cup granulated sugar
- 1/4 cup cornstarch
- 1 1/2 cups water
- 1 tablespoon lemon juice
- 1 1/2 teaspoons ground cinnamon
- 1/8 teaspoon ground nutmeg (optional)
- 1/4 teaspoon salt
Instructions
- Prepare Apples: Peel, core, and slice the apples into even 1/4-inch thick slices to ensure uniform cooking and texture.
- Mix Syrup Ingredients: In a large saucepan, combine water, brown sugar, granulated sugar, cornstarch, cinnamon, nutmeg if using, and salt. Whisk the mixture thoroughly until smooth and free of lumps.
- Cook Syrup: Place the saucepan over medium heat and bring the mixture to a gentle boil, stirring constantly. Continue stirring until the mixture thickens into a glossy, translucent syrup.
- Add Lemon Juice: Stir in the lemon juice to enhance the flavor and add brightness to the filling.
- Incorporate Apples: Add the sliced apples to the syrup and gently fold them in to coat them uniformly with the thickened syrup.
- Simmer Apples: Reduce the heat to a gentle simmer and cook the apples for 8–10 minutes, stirring occasionally. The apples should become tender but still hold their shape without becoming mushy.
- Cool Filling: Remove the saucepan from heat and let the apple pie filling cool to room temperature, allowing it to thicken further as it cools.
- Store Filling: Transfer the cooled filling to airtight jars or containers. Store refrigerated until ready to use, best consumed within 5-7 days or frozen for longer storage.
Notes
- Use a mix of tart and sweet apples like Granny Smith and Honeycrisp for the best balance of flavor and texture.
- Do not overcook apples to prevent a mushy filling; they should stay slightly firm.
- The filling can be used immediately once cooled or refrigerated for later use.
- Adjust the amount of sugar based on the sweetness of the apples and your preference.
- The optional nutmeg adds subtle warmth but can be omitted if desired.
- This filling works perfectly for pies, turnovers, or as a topping for pancakes and ice cream.


