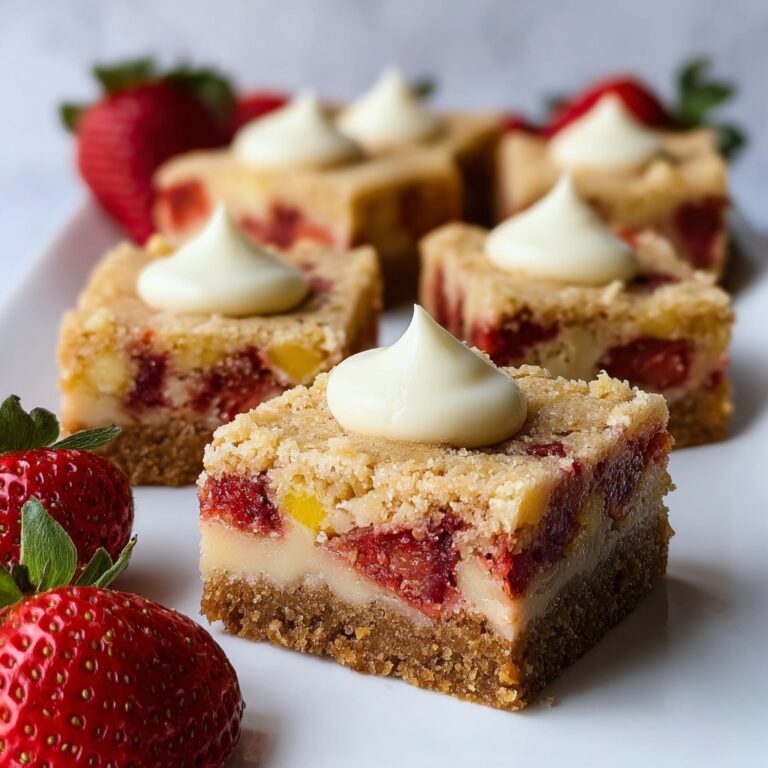
If you’re looking to wow your friends and family with a dessert that’s as delightful to eat as it is fun to make, the Best Cake Cone Recipe – A Fun and Festive Dessert for Any Occasion Recipe is your new go-to treat. Imagine soft, moist cake baked directly inside a perfectly crisp ice cream cone, topped with swirls of frosting and colorful sprinkles. This recipe turns simple ingredients into a truly memorable dessert that works beautifully for birthday parties, holidays, or any casual get-together. The combination of flavors and textures is irresistibly charming, and the presentation is a guaranteed conversation starter.
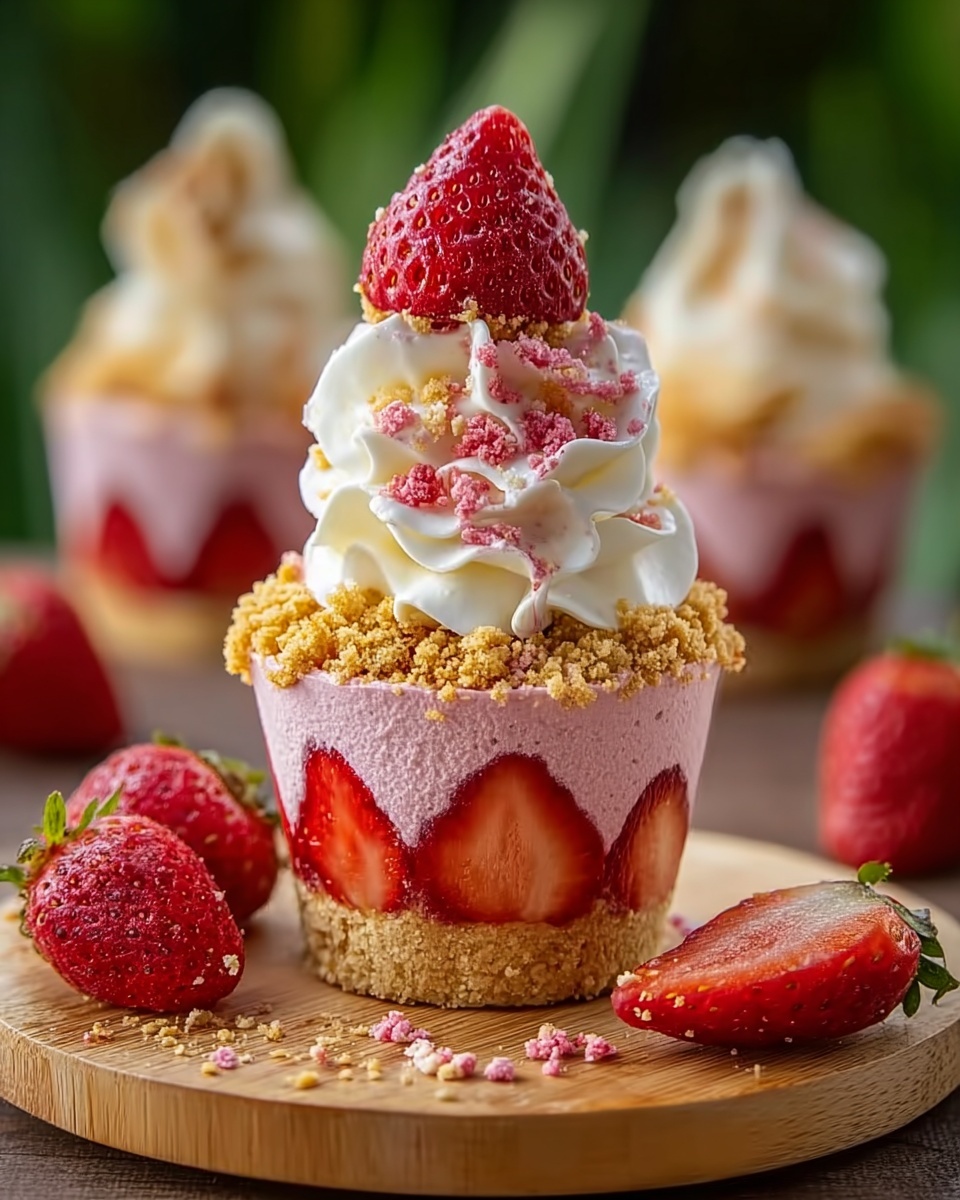
Ingredients You’ll Need
This recipe uses straightforward and familiar ingredients, each playing a vital role in creating the perfect balance of flavor, texture, and appearance. From the rich butter to the fluffy eggs and smooth vanilla, every element is essential for that dreamy cake cone experience.
- Granulated sugar: Sweetens the cake and helps achieve a tender crumb.
- Unsalted butter, softened: Adds richness and moisture, making the cake delightfully soft.
- Large eggs, room temperature: Provide structure and help bind the batter together.
- All-purpose flour: The foundation of your cake’s texture.
- Baking powder: Gives the cake its rise and lightness.
- Salt: Enhances the overall flavor and balances the sweetness.
- Whole milk: Adds moisture and contributes to a richer taste.
- Pure vanilla extract: Infuses the batter with a warm, fragrant aroma.
- Flat-bottomed ice cream cones: The star vessel that turns cake into a handheld delight.
- Optional decorating items: Buttercream or whipped frosting, sprinkles, mini chocolate chips, crushed candies, and melted chocolate for drizzling to make your cones extra festive.
How to Make Best Cake Cone Recipe – A Fun and Festive Dessert for Any Occasion Recipe
Step 1: Prepare Your Oven and Cones
Start by preheating your oven to 350°F (175°C). This temperature ensures a lovely, even bake without drying out the cake. Next, place the flat-bottomed ice cream cones upright in a muffin tin or a dedicated cone holder to keep them steady during baking. This step is crucial so the batter doesn’t spill and each cone bakes into a perfect cake cup.
Step 2: Mix the Cake Batter
Cream the softened butter and granulated sugar together until the mixture is light and fluffy — this gives the cake its delicate crumb. Add the eggs one at a time, beating well after each addition, then stir in the vanilla extract for that signature sweet aroma. In a separate bowl, whisk together the flour, baking powder, and salt to activate the leaveners and ensure even distribution. Alternate adding the dry mixture and whole milk to the wet ingredients; this keeps the batter smooth and perfectly combined without overmixing.
Step 3: Fill the Cones
Using a spoon or a small scoop, fill each ice cream cone about two-thirds full with the batter. It’s important not to overfill to prevent batter from overflowing as it bakes. Each cone will transform into a delightful cake that you can hold in your hand, so take your time filling them evenly for consistent results.
Step 4: Bake to Perfection
Place the muffin pan or cone holder carefully in the oven and bake the cake cones for 18 to 22 minutes. A toothpick inserted into the center of the cake should come out clean, which signals that they’re perfectly baked — moist on the inside with a subtle golden crust on the outside. Let them cool completely before moving to decorating to preserve that crisp cone texture.
Step 5: Decorate and Enjoy
Once cooled, it’s time for the fun part: decorating! Whether you prefer buttercream frosting, whipped topping, or a drizzle of melted chocolate, the options are endless. Adding sprinkles, mini chocolate chips, or crushed candies gives your cones a playful and festive look that’s sure to impress.
How to Serve Best Cake Cone Recipe – A Fun and Festive Dessert for Any Occasion Recipe
Garnishes
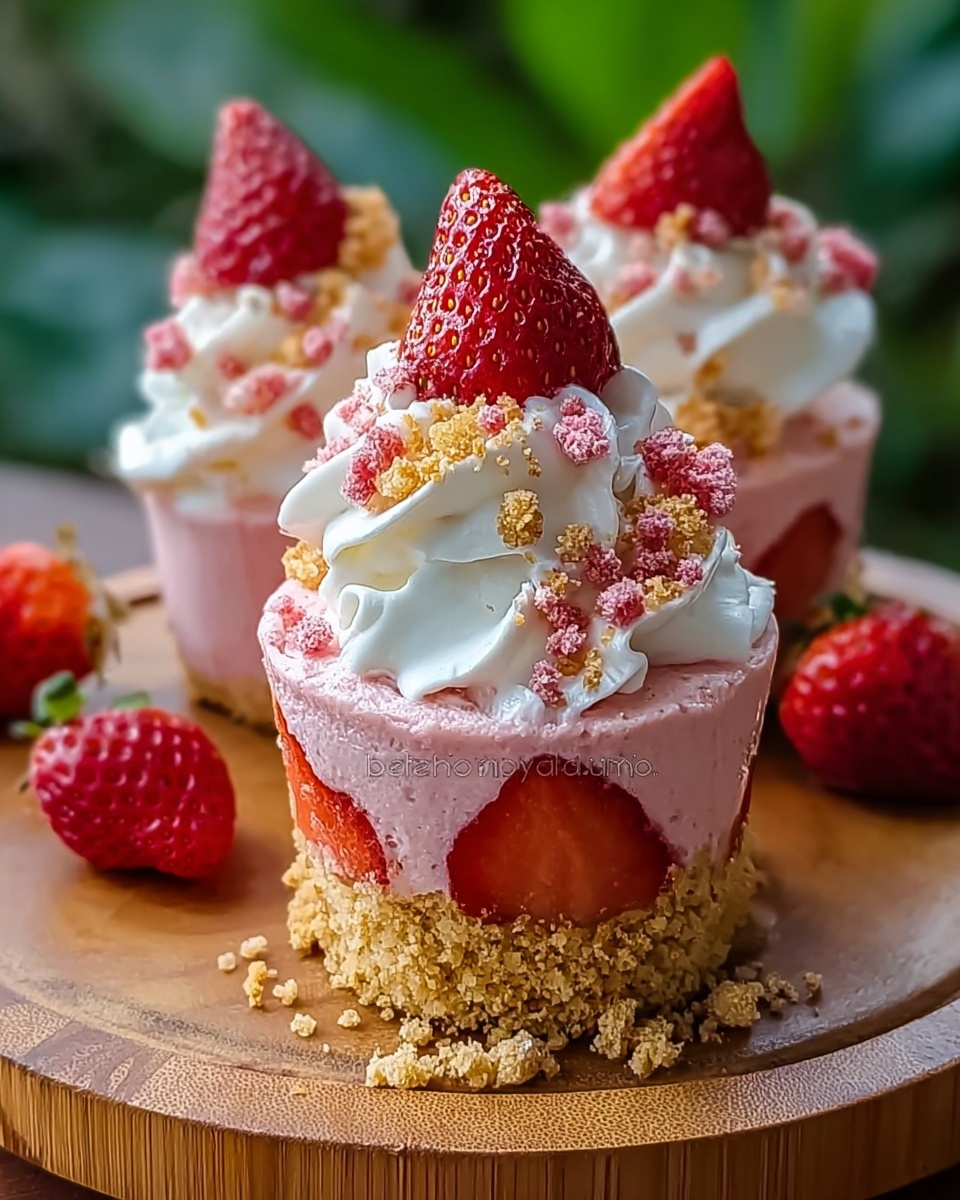
Top your cake cones with swirls of colorful buttercream or whipped frosting for an inviting look. Adding sprinkles or mini chocolate chips not only makes them visually stunning but adds an extra crunch and burst of flavor with every bite. Don’t hesitate to drizzle some melted chocolate or caramel for a touch of elegance and extra indulgence.
Side Dishes
Serve these cake cones alongside fresh fruit slices like strawberries or raspberries to add a refreshing balance to their sweetness. A scoop of vanilla or berry ice cream can turn this dessert into an even more luscious treat, especially on warm days. You can also serve them with a cup of hot tea or coffee to complement the richness of the cake.
Creative Ways to Present
Arrange the cake cones standing upright in a decorative box or a festive container filled with colored paper shreds for a party centerpiece. For outdoor events, place them in a cone rack or a sturdy holder lined with parchment paper. You could even gift them individually wrapped in cellophane bags tied with colorful ribbons for a charming party favor or birthday treat.
Make Ahead and Storage
Storing Leftovers
Once decorated, store any leftover cake cones in an airtight container at room temperature for up to two days to keep the cones crisp. If left unfrosted, they can last a little longer, making it easy to prepare parts of the recipe ahead of time.
Freezing
You can freeze unfrosted cake cones by wrapping each cone tightly in plastic wrap and placing them in a sealed freezer bag for up to one month. When ready to enjoy, thaw at room temperature before decorating to avoid sogginess and preserve texture.
Reheating
If you’d like a freshly baked warmth, gently warm the cake cones (unfrosted) in a low oven at 300°F (150°C) for about 5 to 7 minutes. Avoid heating decorated cones as this can melt frosting and decorations. Reheat only before serving for best results.
FAQs
Can I use other types of cones for this recipe?
Flat-bottomed ice cream cones are best for baking because they stand upright easily and hold the batter well. Sugar cones or waffle cones might not hold the batter as securely, but you can experiment if you prefer those flavors or textures.
Is it possible to make this recipe gluten-free?
Absolutely! Replace the all-purpose flour with a gluten-free flour blend that measures 1:1 for flour. Make sure it contains xanthan gum or another binder to help with texture and rise.
Can I substitute the milk with non-dairy options?
Yes, you can easily use almond milk, oat milk, or soy milk instead of whole milk. Just make sure it’s the unsweetened variety to avoid altering the sweetness and texture of the cake.
How far in advance can I decorate the cake cones?
It’s best to decorate the cake cones the same day you serve them to keep the cones crisp and the frosting fresh. However, you can bake the cones a day ahead and store them airtight, then add frosting and toppings before serving.
Can I add flavor variations to the cake batter?
Definitely! Add citrus zest, like lemon or orange, a teaspoon of almond extract, or even a tablespoon of cocoa powder to switch up the flavor. Just adjust the baking time slightly if needed and enjoy your personalized touch on this festive recipe.
Final Thoughts
There’s something truly magical about the Best Cake Cone Recipe – A Fun and Festive Dessert for Any Occasion Recipe that brings smiles and a bit of wonder to any gathering. It’s an easy, creative way to offer a homemade treat that looks like it came from a bakery but tastes like pure joy. Whether you’re baking for kids, friends, or just yourself, these cake cones are sure to become a beloved favorite that you’ll want to make again and again.
Print
Best Cake Cone Recipe – A Fun and Festive Dessert for Any Occasion Recipe
- Prep Time: 15 minutes
- Cook Time: 20 minutes
- Total Time: 35 minutes
- Yield: 12 cake cones
- Category: Dessert
- Method: Baking
- Cuisine: American
Description
This Best Cake Cone Recipe offers a delightful and festive dessert perfect for any occasion. Soft cake baked right inside ice cream cones creates a fun twist on traditional cake, making it both portable and visually charming. These cake cones can be topped with buttercream, sprinkles, or drizzled chocolate for extra flair, ideal for parties, birthdays, or everyday treats.
Ingredients
For the Cake Batter:
- 1 cup (200g) granulated sugar
- ½ cup (113g) unsalted butter, softened
- 2 large eggs, room temperature
- 1 ½ cups (190g) all-purpose flour
- 1 ½ teaspoons baking powder
- ¼ teaspoon salt
- ½ cup (120ml) whole milk
- 1 ½ teaspoons pure vanilla extract
- 12 flat-bottomed ice cream cones
Optional for Decorating:
- Buttercream or whipped frosting
- Sprinkles, mini chocolate chips, or crushed candies
- Melted chocolate for drizzling
Instructions
- Preheat Oven: Preheat your oven to 350°F (175°C). Place the flat-bottomed ice cream cones upright in a muffin tin or a cone holder to keep them steady during baking.
- Prepare Batter: In a mixing bowl, cream the softened butter and granulated sugar together until the mixture is light and fluffy. Add the eggs one at a time, mixing well after each addition, then stir in the vanilla extract. In a separate bowl, whisk together the all-purpose flour, baking powder, and salt. Gradually alternate adding the dry ingredients and the whole milk to the wet ingredients, mixing gently until just combined to form the batter.
- Fill the Cones: Spoon the cake batter into each ice cream cone, filling about two-thirds full to prevent overflow while baking.
- Bake the Cake Cones: Place the filled cones carefully into the oven and bake for 18 to 22 minutes or until a toothpick inserted into the cake portion comes out clean, indicating the cake is fully cooked.
- Cool and Decorate: Remove the baked cake cones from the oven, allow them to cool completely. Once cooled, decorate the tops with your choice of buttercream or whipped frosting, and add sprinkles, mini chocolate chips, crushed candies, or drizzle with melted chocolate to finish.
Notes
- Ensure cones are flat-bottomed for stability during baking.
- Do not overfill cones to avoid batter spilling over during baking.
- Cooling completely before decorating prevents frosting from melting.
- Use room temperature eggs and butter for better batter consistency.
- These cake cones can be stored in an airtight container for up to 2 days.

