If you’re craving a dessert that feels like a warm hug from grandma, the Blue Ribbon Banana Pudding Recipe is exactly what you need. This classic Southern favorite brings together layers of creamy vanilla pudding, sweet bananas, and crunchy vanilla wafers, all wrapped up with an airy whipped topping that melts in your mouth. It’s simple, yet spectacular, and once you taste this version, you’ll understand why it’s called “Blue Ribbon”—it truly earns top honors every single time.
Ingredients You’ll Need
The magic of the Blue Ribbon Banana Pudding Recipe lies in its simplicity. Each ingredient plays a crucial role in creating the perfect balance of flavor, texture, and color. From creamy pudding to crisp wafers and ripe bananas, these essentials come together for an irresistible treat.
- Vanilla pudding mix (3.4 oz packet): The base that provides a smooth, rich vanilla flavor and creamy texture.
- Cold milk (1.5 cups): Ensures the pudding mix sets perfectly without being too thick or thin.
- Sweetened condensed milk (12 oz): Adds just the right amount of buttery sweetness and richness to the pudding.
- Cool whip (16 oz total): Brings a light, fluffy contrast to the dense pudding, making every bite airy and delightful.
- Bananas (5 medium): Ripe and tender slices offer natural sweetness and that classic flavor pairing with vanilla.
- Vanilla wafers (1 12 oz box): Their crisp, buttery crunch creates the perfect texture contrast with the creamy layers.
How to Make Blue Ribbon Banana Pudding Recipe
Step 1: Prepare the Pudding Base
Start by combining the cold milk and vanilla pudding mix in a bowl, whisking until it’s smooth and free of lumps. Then add the sweetened condensed milk, stirring until the mixture is velvety and fully combined. Chill this mixture for about 5 minutes to start the thickening process so it sets nicely in the layers.
Step 2: Fold in the Whipped Topping
Next, gently fold 8 ounces of cool whip into the chilled pudding mixture. This step lightens the texture and adds a creamy softness that balances the rich pudding and crisp wafers later on. Be careful to mix just enough to blend without losing that fluffy texture.
Step 3: Layer Up the Classic Components
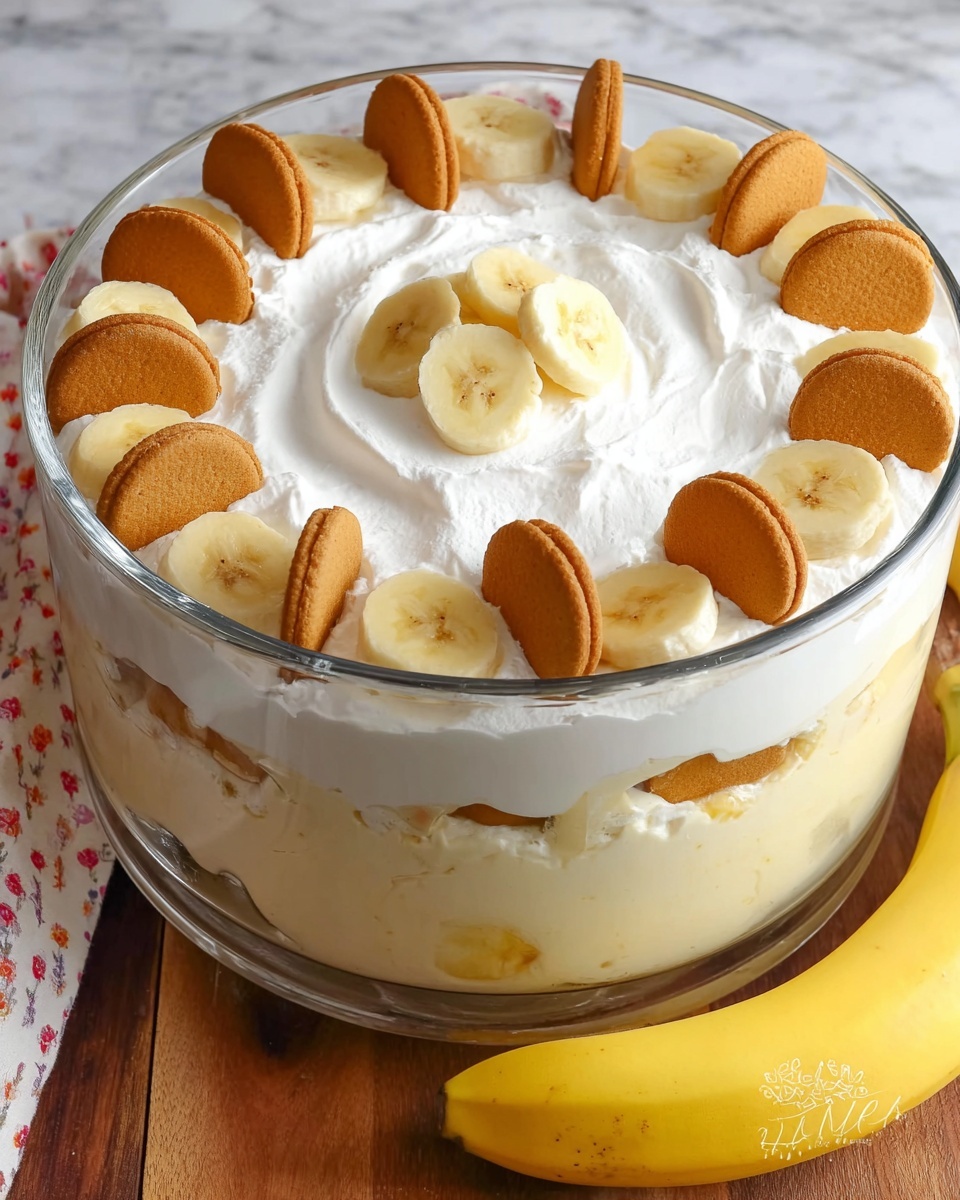
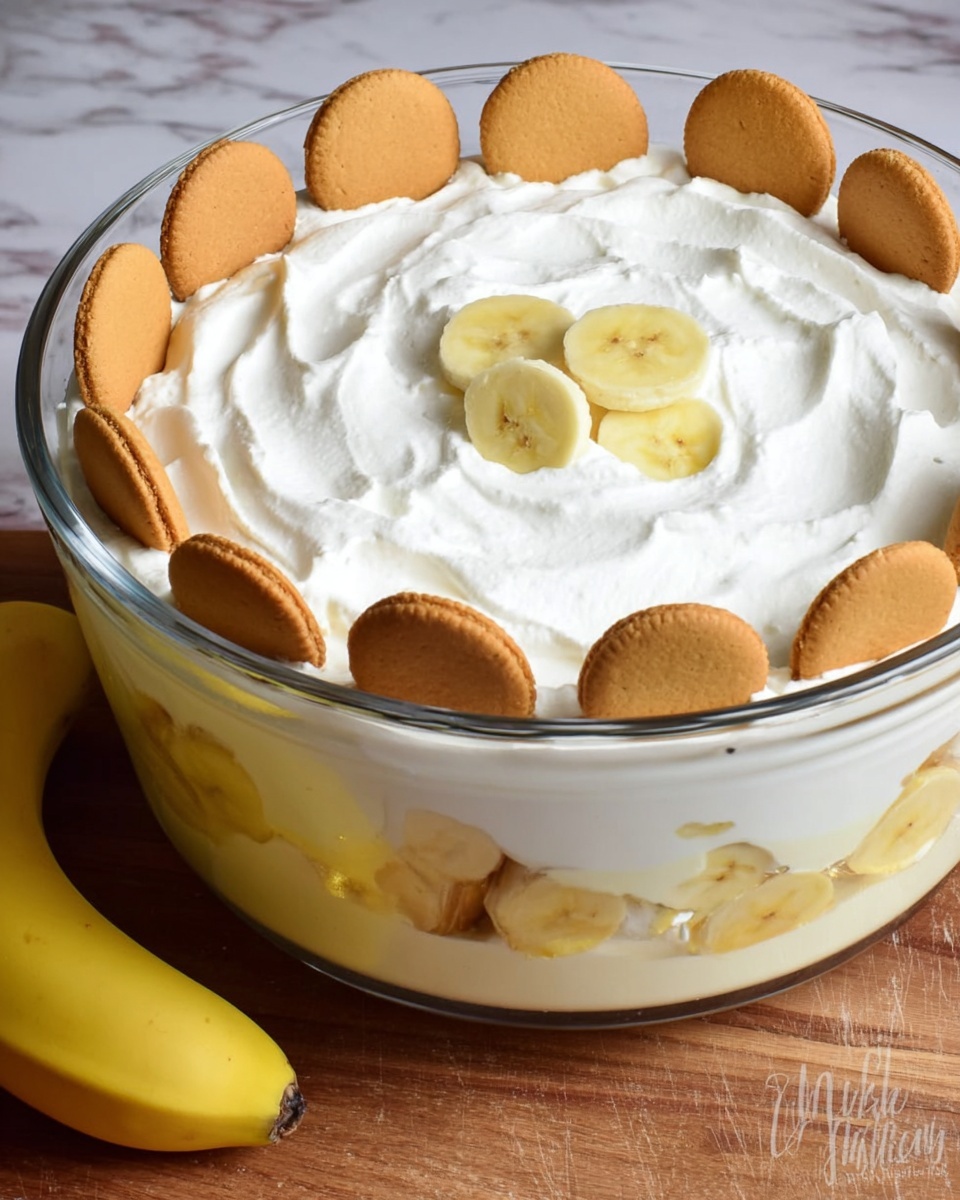
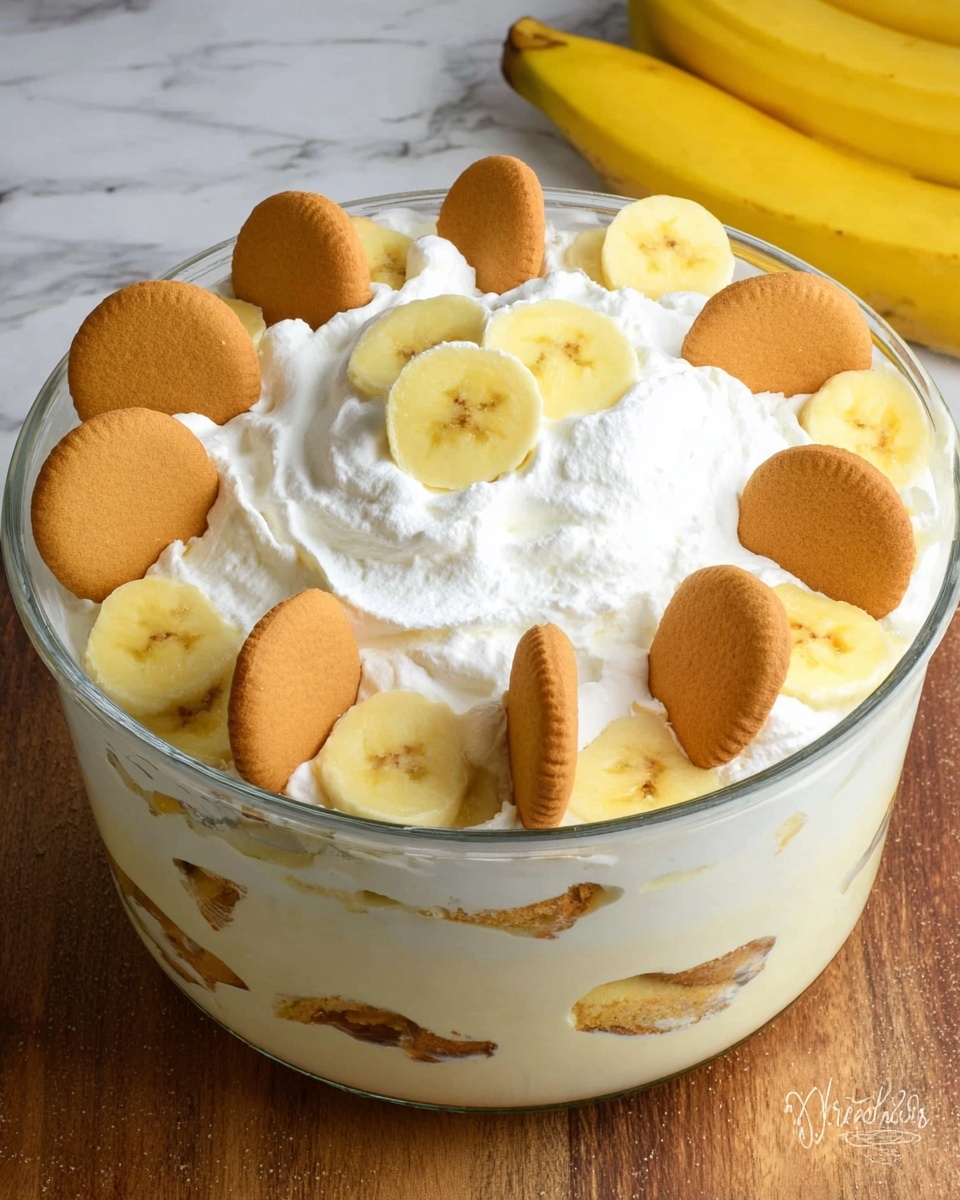
Grab a trifle dish or large glass bowl and start layering: first spread one-third of the pudding mixture, then scatter a layer of vanilla wafers, followed by a generous layer of banana slices. Repeat this sequence three times until you’ve used up the pudding mix. Finish with the remaining cool whip on top. This layering lets every spoonful deliver a perfect bite of creamy pudding, crunchy wafers, and sweet banana.
Step 4: Chill and Garnish Before Serving
Cover the assembled pudding and let it chill in the refrigerator for 30 to 60 minutes to allow the flavors to meld and the wafers to soften slightly for that characteristic tender crunch. Just before serving, top the pudding with extra vanilla wafers and banana slices for an inviting presentation and added texture.
How to Serve Blue Ribbon Banana Pudding Recipe
Garnishes
Adding some extra touches on top can elevate this dessert even more. Sprinkle with crushed vanilla wafers for a little crunch, or add a few thin banana slices arranged like petals for a pretty, inviting look. A light dusting of cinnamon or a drizzle of caramel sauce can also add a delicious twist without fighting the classic flavors.
Side Dishes
Because Blue Ribbon Banana Pudding Recipe is already a rich dessert, it pairs wonderfully with fresh fruit sides like berries or a simple citrus salad to brighten the palate. For a comforting meal, serve it after traditional Southern dishes like fried chicken or barbecue for that perfect sweet finale.
Creative Ways to Present
Try serving this pudding in individual glass jars or pretty parfait glasses to showcase the beautiful layers. You can also turn it into mini banana pudding trifle cups for parties or layer it in a clear jar gift for a sweet edible present that friends and family will adore.
Make Ahead and Storage
Storing Leftovers
Blue Ribbon Banana Pudding Recipe tastes even better the next day as the flavors really get to mingle. Store leftovers covered tightly in the refrigerator for up to 3 days. Just warn everyone to expect the wafers to be softer but still delightfully tasty.
Freezing
Freezing banana pudding isn’t ideal because the texture of bananas and whipped topping can change, becoming watery or mushy. However, you can freeze the pudding base (without bananas or wafers) for up to one month and then assemble fresh layers when you’re ready to serve.
Reheating
This dessert is best enjoyed cold or at room temperature. If it’s been refrigerated, just let it sit out for 10 to 15 minutes before serving to take the chill off and enhance the flavor and texture.
FAQs
Can I use homemade pudding instead of the pudding mix?
Absolutely! Homemade vanilla pudding will provide a fresh, rich flavor and can make your Blue Ribbon Banana Pudding Recipe even more special. Just be sure it’s fully cooled before layering.
What type of bananas work best?
Choose ripe bananas with bright yellow skin and slight brown speckles for the sweetest, creamiest texture that holds up well in the layers.
Can I make it vegan?
For a vegan twist, substitute dairy milk with almond or oat milk, use dairy-free whipped topping, and look for vegan vanilla wafers. The flavor and texture will be slightly different but still delicious!
How long should I chill the pudding before serving?
A minimum of 30 minutes is needed for flavors to meld and layers to set properly, but chilling for up to an hour enhances the experience even more.
Why do the vanilla wafers get soft?
The wafers absorb moisture from the pudding and bananas during chilling, which softens them slightly and creates that signature tender crunch that makes this dessert so beloved.
Final Thoughts
If you want a dessert that feels like a comforting old friend, the Blue Ribbon Banana Pudding Recipe is your go-to. It’s effortless to make but delivers endless smiles with every creamy, crunchy, and sweet bite. So go ahead—gather those simple ingredients, and enjoy a classic that never goes out of style.
Print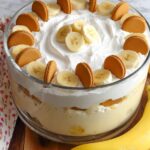
Blue Ribbon Banana Pudding Recipe
- Prep Time: 5 minutes
- Cook Time: 60 minutes (includes chilling time)
- Total Time: 1 hour 5 minutes
- Yield: 10 servings
- Category: Dessert
- Method: No-Cook
- Cuisine: American
Description
This classic Blue Ribbon Banana Pudding combines creamy vanilla pudding, sweet bananas, and crunchy vanilla wafers into a luscious layered dessert. Rich, yet lightened with cool whip, it’s a nostalgic treat perfect for gatherings and potlucks.
Ingredients
Banana Pudding Base
- 3.4 oz packet vanilla pudding mix
- 1.5 cups cold milk
- 12 oz sweetened condensed milk
- 8 oz cool whip, divided
Additional Ingredients
- 5 ripe bananas, sliced
- 1 12 oz box vanilla wafers
- Remaining 8 oz cool whip for topping
Instructions
- Make the pudding mixture: In a large bowl, whisk together the cold milk and vanilla pudding mix until smooth. Stir in the sweetened condensed milk until fully combined. Chill the mixture for 5 minutes to allow it to set slightly.
- Incorporate whipped topping: Gently fold 8 oz of cool whip into the chilled pudding mixture to create a light, creamy texture.
- Assemble the layers: In a serving dish, layer one-third of the pudding mixture, followed by a layer of vanilla wafers, then sliced bananas. Repeat this layering process two more times, finishing the last layer with pudding.
- Add final topping and chill: Spread the remaining cool whip evenly on top of the final pudding layer. Refrigerate the assembled dessert for 30 to 60 minutes to allow flavors to meld and wafers to soften slightly.
- Garnish and serve: Just before serving, sprinkle extra vanilla wafers and banana slices on top for added texture and presentation. Serve chilled.
Notes
- Use ripe but firm bananas to prevent browning and mushiness.
- Chilling time can be extended for a firmer texture.
- Substitute cool whip with homemade whipped cream for a fresher taste.
- For a diabetic-friendly version, substitute pudding mix and condensed milk with sugar-free alternatives and use a sugar substitute instead.


