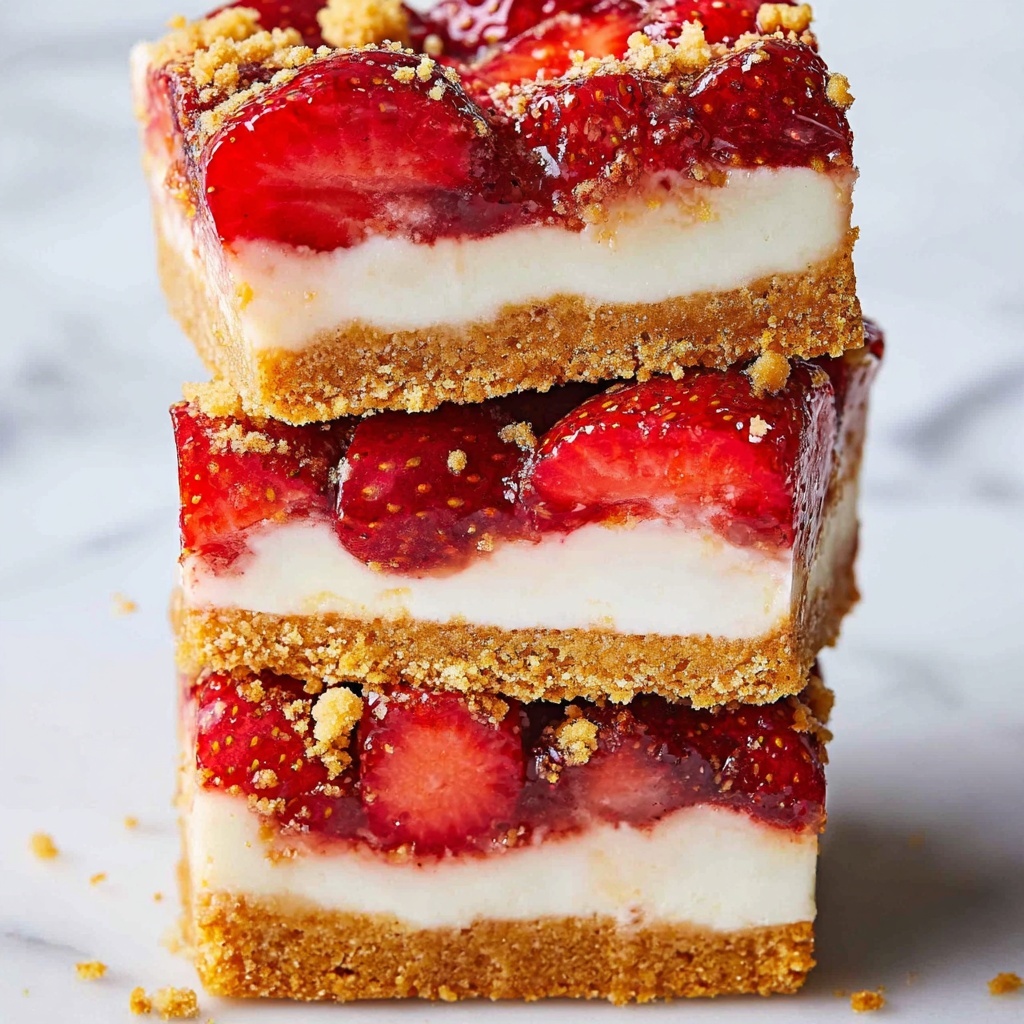
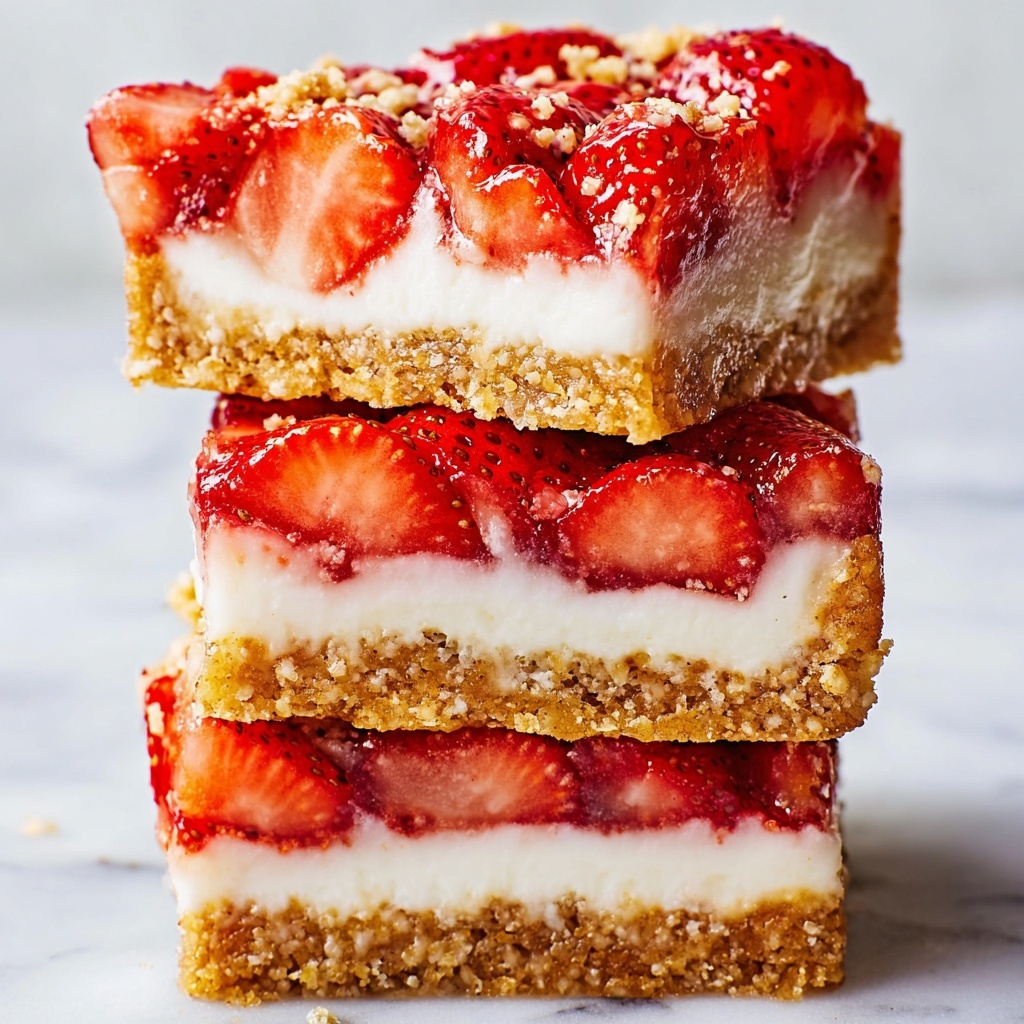
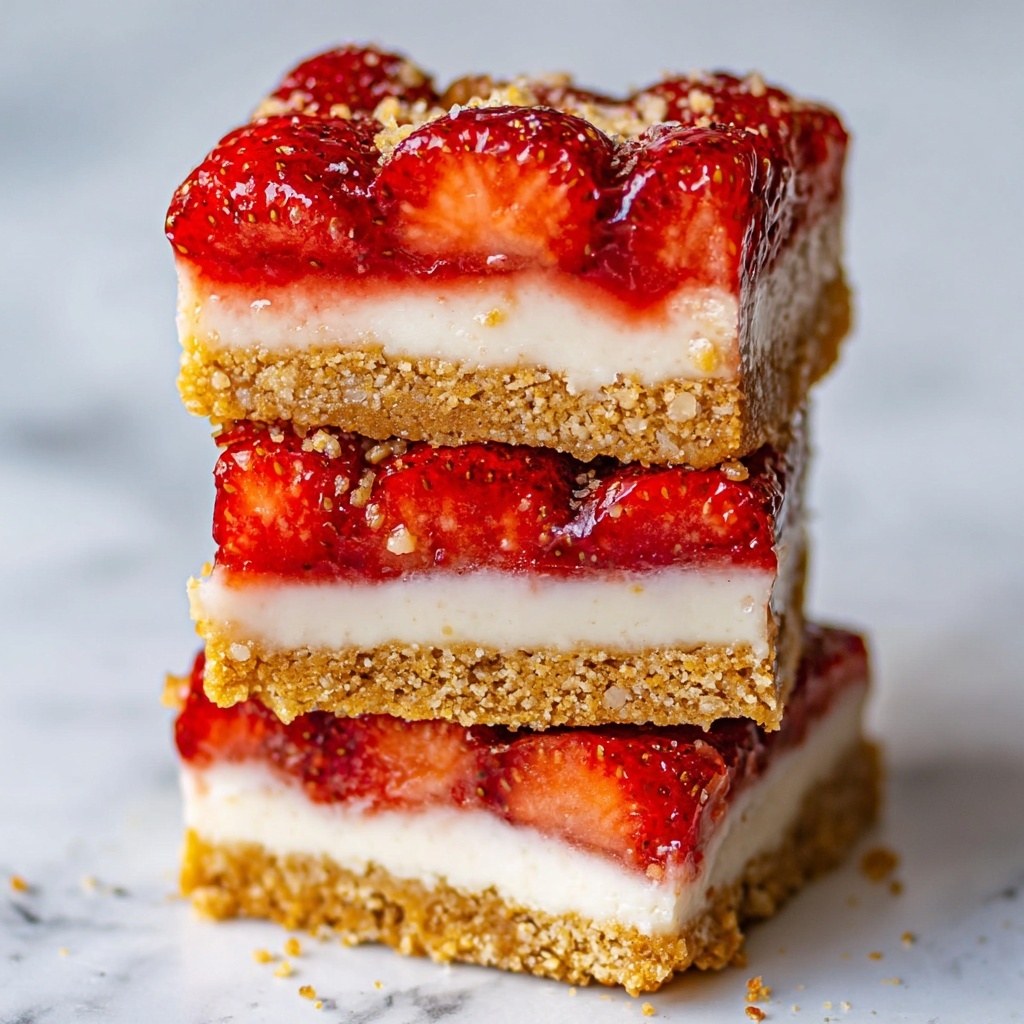
If you love the richness of cheesecake and the sweet-tart burst of fresh cherries, then you are going to absolutely adore this Cherry Cheesecake Tacos Recipe. It’s a delightful twist that transforms classic dessert flavors into fun, handheld tacos with crispy, buttery shells and luscious, creamy fillings. Perfect for impressing friends or indulging yourself, these tacos blend textures and tastes beautifully—crispy, creamy, sweet, and tangy all at once. Once you try making these charming treats, they’ll quickly become a favorite go-to dessert for any occasion.
Ingredients You’ll Need
Gathering the ingredients for this Cherry Cheesecake Tacos Recipe is a breeze because each one plays a crucial role in balancing flavor, texture, and color. From the crisp tortilla shells to the smooth cheesecake filling and vibrant cherry topping, every element works together to create a stunning and delicious dessert.
- Tortillas (6, 8” each): The base for your taco shells, providing that perfect crunch once baked.
- Butter (1/4 cup, melted): Adds richness and helps the graham cracker crumbs stick for a beautifully golden shell.
- Graham cracker crumbs (1 cup): Create a sweet, nutty coating that complements the cheesecake filling.
- Cherries (1 cup, halved): Fresh and juicy, they bring that vivid burst of flavor and color.
- Cornstarch (1 tbsp): Thickens the cherry topping into a luscious, glossy sauce.
- Water (2 tbsp): Helps create the cornstarch slurry for the cherry filling.
- Granulated sugar (1/4 cup): Sweetens the cherry topping to balance the tartness.
- Cream cheese (8 oz, softened): The star of the cheesecake filling—smooth, creamy, and rich.
- Powdered sugar (1/4 cup): Sweetens the cream cheese without graininess and ensures a silky texture.
- Vanilla extract (1 tsp): Enhances the cheesecake’s flavor with a warm aroma.
- Lemon zest (1 tsp): Adds a bright, citrusy note that lifts the creaminess beautifully.
How to Make Cherry Cheesecake Tacos Recipe
Step 1: Prepare the Shells
Begin by preheating your oven to 400°F (200°C). To make perfectly shaped taco shells, place a muffin tin upside down on a baking sheet to provide the curves. Use a 4-inch cookie cutter to cut neat rounds from each tortilla. Next, dip each tortilla circle into the melted butter, which not only helps the coating stick but also adds incredible flavor once baked. Press the buttered tortillas into the graham cracker crumbs to get a generous, even coating—this is what gives the shells their signature sweet crunch.
Step 2: Bake the Shells
Now comes the fun part: shaping the shells while baking. Fold each coated tortilla in half into a taco shape and position them between the cups of the upside-down muffin tin. This clever trick helps them hold their shape in the oven. Bake for 10 minutes, or until the shells turn a lovely golden color and feel crisp to the touch. Once done, remove and allow them to cool completely. This cooling time helps the shells firm up perfectly, ready to hold all that delicious filling.
Step 3: Make the Cherry Filling
While the shells bake, start on the cherry filling. Combine the cornstarch and water in a small bowl to create a smooth slurry—this thickening agent will transform your cherries into a luscious topping. In a saucepan over medium heat, mix the slurry with the granulated sugar and halved cherries. Bring the mixture to a gentle boil, then reduce to a simmer and cook until it thickens up and the cherries soften but still hold their shape. Once thick and glossy, remove from heat and transfer to the fridge to chill; this cooling step lets the flavors develop fully.
Step 4: Prepare the Cheesecake Filling
While the cherry topping chills, whip up the cheesecake filling. In a mixing bowl, beat together the softened cream cheese, powdered sugar, vanilla extract, and lemon zest. The goal is to create a light, creamy filling that is perfectly balanced between sweet and tangy. After mixing, pop the bowl into the refrigerator for about 30 minutes. Chilling firms the filling so it’s easier to spoon or pipe into the taco shells without melting or losing shape.
Step 5: Assemble the Tacos
Now it’s time to bring all those beautiful elements together. Using a spoon or piping bag, fill each cooled taco shell with a generous amount of the cheesecake filling. Next, top each one with a spoonful of the chilled cherry mixture—don’t hold back! These vibrant toppings add freshness and stunning color to every bite. Serve the tacos immediately to enjoy the contrast of textures, or chill briefly if you prefer your cheesecake filling firmer and cooler before serving.
How to Serve Cherry Cheesecake Tacos Recipe
Garnishes
The beauty of this Cherry Cheesecake Tacos Recipe is how easily it lends itself to fun and fresh garnishes. Consider sprinkling a little extra graham cracker crumbs or a few whole cherries on top for a charming presentation. A light dusting of powdered sugar can add a snowy, elegant touch, or a sprig of fresh mint can brighten the plate visually and aroma-wise. These simple accents elevate the dessert from delicious to absolutely show-stopping.
Side Dishes
Pair these Cherry Cheesecake Tacos with light and refreshing sides for a complete dessert experience. A scoop of vanilla bean ice cream or a dollop of freshly whipped cream offers creamy contrast to the crunchy tacos. You could also serve alongside fresh fruit salad or a drizzle of chocolate or caramel sauce to add indulgence. These accompaniments enhance the overall flavor journey without overshadowing the star taco.
Creative Ways to Present
Taking your Cherry Cheesecake Tacos Recipe presentation up a notch is easy and fun. Try serving the tacos nestled upright in a small wooden rack or taco holder for visual impact. Alternatively, place them artfully on a rustic wooden board surrounded by scattered cherries and a dusting of powdered sugar for a charming, inviting look. For parties, consider mini taco sizes or assembling a build-your-own taco bar featuring different fruit toppings and sauces to thrill your guests.
Make Ahead and Storage
Storing Leftovers
Cherry Cheesecake Tacos are best enjoyed fresh to keep the shells crisp. However, if you have leftovers, store the shells and fillings separately. Keep the shells in an airtight container at room temperature to preserve their crunch, and refrigerate the cheesecake and cherry fillings separately. When ready to serve again, fill the tacos just before eating for the best texture and flavor.
Freezing
If you want to prepare ahead, you can freeze the components but not the assembled tacos. Wrap the baked taco shells tightly in plastic wrap and place them in a freezer-safe bag to keep them from absorbing moisture. The cheesecake filling can be frozen in an airtight container; the cherry topping freezes well too. To enjoy later, thaw them overnight in the refrigerator and assemble fresh tacos for that perfect bite.
Reheating
To reheat the taco shells, warm them gently in a 300°F (150°C) oven for a few minutes until crisp again, but avoid microwaving as it makes them soggy. The fillings should remain chilled until serving. If the cheesecake filling softens too much after thawing, give it a quick whip to restore its creamy texture before assembling.
FAQs
Can I use flour tortillas instead of corn tortillas for this recipe?
Yes! Flour tortillas work perfectly for this Cherry Cheesecake Tacos Recipe since they crisp up nicely and offer a soft, pliable base for shaping. Just be sure to cut and shape them as directed for the best results.
How do I keep the taco shells from getting soggy?
The key is to bake the shells until fully crisp and let them cool completely before filling. Also, assemble with the filling right before serving to avoid moisture softening the shells.
Can I substitute other fruits for the cherries?
Absolutely! Blueberries, strawberries, or peaches can be great alternatives. Just adjust the cooking time slightly depending on the fruit’s water content and firmness.
Is it necessary to chill the cheesecake filling?
Chilling helps the filling firm up, making it easier to fill the taco shells and enhancing the texture. If you’re in a hurry, a shorter chilling time still works but may be softer.
Can I make these tacos vegan or dairy-free?
Yes, with some substitutions like vegan cream cheese, dairy-free butter, and plant-based powdered sugar, you can adapt this Cherry Cheesecake Tacos Recipe to meet vegan or dairy-free needs without sacrificing flavor.
Final Thoughts
This Cherry Cheesecake Tacos Recipe is an absolute joy to make and eat, combining delightful textures and luscious flavors in a unique and playful way. If you’re looking for a dessert that feels special but is surprisingly simple to prepare, these tacos will not disappoint. Go ahead and dive in—you might just find your new favorite sweet treat that everyone will be asking for again and again!
Print
Cherry Cheesecake Tacos Recipe
- Prep Time: 15 minutes
- Cook Time: 30 minutes
- Total Time: 45 minutes
- Yield: 8 servings
- Category: Dessert
- Method: Baking
- Cuisine: American
Description
These Cherry Cheesecake Tacos combine crispy tortilla shells coated with graham cracker crumbs, filled with a creamy vanilla cheesecake mixture and topped with a luscious cherry filling. Perfectly balanced between sweet and tart, this unique dessert taco is easy to make and sure to impress.
Ingredients
Shells
- 6 tortillas (8” each)
- 1/4 cup butter, melted
- 1 cup graham cracker crumbs
Cherry Filling
- 1 cup cherries, halved
- 1 tbsp cornstarch
- 2 tbsp water
- 1/4 cup granulated sugar
Cheesecake Filling
- 8 oz cream cheese, softened
- 1/4 cup powdered sugar
- 1 tsp vanilla extract
- 1 tsp lemon zest
Instructions
- Prepare the Shells: Preheat your oven to 400°F (200°C). Place a muffin tin upside down on a large baking sheet. Use a 4-inch cookie cutter to cut rounds from the tortillas. Dip each tortilla circle into melted butter and then press into graham cracker crumbs to coat. Fold each coated tortilla circle into a taco shape and position them between the cups of the upside-down muffin tin.
- Bake the Shells: Bake the prepared tortillas for 10 minutes or until lightly golden and crisp. Remove from the oven and let them cool completely before filling.
- Make the Cherry Filling: In a small bowl, stir together the cornstarch and water to create a slurry. In a saucepan over medium heat, combine the cornstarch slurry with granulated sugar and cherries. Bring to a boil and simmer until the mixture thickens and cherries soften. Remove from heat and chill the mixture.
- Prepare the Cheesecake Filling: In a mixing bowl, blend softened cream cheese, powdered sugar, vanilla, and lemon zest until light and creamy. Refrigerate for 30 minutes to allow it to firm up.
- Assemble the Tacos: Pipe or spoon the chilled cheesecake filling into each cooled taco shell. Top with a generous spoonful of the cherry mixture. Serve immediately or chill briefly before serving for a firmer texture.
Notes
- Use fresh cherries for the best flavor, or substitute frozen cherries if fresh are unavailable.
- Make sure the cream cheese is softened to room temperature for smoother filling.
- You can prepare the shells ahead of time and store them in an airtight container to maintain crispiness.
- For a tangier cherry filling, add a splash of lemon juice while cooking.
- Serve immediately for the best texture or chill briefly for a firmer cheesecake filling.

