
“`html
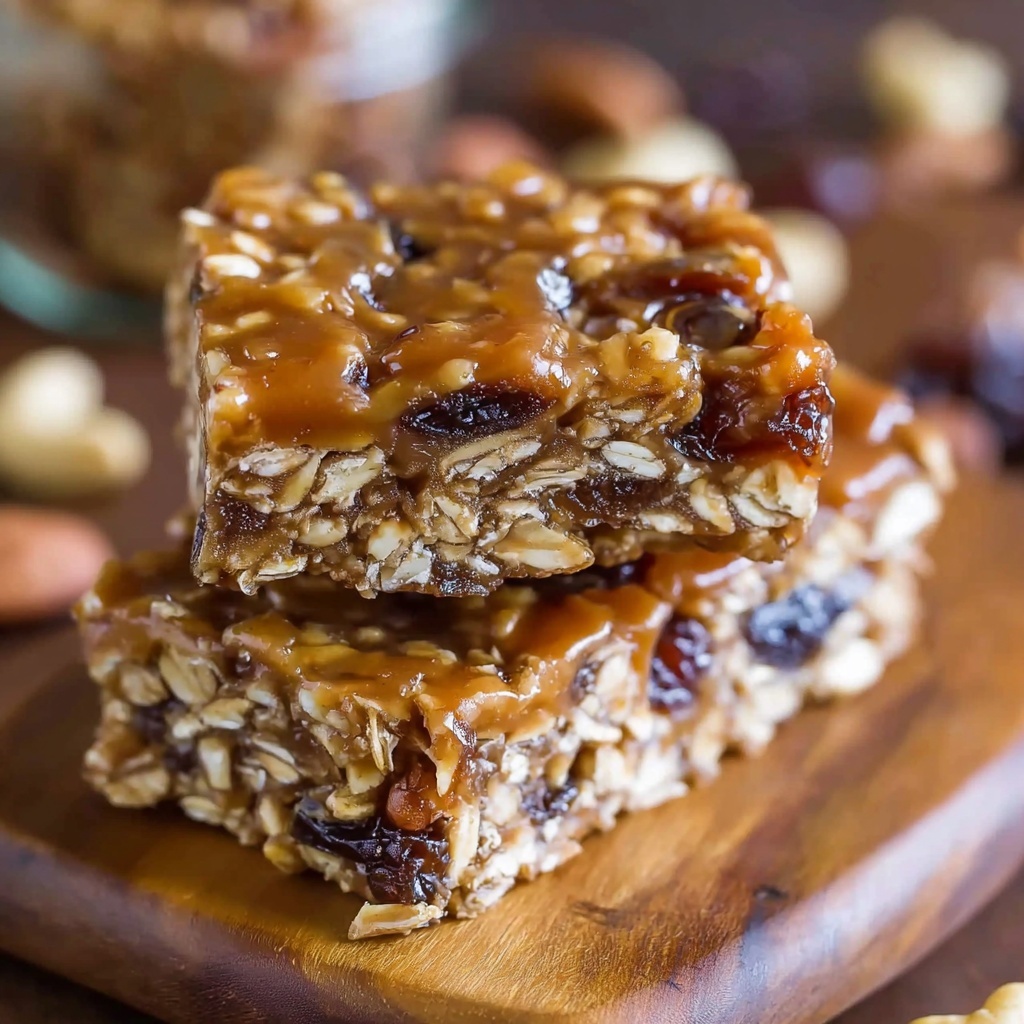
If you have a sweet tooth but still want something a little wholesome and comforting, this Chewy Homemade Granola Bars Recipe is an absolute game changer. These bars strike the perfect balance between flavorful crunch and gooey softness, loaded with oats, mini marshmallows, and chocolate chips — all wrapped up in a golden, honey-butter coating. Every bite is like a cozy hug that you can carry with you, whether for an energizing snack on the go or a delightful treat at home.
Ingredients You’ll Need
The magic of this Chewy Homemade Granola Bars Recipe really comes down to a handful of simple, accessible ingredients that each play a vital role in creating that perfect texture and flavor harmony. From the wholesome chew of rolled oats to the melt-in-your-mouth sweetness of marshmallows and chocolate chips, every element adds something special.
- Rolled oats: Provides hearty chewiness and a wholesome base that holds everything together.
- Mini marshmallows: Adds a marshmallowy softness and extra sweetness that melts just right.
- Chocolate chips: Brings bursts of chocolate richness to balance the flavors perfectly.
- Graham cracker crumbs: Introduces a subtly spiced crunch and a touch of buttery flavor.
- Rice cereal: Keeps the bars light, airy, and delicately crisp.
- Honey (or maple syrup or brown rice syrup): Acts as a natural sweetener and sticky binder for all the ingredients.
- Butter: Enhances flavor depth and helps the mixture come together with silky smoothness.
How to Make Chewy Homemade Granola Bars Recipe
Step 1: Melt the Butter and Honey
Begin by gently melting the butter and honey together in a saucepan over medium heat. Stir continuously until the mixture starts bubbling and thickens just slightly—this warm syrup is the adhesive that binds your bars perfectly without making them too sticky.
Step 2: Combine the Dry Ingredients
While the butter and honey mixture is warming, gather a large bowl and mix rolled oats, graham cracker crumbs, and rice cereal. These dry ingredients create the structure and crunch that will balance out the chewy sweetness later on.
Step 3: Coat the Dry Ingredients
Pour the warm butter and honey syrup evenly over the dry mixture. Stir thoroughly to ensure every oat and crumb is coated with that luscious golden glaze—this step is key to the bars holding their shape and staying chewy.
Step 4: Add Marshmallows and Chocolate Chips
Let the mixture cool for a few minutes; this prevents the marshmallows from melting completely. Then, gently fold in the mini marshmallows and chocolate chips so they remain distinct pockets of softness and melty goodness throughout your bars.
Step 5: Press Into the Pan
Transfer the mixture into a greased or parchment-lined 9×13-inch baking dish, pressing down firmly and evenly. This compacts everything so the bars won’t crumble when sliced.
Step 6: Chill and Slice
Let the pressed mixture cool completely at room temperature or in the fridge until set. Once firm, slice into 16 generous bars, ready to enjoy any time you want a sweet energy boost.
How to Serve Chewy Homemade Granola Bars Recipe
Garnishes
To elevate the look and flavor of your granola bars, consider sprinkling a few extra chocolate chips or a light dusting of powdered sugar on top right after pressing them into the pan. Toasted coconut flakes or chopped nuts also add a delightful textural contrast and visual appeal.
Side Dishes
These chewy bars pair wonderfully with a tall glass of cold milk or a warm cup of tea or coffee, making them an ideal snack or light breakfast. You can also serve them alongside fresh fruit or yogurt for a balanced and satisfying spread.
Creative Ways to Present
For gifting or party platters, wrap individual bars in parchment paper tied with twine for a rustic look. Alternatively, cut into bite-sized squares and arrange on a decorative tray with small bowls of toppings like chopped nuts, dried fruit, or drizzled chocolate for a fun, customizable snack station.
Make Ahead and Storage
Storing Leftovers
Once your Chewy Homemade Granola Bars Recipe is cooled and cut, store the bars in an airtight container at room temperature. They’ll keep their chewy texture and fresh flavor for up to one week, making them perfect for preparing ahead of busy days.
Freezing
These bars freeze beautifully! Wrap each bar individually in plastic wrap and place them in a freezer-safe container or bag. They can be frozen for up to three months without losing their soft and chewy texture.
Reheating
If you want to enjoy your frozen granola bars as if freshly made, simply unwrap and warm them in the microwave for 10–15 seconds. This revives the gooey marshmallow and melts the chocolate chips to their perfect indulgent state.
FAQs
Can I use maple syrup instead of honey?
Absolutely! Maple syrup works just as well to bind and sweeten the bars, adding its own unique flavor. Just swap it in equal amounts for honey and follow the recipe as usual.
What can I do if I don’t have graham cracker crumbs?
You can crush any plain cookies or use finely chopped nuts as a great substitute, which will keep the crunchy texture while adding a bit of a twist to the flavor.
Are these granola bars gluten-free?
If you use certified gluten-free oats, rice cereal, and graham cracker crumbs, these bars can be gluten-free. Always check your ingredient labels to be sure!
How do I make the bars less sweet?
Reducing the honey or syrup slightly or choosing dark chocolate chips instead of semi-sweet will tone down the sweetness while keeping the chewy texture intact.
Can I add nuts or dried fruit?
Definitely! Chopped almonds, walnuts, or dried cranberries and raisins mix beautifully into this recipe, enhancing both flavor and nutrition without compromising the chewiness.
Final Thoughts
Making your own chewy granola bars at home is such a rewarding and delicious experience, and this Chewy Homemade Granola Bars Recipe hits all the right notes of sweetness, texture, and warmth. Whether you need a midday snack, an easy breakfast, or something to stash in lunchboxes, these bars are bound to become a new favorite. Give it a try—you’ll love the wholesome comfort and joyful flavors packed into every bite!
“`
Print
Chewy Homemade Granola Bars Recipe
- Prep Time: 10 minutes
- Cook Time: 10 minutes
- Total Time: 20 minutes
- Yield: 16 bars
- Category: Snack
- Method: Stovetop
- Cuisine: American
- Diet: Vegetarian
Description
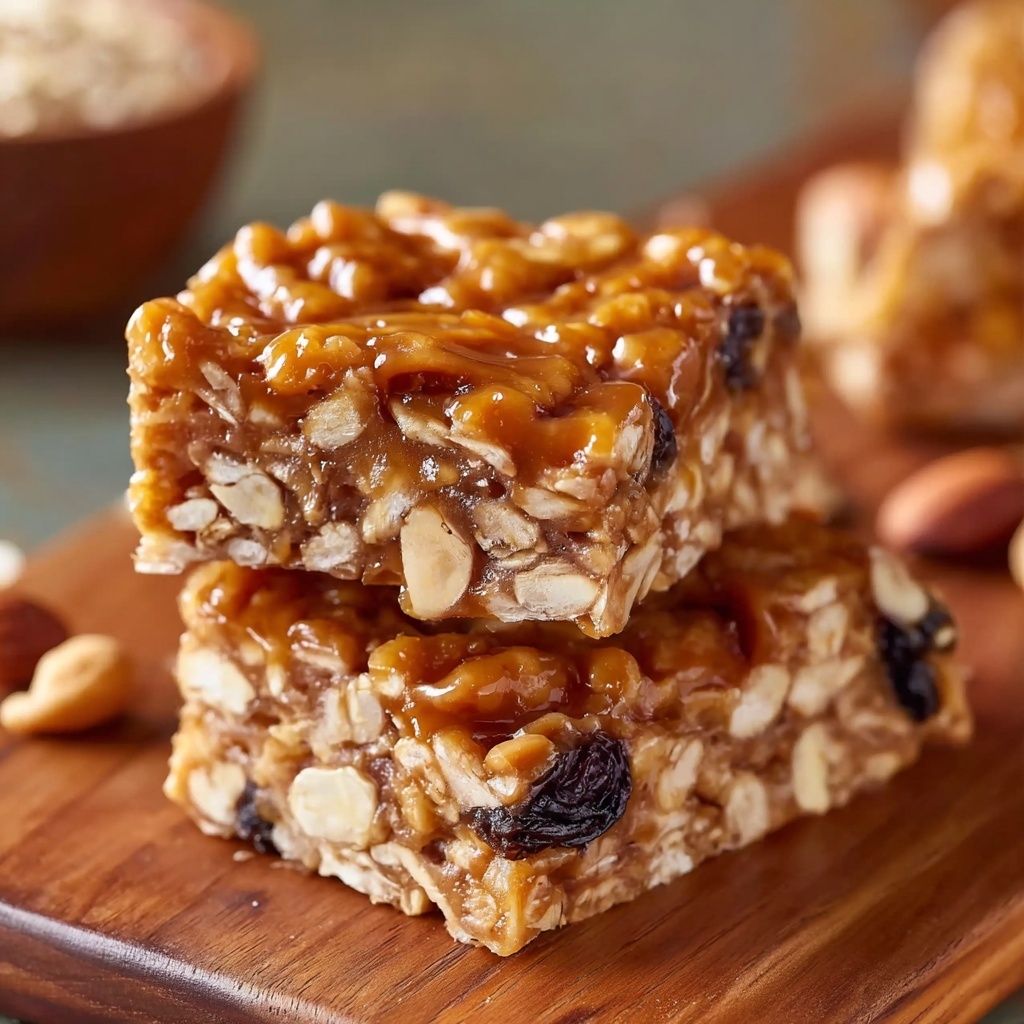
These Chewy Homemade Granola Bars combine the perfect balance of sweet and crunchy with rolled oats, mini marshmallows, chocolate chips, and a buttery honey syrup. Easy to make and ready in just 10 minutes of cooking time, they’re a delicious homemade snack perfect for on-the-go energy or a sweet treat.
Ingredients
Dry Ingredients
- 2 cups rolled oats
- 1 cup graham cracker crumbs
- 1 cup rice cereal
- 1 cup mini marshmallows
- 3/4 cup chocolate chips
Wet Ingredients
- 1/2 cup honey (or maple syrup or brown rice syrup)
- 1/4 cup unsalted butter
Instructions
- Melt the Butter and Honey: In a saucepan over medium heat, melt the butter and honey together. Cook the mixture until it begins to bubble and thickens slightly, which helps bind the granola bars and adds a rich flavor.
- Combine Dry Ingredients: In a large bowl, thoroughly mix the rolled oats, graham cracker crumbs, and rice cereal to create the base for the bars.
- Mix Wet and Dry Ingredients: Pour the warm, thickened honey and butter syrup over the dry mixture. Stir well to ensure all ingredients are evenly coated with the sticky syrup.
- Add Marshmallows and Chocolate Chips: Let the mixture cool for a few minutes to prevent melting, then gently fold in the mini marshmallows and chocolate chips, distributing them evenly without breaking them.
- Press into Baking Dish: Transfer the mixture into a greased or parchment-lined 9×13-inch baking dish. Press it down firmly to compact the ingredients and help the bars hold together.
- Cool and Slice: Allow the mixture to cool completely at room temperature until set. Once cooled, cut into 16 bars and serve or store for later snacking.
Notes
- You can substitute honey with maple syrup or brown rice syrup depending on your preference or dietary needs.
- Press the mixture firmly into the dish to ensure the bars hold together well and don’t crumble when cut.
- If you prefer crunchy bars, avoid adding extra marshmallows and increase the rice cereal slightly.
- Store the granola bars in an airtight container at room temperature for up to one week or refrigerate for longer freshness.

