If you have a serious sweet tooth and a love for gooey treats, then the Chocolate Lava Brownie Cookies Recipe is going to become your new obsession. Imagine biting into a delectably fudgy cookie with a molten, chocolatey center that oozes just the right amount of warm, rich lava. These cookies are like the best of both worlds—soft, chewy brownie texture paired with the delightful surprise of melted chocolate hidden inside. Perfect for sharing with friends or indulging by yourself, this recipe brings effortless elegance to your cookie game with simple ingredients and straightforward steps.
Ingredients You’ll Need
All the magic begins with straightforward, pantry-friendly ingredients that come together to create layers of flavor and texture in these Chocolate Lava Brownie Cookies Recipe. Each element plays a crucial role, from the rich cocoa powder to the luscious melted butter speeding up that fudgy texture, ensuring every bite melts in your mouth.
- 1 cup all-purpose flour: The base that gives the cookies structure without weighing them down.
- 1/2 cup unsweetened cocoa powder: Provides deep chocolate flavor and a vibrant color.
- 1/2 teaspoon baking powder: Helps the cookies rise just enough for a tender crumb.
- 1/4 teaspoon salt: Balances sweetness and enhances the chocolate taste.
- 1 cup granulated sugar: Adds sweet crunchiness and helps with texture.
- 1/2 cup packed brown sugar: Contributes moistness and a subtle caramel note.
- 1/2 cup unsalted butter, melted: Brings rich flavor and a fudgy moisture.
- 2 large eggs: Binds ingredients and adds to the chewy texture.
- 1 teaspoon vanilla extract: Enhances overall flavor with a warm sweetness.
- 4 ounces semisweet or bittersweet chocolate, chopped: Creates the iconic molten lava center.
- 1/2 cup semi-sweet chocolate chips: Adds pockets of melty chocolate throughout each cookie.
How to Make Chocolate Lava Brownie Cookies Recipe
Step 1: Prepare Your Oven and Baking Surface
Start by preheating your oven to 350°F (175°C). Then line a baking sheet with parchment paper or a silicone baking mat. This ensures your cookies bake evenly and release effortlessly once done, setting the stage for the perfect bake.
Step 2: Mix Dry Ingredients
In a medium bowl, whisk together the flour, cocoa powder, baking powder, and salt. This blend forms the foundation of your cookie’s chocolatey lushness and ensures an even distribution of rising agents for the right texture.
Step 3: Combine Sugars
Pour your granulated sugar and packed brown sugar into a large bowl. Mixing these sugars at this point balances sweetness and moisture perfectly, giving every bite that irresistible chewy softness and caramel undertone.
Step 4: Add Melted Butter
Slowly stir in the melted unsalted butter with your sugar mixture. The warm butter helps dissolve the sugars slightly, making the batter silky smooth which ultimately supports the fudgy brownie feel in the cookie.
Step 5: Incorporate Eggs
Crack the eggs into your mixture and whisk until the blend is smooth and glossy. The eggs act as an essential binder, giving the cookies a chewy lift without making them cakey.
Step 6: Stir in Vanilla Extract
Add in the vanilla extract and blend evenly. This might seem subtle, but vanilla adds warmth and depth that amplifies the rich chocolate flavor beautifully.
Step 7: Combine Dry and Wet Ingredients
Gradually fold the dry ingredient mix into your wet ingredients. Stir until just combined for a tender dough—overmixing risks toughening these dreamily soft cookies.
Step 8: Fold in Chopped Chocolate
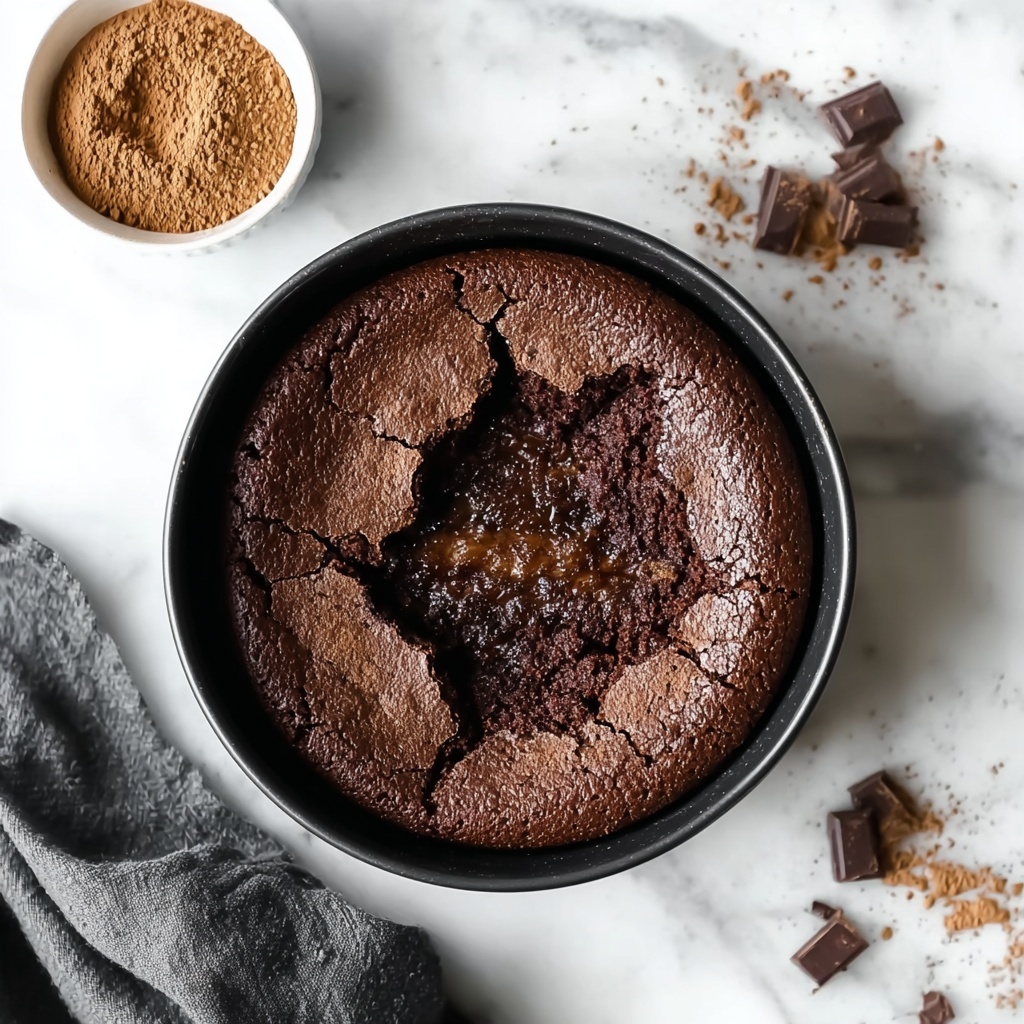
Gently fold in the chopped bittersweet or semisweet chocolate. These chunks become your lava centers, slowly melting during baking to create those luscious molten pockets of chocolate goodness.
Step 9: Add Chocolate Chips
Next up, fold in the semi-sweet chocolate chips for little bursts of gooey melt inside the cookie, doubling down on the chocolate indulgence with every bite.
Step 10: Shape Dough Balls
Scoop tablespoon-sized portions of the dough and roll them into round balls using your hands. This step helps give each cookie a nice shape that bakes evenly with just the right thickness.
Step 11: Place on Baking Sheet
Arrange your dough balls on the prepared baking sheet with about two inches between them. This spacing prevents sticking and ensures a lovely spread for each cookie’s outer edges.
Step 12: Bake the Cookies
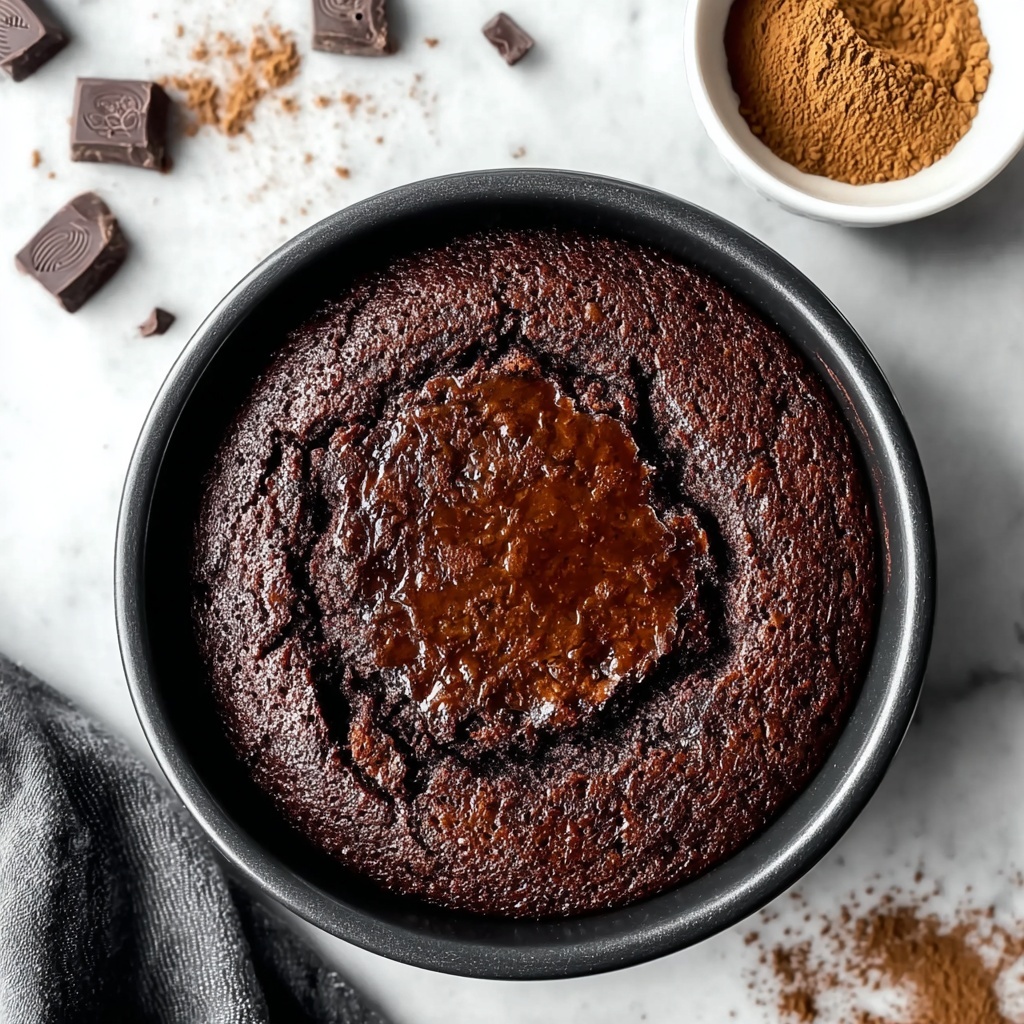
Bake them in your preheated oven for 9 to 11 minutes. You want the edges to be set but keep the centers soft enough to maintain that molten, lava-like texture that defines this recipe.
Step 13: Cool Slightly on Baking Sheet
Remove cookies from the oven and let them cool right on the baking sheet for five minutes. This allows them to firm up slightly without losing their soft center.
Step 14: Transfer to Wire Rack
Finally, move the cookies to a wire rack to cool completely. This keeps the bottoms from getting soggy and preserves that ideal chewy texture.
How to Serve Chocolate Lava Brownie Cookies Recipe
Garnishes
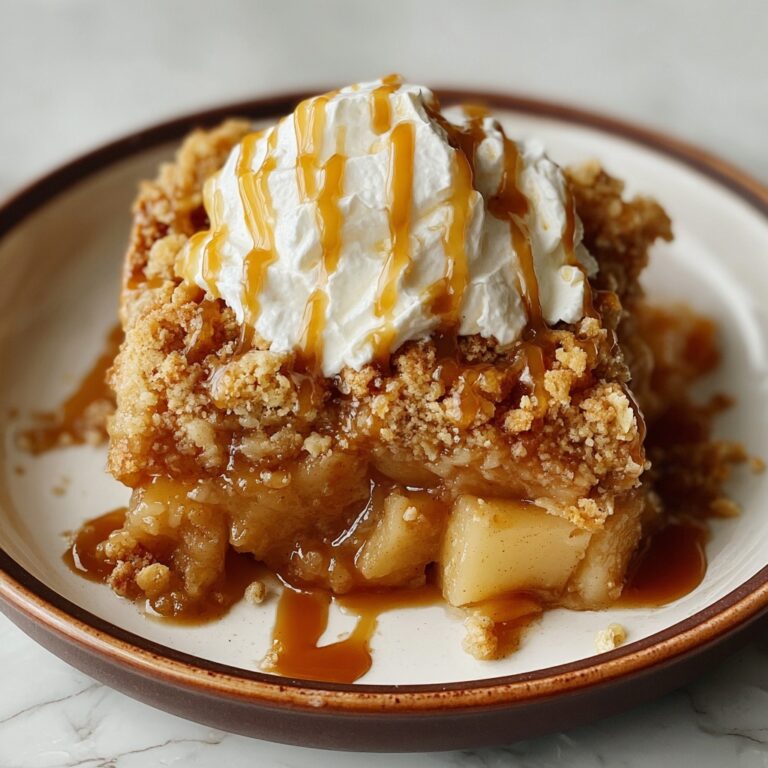
These cookies love a little extra love on top. A light dusting of powdered sugar makes for a beautiful presentation, or you can drizzle melted white chocolate over them for a lovely contrast that’s both pretty and tasty. A sprinkle of flaky sea salt on the warm cookies also heightens the rich chocolate flavor perfectly.
Side Dishes
Chocolate Lava Brownie Cookies Recipe pairs famously well with a cold glass of milk or a scoop of creamy vanilla ice cream. For a grown-up twist, serve alongside a bold espresso or even a dessert wine like port to enhance the deep chocolate notes.
Creative Ways to Present
For parties or gifting, sandwich two cookies with a dollop of whipped cream or chocolate ganache in the middle for an irresistible treat. These cookies also make stunning bite-size desserts when cut in half and topped with a bit of fresh raspberry or mint leaf for color and zing.
Make Ahead and Storage
Storing Leftovers
Keep any leftover Chocolate Lava Brownie Cookies Recipe in an airtight container at room temperature for up to 4 days. This helps maintain their chewy texture and prevents them from drying out or getting too hard.
Freezing
You can freeze these cookies either baked or as dough balls. For baked cookies, wrap them well and freeze for up to a month. Dough balls can also be frozen on a tray, then transferred into a sealed bag, ready to bake fresh whenever the craving hits.
Reheating
Warm cookies briefly in the microwave or oven to revive that molten chocolate core. About 15 seconds in the microwave or a few minutes at 300°F in the oven should do the trick, bringing back that irresistible gooey center.
FAQs
Can I use dark chocolate instead of semisweet for the lava center?
Absolutely! Dark chocolate adds a slightly more intense flavor and less sweetness, which complements the fudgy brownie cookies beautifully. Just make sure it melts well.
How do I prevent my cookies from spreading too much?
Chilling the dough for about 30 minutes before baking helps control spread, maintaining the thick, chewy structure needed for that lava center.
Can I substitute butter with oil?
While you could, butter provides flavor and consistency that oil just can’t match in this recipe. If you must, use a neutral oil but expect slight differences in texture and taste.
Are these cookies gluten-free?
The traditional Chocolate Lava Brownie Cookies Recipe is not gluten-free due to all-purpose flour. However, swapping in a gluten-free flour blend can work with some adjustments.
What’s the best way to scoop the dough for uniform cookies?
A small cookie scoop or tablespoon works perfectly for even-sized cookies that bake evenly, giving that consistent gooey center every time.
Final Thoughts
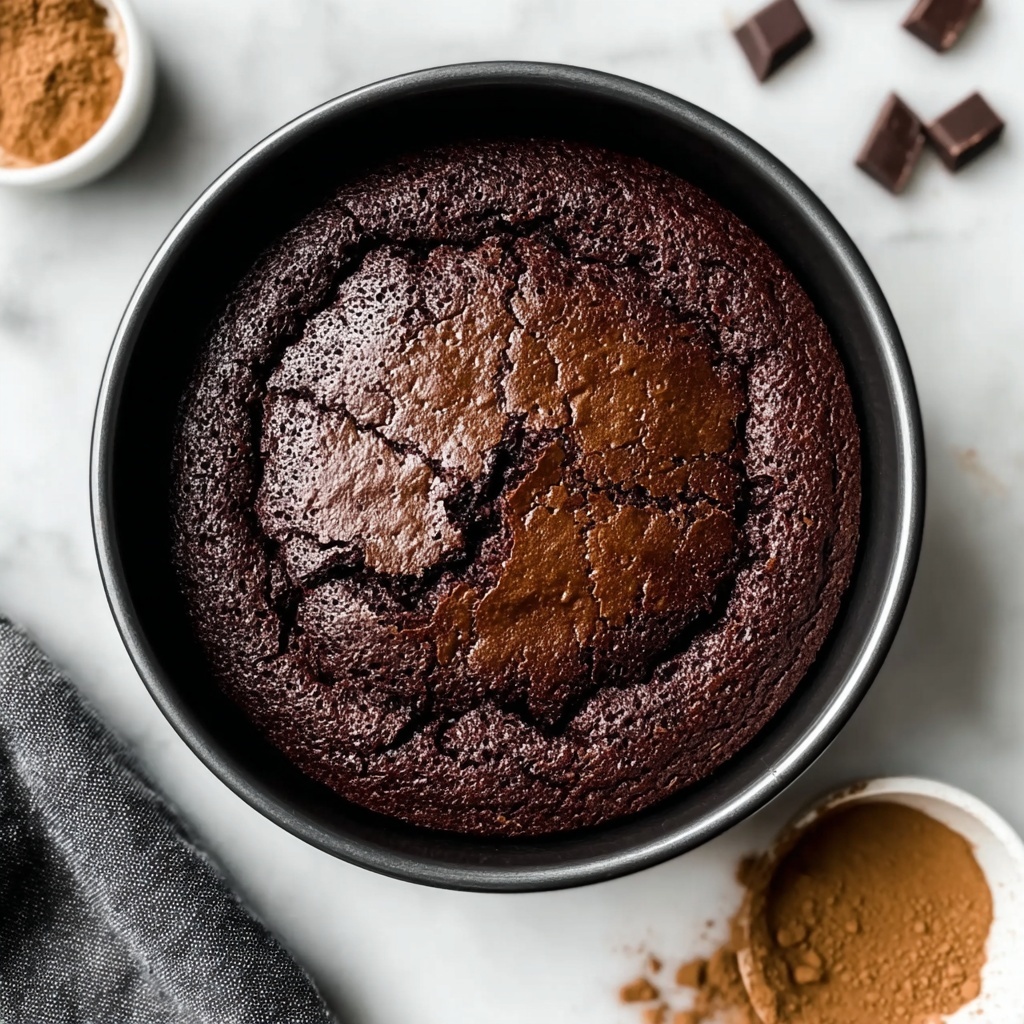
Once you try the Chocolate Lava Brownie Cookies Recipe, you’ll understand why it’s such a beloved treat. The combination of fudgy brownie texture with that luscious melting center is pure magic and a perfect reason to gather friends and family around the kitchen table. So go ahead, bake these cookies and keep that chocolate lava flowing—you deserve the sweetest moments.