
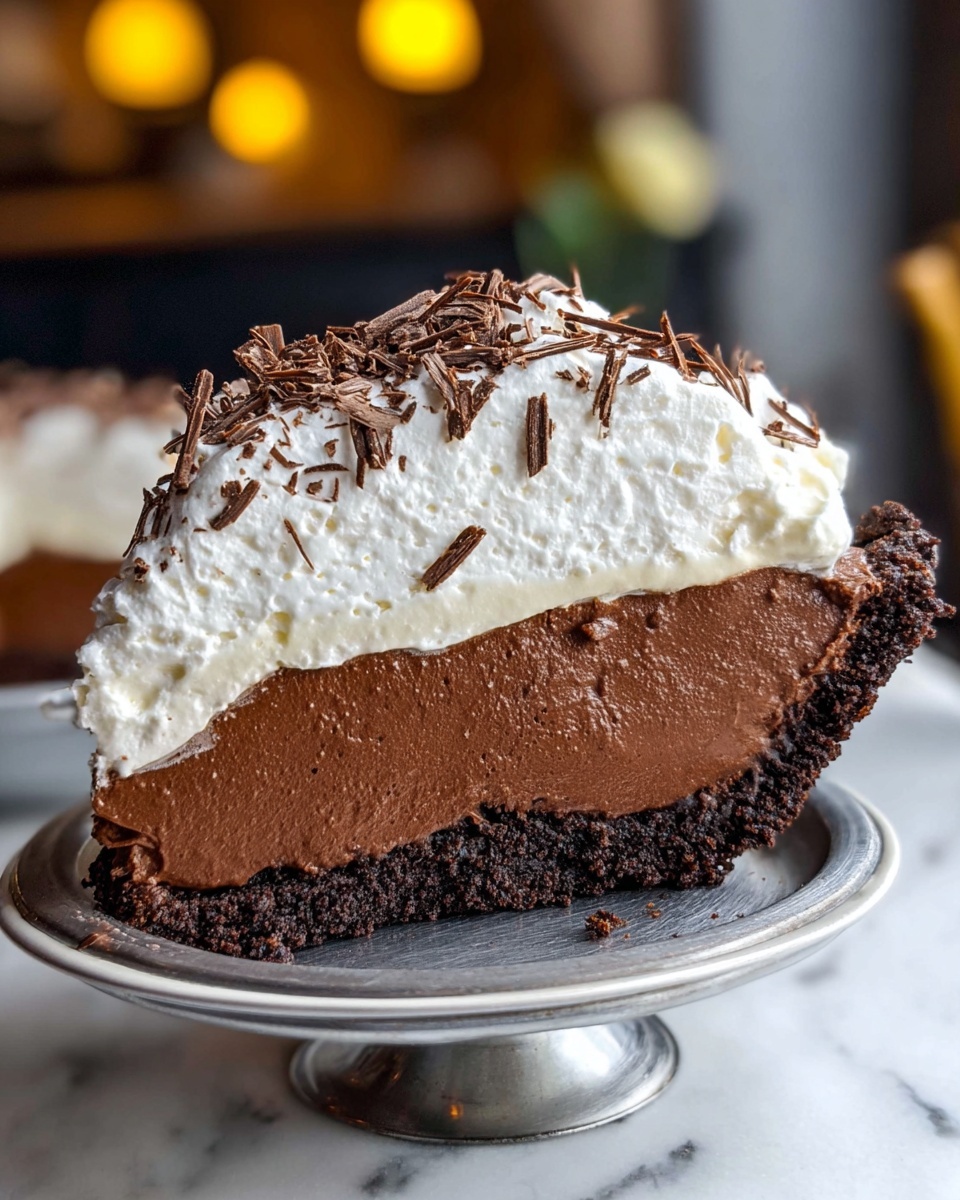
If you’ve ever dreamed of a dessert that’s rich, airy, and utterly irresistible, then this Chocolate Mousse Pie Recipe is about to become your new best friend in the kitchen. With a luscious blend of semi-sweet and bittersweet chocolates melted together with marshmallows and folded into fluffy whipped cream, this pie delivers a perfect harmony of creamy texture and deep chocolate flavor. The Oreo crust adds a delightful crunch that makes every bite a satisfying experience. Whether you’re entertaining guests or treating yourself, this pie is the showstopper you’ve been waiting for.
Ingredients You’ll Need
The magic behind this Chocolate Mousse Pie Recipe lies in its simple but thoughtfully selected ingredients. Each one plays a key role, from the combination of chocolates that create depth of flavor to the whipped cream that adds airy lightness, all resting on a crunchy Oreo crust for the perfect texture contrast.
- Salted butter: Adds richness and helps meld the chocolate and milk into a smooth base.
- Semi-sweet chocolate chips: Brings a sweetness that balances the bittersweet chocolate.
- Bittersweet chocolate chips: Adds complexity and intense cocoa flavor.
- Mini marshmallows: Melt into the mixture for extra creaminess and a touch of sweetness.
- Whole milk: Adds creaminess and helps melt the chocolate evenly.
- Vanilla extract: Enhances the overall flavor with subtle warm notes.
- Heavy whipping cream (1 3/4 cups): Whipped to create the fluffy, airy texture of the mousse.
- Oreo pie crust: Provides a crunchy, chocolatey vessel for the mousse.
- Heavy cream (1 cup): Whipped with sugar for the silky topping.
- Granulated sugar: Sweetens the whipped cream topping just right.
- Chocolate shavings: Used to garnish and add an elegant finishing touch.
How to Make Chocolate Mousse Pie Recipe
Step 1: Melt the Chocolate Mixture
Begin by gently melting the diced salted butter, whole milk, semi-sweet and bittersweet chocolate chips, and mini marshmallows together in a large saucepan over low heat. Stir constantly to ensure the marshmallows melt completely and the mixture becomes irresistibly smooth and creamy. This careful melting is crucial—it guarantees the perfect silky texture that forms the foundation of your mousse pie. Once melted, stir in the vanilla extract for that lovely aromatic touch, then let the mixture cool for about an hour at room temperature. Patience here rewards you with a luscious, velvety base.
Step 2: Whip the Heavy Cream
Next, pour the 1 3/4 cups of heavy whipping cream into a large bowl and whip with an electric mixer until it holds stiff peaks. This means when you lift the beaters out, the cream stands tall without collapsing. Getting this step right is key to achieving the mousse’s signature airy texture, so keep an eye on it and avoid overwhipping, which could turn the cream grainy.
Step 3: Fold Whipped Cream into Chocolate
Here’s where the magic happens! Gently fold the fluffy whipped cream into your cooled chocolate mixture using a spatula. Don’t rush—this folding technique ensures the mousse stays light and airy without deflating. Work carefully until the consistency is uniform and beautifully smooth, with a light chocolate color that looks as dreamy as it tastes.
Step 4: Pour into Oreo Crust
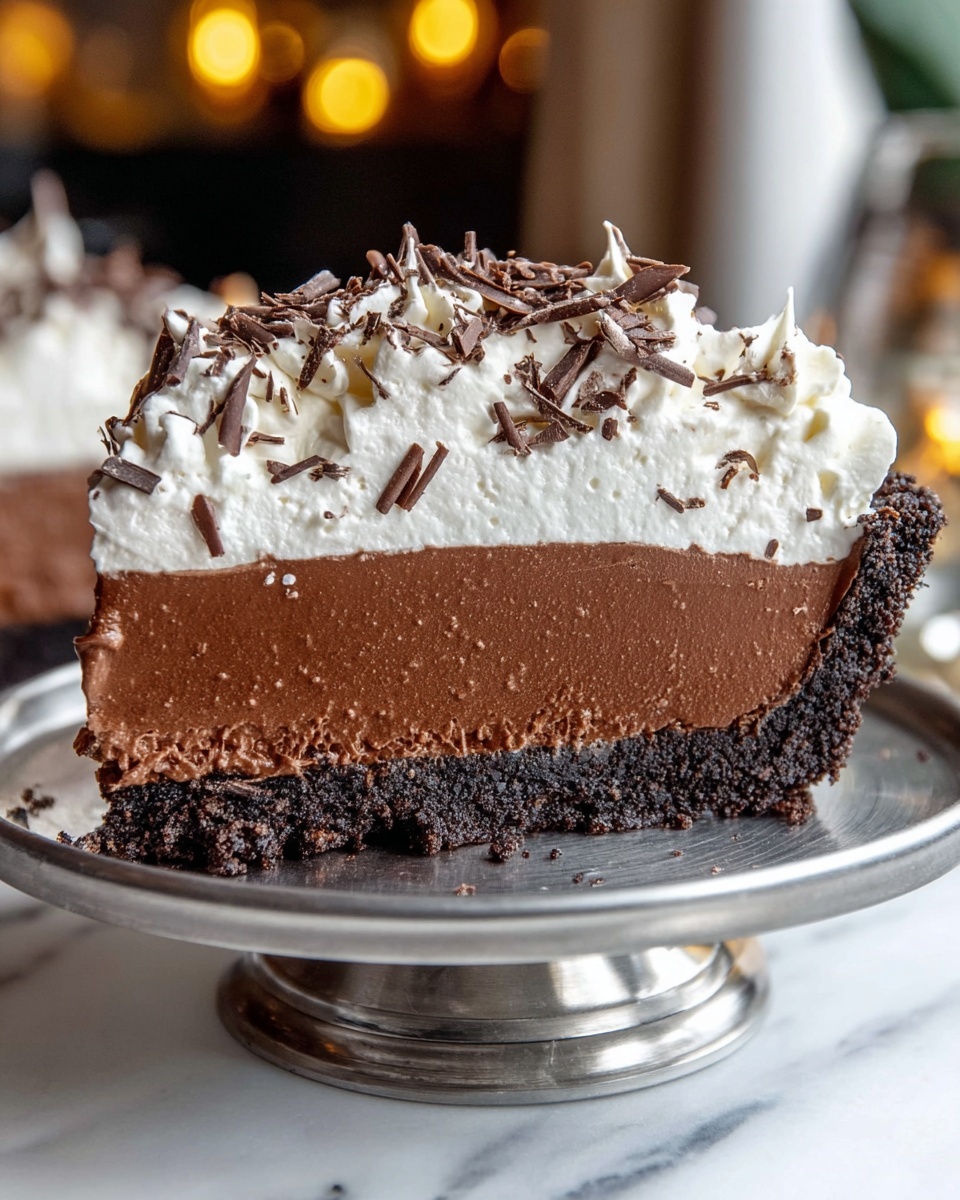
Once your mousse mixture is perfectly combined, pour it into the Oreo pie crust. Use a spatula to spread it out evenly so every slice will have a consistent filling. The Oreo crust’s chocolate crunch contrasted with the smooth mousse is what makes this pie irresistible.
Step 5: Chill the Pie
Pop the pie in the refrigerator and let it chill for at least three hours. This resting period allows the mousse to firm up beautifully, achieving the perfect sliceable consistency while maintaining its cloud-like softness.
Step 6: Whip the Topping Cream
While the pie chills, prepare the whipped topping by combining 1 cup of heavy cream and the granulated sugar in a clean bowl. Whip until stiff peaks form, just like in step two. This sweetened whipped cream will crown your pie with an elegant, velvety finish that’s light and refreshing.
Step 7: Finish and Garnish
Spread the sweetened whipped cream evenly over your chilled mousse pie. Then, generously sprinkle chocolate shavings on top for a touch of sophistication and a little extra chocolate goodness. Return the pie to the fridge until you’re ready to serve, ensuring it’s beautifully set and perfectly chilled.
How to Serve Chocolate Mousse Pie Recipe
Garnishes
A simple garnish can elevate this pie to bakery-level perfection. Use rich chocolate shavings or curls to add an artistic flair. For a burst of freshness, consider a few raspberries or a dusting of cocoa powder. These little touches brighten the presentation and add layers of flavor.
Side Dishes
This pie pairs wonderfully with a cup of rich coffee or a glass of cold milk, balancing the chocolate’s richness. If you want to add a bit of texture, try serving it alongside fresh berries or a light fruit salad to cut through the indulgence and refresh the palate.
Creative Ways to Present
If you’re feeling adventurous, serve individual mousse portions in small glasses topped with crushed Oreos and a mint leaf for a charming mini dessert. Another fun idea is layering the mousse with alternating whipped cream and cookie crumbs in a trifle bowl—this adds visual appeal and keeps the flavors consistent with the original Chocolate Mousse Pie Recipe.
Make Ahead and Storage
Storing Leftovers
Once sliced, store any leftover Chocolate Mousse Pie in an airtight container in the refrigerator. It will stay fresh and delicious for up to 3 days, though it rarely lasts that long. Keeping the pie chilled preserves that perfect mousse texture and prevents the crust from becoming soggy.
Freezing
If you want to save the pie longer, you can freeze it. Cover the pie tightly with plastic wrap and then with aluminum foil. When properly stored, it can last up to one month in the freezer. Thaw it in the refrigerator overnight before serving to maintain the creamy texture that makes this pie so special.
Reheating
Since this pie is best enjoyed chilled, reheating is not recommended. However, you can let slices sit at room temperature for 10 to 15 minutes before serving to soften the mousse slightly for a melt-in-your-mouth experience.
FAQs
Can I use a different crust instead of Oreo?
Absolutely! While the Oreo crust adds a wonderful chocolate crunch, you can use a graham cracker crust or even a traditional shortbread crust to mix up the flavors and textures. Just make sure the crust is sturdy enough to hold the mousse filling.
Is it possible to make this pie dairy-free?
Yes, with a few ingredient swaps. Use dairy-free butter, coconut or almond milk, and a non-dairy whipped topping to keep it creamy and delicious while accommodating dietary restrictions. The texture will be slightly different but still delightful.
How long does the mousse take to set in the refrigerator?
It usually takes at least 3 hours for the mousse to set firmly, but for the best results, chilling overnight is ideal. This allows the flavors to meld and ensures a perfectly sliceable texture.
Can I prepare the mousse mixture in advance before folding in whipped cream?
Yes, you can prepare the chocolate base up to a day in advance and keep it covered in the refrigerator. Just make sure to bring it to room temperature before folding in the whipped cream to avoid deflating it.
What is the best way to achieve stiff peaks when whipping cream?
Use chilled heavy cream and a chilled bowl for best results. Start whipping on medium speed, then increase to high as the cream thickens. Stop whipping as soon as stiff peaks form to avoid turning it into butter.
Final Thoughts
This Chocolate Mousse Pie Recipe is pure joy in dessert form—decadent yet light, simple yet impressive. Whether you’re a seasoned baker or just looking for a quick and stunning dessert to wow your loved ones, this pie has you covered. Once you try it, I promise it will become a beloved classic in your recipe collection, always ready to bring smiles and satisfy chocolate cravings.
Print
Chocolate Mousse Pie Recipe
- Prep Time: 5 minutes
- Cook Time: 10 minutes
- Total Time: 3 hours 15 minutes
- Yield: 10 slices
- Category: Dessert
- Method: Stovetop
- Cuisine: American
- Diet: Vegetarian
Description
This decadent Chocolate Mousse Pie features a rich and creamy chocolate mousse made with semi-sweet and bittersweet chocolate chips, melted marshmallows, and whipped cream, all nestled in a crunchy Oreo pie crust. Topped with sweetened whipped cream and chocolate shavings, this dessert is perfect for chocolate lovers seeking a luscious and airy treat.
Ingredients
Chocolate Mousse Base
- 2 Tbsp salted butter, diced
- 1 cup semi-sweet chocolate chips
- 1/2 cup bittersweet chocolate chips
- 2 cups mini marshmallows
- 1/3 cup whole milk
- 1 tsp vanilla extract
Whipped Cream for Mousse
- 1 3/4 cups heavy whipping cream
Pie Crust
- 1 Oreo pie crust
Topping
- 1 cup (235ml) heavy cream
- 2 Tbsp (25g) granulated sugar
- Chocolate shavings, for garnish
Instructions
- Prepare Chocolate Mixture: In a large saucepan over low heat, combine the diced butter, whole milk, semi-sweet chocolate chips, bittersweet chocolate chips, and mini marshmallows. Stir continuously until the marshmallows have fully melted and the mixture is smooth and creamy. Remove from heat, stir in the vanilla extract, and let the mixture cool for 1 hour at room temperature.
- Whip Cream for Mousse: Pour 1 3/4 cups of heavy whipping cream into a large mixing bowl. Using an electric mixer, whip the cream until stiff peaks form, taking care not to overwhip.
- Fold Whipped Cream into Chocolate: Gently fold the whipped cream into the cooled chocolate mixture with a spatula until the mixture is light, fluffy, and consistent in color. Avoid overmixing to maintain an airy texture.
- Assemble Pie: Pour the chocolate mousse into the prepared Oreo pie crust and spread it evenly using a spatula.
- Chill Mousse: Transfer the pie to the refrigerator and chill for at least 3 hours to allow the mousse to set firmly.
- Prepare Whipped Cream Topping: In a clean mixing bowl, combine 1 cup heavy cream with the granulated sugar. Whip until stiff peaks form, ensuring the mixture is smooth and holds its shape.
- Add Topping and Garnish: Spread the sweetened whipped cream over the chilled mousse pie evenly. Garnish generously with chocolate shavings. Chill until ready to serve. Slice before serving.
Notes
- For best results, ensure the chocolate mixture is cooled to room temperature before folding in the whipped cream to maintain mousse texture.
- If Oreo pie crust is unavailable, a homemade chocolate cookie crust can be substituted.
- Chilling times are important to allow the mousse to set properly; do not rush this process.
- Use freshly whipped cream for the topping for the best flavor and texture.
- Chocolate shavings can be made by grating a chocolate bar or using store-bought decorative shavings.


