
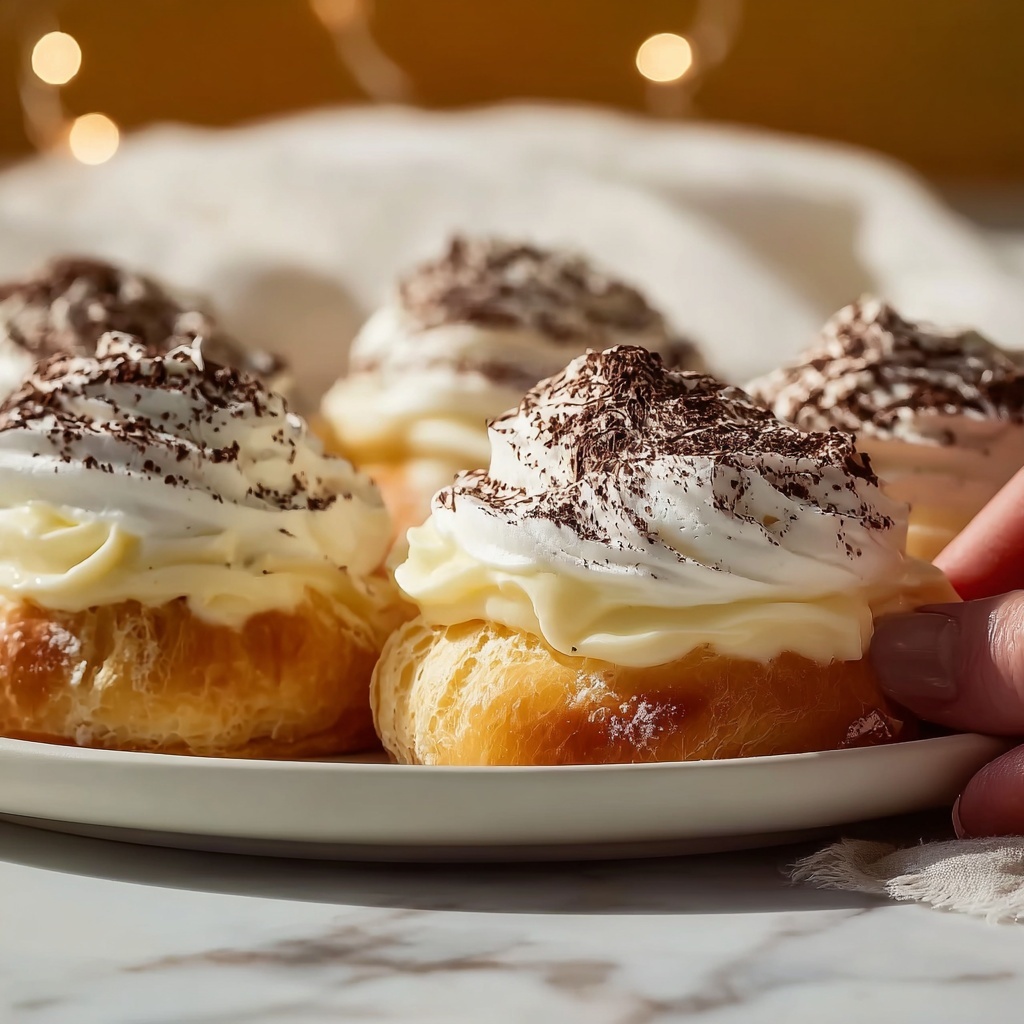
If you’ve ever dreamed about mastering a pastry that feels like a little cloud of happiness in every bite, then this Classic Cream Puffs Recipe is exactly what you need. These delicate, airy puffs filled with luscious whipped cream are the perfect balance of crisp exterior and soft, creamy inside, making them an irresistible treat for any occasion. Whether you’re a seasoned baker or a beginner wanting to wow your friends and family, this recipe offers simple steps and reliable results that will quickly become a beloved staple in your dessert repertoire.

Ingredients You’ll Need
Gathering the right ingredients makes all the difference when crafting your Classic Cream Puffs Recipe. Each component plays an essential role— from the bubbling butter and water that create a tender shell, to the fresh eggs that lend structure, and the rich heavy cream that transforms these puffs into a decadent delight.
- 1 cup water: Provides steam for puffing up the dough perfectly in the oven.
- 1/2 cup unsalted butter: Adds richness and helps create that crisp golden exterior.
- 1 cup all-purpose flour: Gives structure and stability to the dough basis.
- 1/4 teaspoon salt: Balances the flavors and enhances sweetness.
- 4 large eggs: Provide moisture and help the dough achieve that glossy, smooth texture.
- 1 cup heavy whipping cream: The star for the creamy, fluffy filling inside the puffs.
- 1 tablespoon powdered sugar: Sweetens the whipped cream delicately without weighing it down.
- 1 teaspoon vanilla extract: Infuses the filling with a mellow, aromatic flavor that complements the pastry.
How to Make Classic Cream Puffs Recipe
Step 1: Prepare Your Oven and Baking Sheet
Start by preheating your oven to 400°F (200°C). While it warms up, line a baking sheet with parchment paper to prevent sticking and ensure even baking—this small step helps the puffs release easily once baked.
Step 2: Boil Water and Butter
In a medium saucepan over medium-high heat, bring the water and unsalted butter to a rolling boil. The melting butter enriches the dough, providing that delicate crispness and golden color you’re aiming for.
Step 3: Incorporate Flour and Salt
As soon as your butter has melted and the water is boiling, remove the pan from the heat. Quickly stir in the all-purpose flour and salt until the mixture forms a smooth ball. This combined step is crucial for developing the right dough texture.
Step 4: Cook the Dough Slightly
Return the pan to heat and cook the dough for 1-2 minutes while stirring constantly. This helps dry the dough just enough to give structure for puffing, without drying it out too much.
Step 5: Add Eggs One by One
Remove the pan from heat again and allow the dough to cool for a few minutes—this prevents cooking the eggs when you add them. Then, beat in the eggs one at a time, making sure to mix well after each addition. The dough should become smooth and glossy, indicating it’s ready to go.
Step 6: Shape Your Cream Puffs
Using a spoon or piping bag, drop or pipe small mounds of dough about 1.5 inches in diameter onto the lined baking sheet, spacing them roughly 2 inches apart to give them room to puff up beautifully.
Step 7: Bake Until Golden and Puffy
Place your tray in the oven and bake the puffs for 20 to 25 minutes. You’ll know they are done when they have risen fully, look golden brown, and feel firm to the touch. Then transfer them to a wire rack to cool completely before filling.
Step 8: Whip the Cream Filling
In a large mixing bowl, combine the heavy whipping cream, powdered sugar, and vanilla extract. Whip these ingredients until you form stiff peaks, creating a fluffy, sweet filling that complements the light pastry perfectly.
Step 9: Assemble the Classic Cream Puffs
With the puffs cooled, carefully slice each one in half horizontally. Pipe or spoon the luscious whipped cream into the hollow centers, then place the tops back on. This step transforms your puffs into a dreamy treat ready to delight any crowd.
Step 10: Serve or Chill
Classic Cream Puffs are best served immediately to enjoy the crisp shell with fresh cream, but you can also refrigerate them until you’re ready to serve for a chilled, refreshing bite.
How to Serve Classic Cream Puffs Recipe
Garnishes
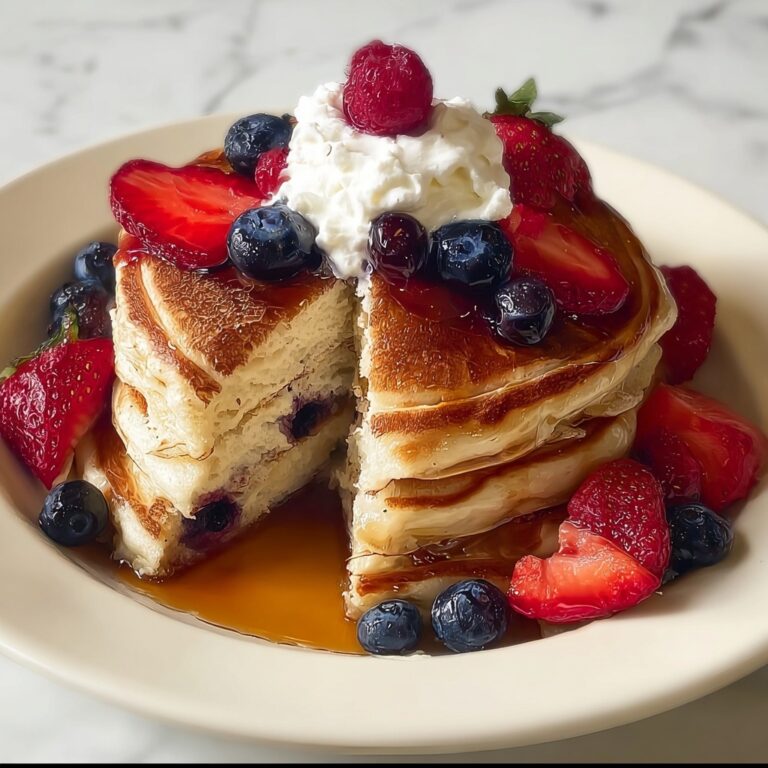
To elevate your Classic Cream Puffs Recipe even further, consider dusting the tops with powdered sugar or drizzling melted chocolate over them. A sprinkle of fresh berries like raspberries or strawberries adds a lovely burst of color and a tangy contrast to the sweet cream.
Side Dishes
These delicate puffs pair beautifully with a cup of tea or freshly brewed coffee, making them perfect for afternoon gatherings or a light dessert after dinner. Fresh fruit salad or a citrus sorbet can complement their rich creaminess by adding brightness to your spread.
Creative Ways to Present
For a festive occasion, stack your cream puffs into a croquembouche—a French cream puff tower—with caramel threads binding them together. Alternatively, serve individual cream puffs in glass dessert cups layered with fruit and sauce for a modern, elegant presentation.
Make Ahead and Storage
Storing Leftovers
If you have leftover cream puffs, keep them in an airtight container in the refrigerator for up to two days. Keep in mind the pastry shell may soften slightly as it absorbs moisture from the cream filling, so enjoying them sooner rather than later is best.
Freezing
You can freeze the baked, unfilled puffs in a sealed container for up to two months. When ready to use, thaw completely and fill with freshly whipped cream. Avoid freezing filled puffs, as the cream tends to lose its texture upon thawing.
Reheating
To regain some crispness, reheat unfilled puffs in a preheated oven at 350°F (175°C) for 5-7 minutes. Once filled, it’s best to serve them chilled or at room temperature rather than reheating.
FAQs
Can I use margarine instead of butter for the dough?
Butter is preferred for its flavor and the texture it helps achieve, but margarine can be used if necessary. Just keep in mind the taste and the puffiness might be slightly different.
Why did my cream puffs collapse after baking?
This can happen if the oven temperature was too low or if the puffs were removed too soon from the oven. Be sure to bake at a high temperature so steam forms inside and sets the structure firmly before cooling.
Can I use a hand mixer to whip the cream?
Absolutely! A hand mixer or stand mixer works perfectly and can even make the process easier and faster to achieve the desired stiffness in your whipped cream filling.
How can I make the cream filling thicker?
If you want a sturdier cream, try adding a bit of mascarpone or cream cheese to the whipped cream. Another option is to slightly reduce the sugar to prevent the cream from becoming runny.
Is this recipe gluten-free friendly?
This Classic Cream Puffs Recipe uses all-purpose flour, which contains gluten. For a gluten-free version, you would need to experiment with gluten-free flour blends specifically designed for baking choux pastry.
Final Thoughts
This Classic Cream Puffs Recipe is a wonderful way to bring a touch of elegant French baking into your kitchen with approachable steps and outstanding results. Once you taste these airy, creamy delights fresh from your oven, you’ll understand why they have been a dessert favorite for generations. So go ahead, gather your ingredients, and treat yourself and your loved ones to this unforgettable classic—you won’t regret it!
Print
Classic Cream Puffs Recipe
- Prep Time: 15 minutes
- Cook Time: 30 minutes
- Total Time: 45 minutes
- Yield: 12 servings
- Category: Dessert
- Method: Baking
- Cuisine: French
- Diet: Vegetarian
Description
Classic Cream Puffs are light, airy pastries made from choux pastry dough baked to golden perfection and filled with sweetened whipped cream. This simple yet elegant dessert combines a crisp shell with a creamy, fluffy interior, perfect for special occasions or a delightful treat any time.
Ingredients
Choux Pastry
- 1 cup water
- 1/2 cup unsalted butter
- 1 cup all-purpose flour
- 1/4 teaspoon salt
- 4 large eggs
Cream Filling
- 1 cup heavy whipping cream
- 1 tablespoon powdered sugar
- 1 teaspoon vanilla extract
Instructions
- Preheat Oven: Preheat the oven to 400°F (200°C) and line a baking sheet with parchment paper to prevent sticking and facilitate even baking.
- Boil Water and Butter: In a medium saucepan, bring the water and unsalted butter to a boil over medium-high heat, ensuring the butter fully melts into the water.
- Add Flour and Salt: Remove the pan from heat and stir in the all-purpose flour and salt quickly, mixing until the dough forms a cohesive ball.
- Cook Dough Slightly: Return the pan to the heat and cook the dough for 1-2 minutes, stirring constantly to dry it slightly and form a smooth texture.
- Incorporate Eggs: Remove from heat and let the dough cool for a few minutes. Add the eggs one by one, thoroughly mixing after each addition until the dough becomes smooth and glossy.
- Shape Dough: Using a spoon or piping bag, place small mounds of dough approximately 1.5 inches in diameter onto the prepared baking sheet, spacing them about 2 inches apart to allow for expansion.
- Bake: Bake for 20-25 minutes until the cream puffs are golden brown and puffed up. Remove from the oven and cool completely on a wire rack.
- Prepare Cream Filling: In a large bowl, whip the heavy cream, powdered sugar, and vanilla extract until stiff peaks form, creating a light and sweet filling.
- Fill Puffs: Carefully slice the cooled puffs in half horizontally and pipe or spoon the whipped cream into the hollow centers.
- Serve: Replace the puff tops onto the filled bottoms and serve immediately, or refrigerate until ready to enjoy.
Notes
- Make sure the dough is cooled slightly before adding eggs to prevent them from cooking prematurely.
- Do not open the oven door during baking to avoid deflating the puffs.
- For best results, fill the puffs just before serving to maintain their crispness.
- You can dust the tops with powdered sugar for an elegant presentation.
- The recipe yields 12 standard-sized cream puffs, perfect for entertaining or sharing.
