
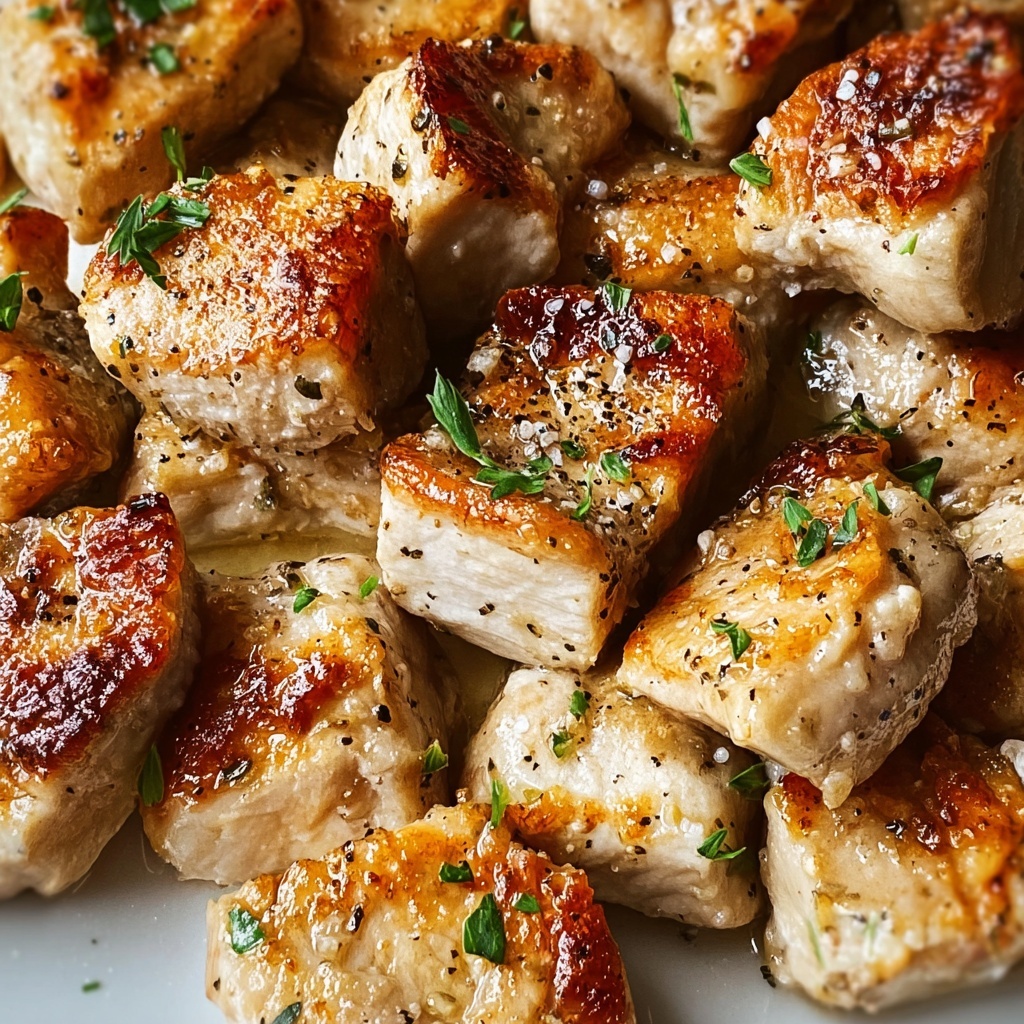
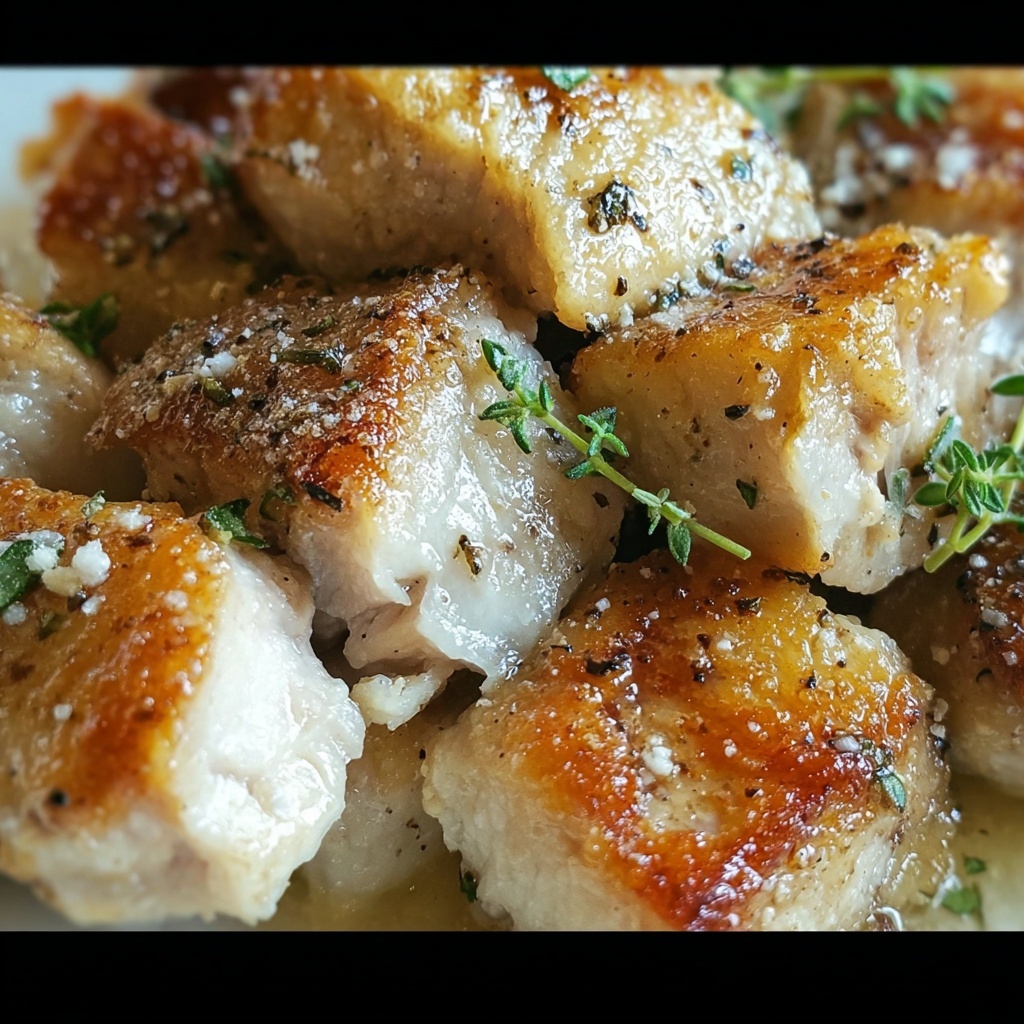
If you are craving a dish that delivers a perfect balance of crunch, zest, and savory goodness, this Crispy Caesar Chicken Breasts Recipe is going to be your new go-to favorite. Imagine tender, juicy chicken breasts coated in a golden, flavorful crust made from Caesar dressing, Parmesan cheese, and panko breadcrumbs—baked to crisp perfection and bursting with garlicky, cheesy notes. This recipe transforms a simple chicken breast into an irresistible meal that feels both comforting and exciting all at once. Whether it’s a casual weeknight dinner or an impressive dish for friends, the Crispy Caesar Chicken Breasts Recipe brings restaurant-quality flavor right into your kitchen in under an hour.
Ingredients You’ll Need
These ingredients might be simple, but each one plays an essential role in creating the irresistible texture and bold flavor of the Crispy Caesar Chicken Breasts Recipe. From the creamy Caesar dressing to the crunchy panko and nutty Parmesan, every component is a building block of this delicious dish.
- 4 boneless, skinless chicken breasts: The star of the dish, providing juicy, tender meat that pairs beautifully with the crispy coating.
- 1/2 cup Caesar dressing: Offers a creamy, tangy base that clings to the chicken and infuses it with classic Caesar flavor.
- 1/4 cup Parmesan cheese, grated: Adds a salty, nutty richness and helps the crust turn delectably golden.
- 1 cup panko breadcrumbs: Essential for the light, airy crunch that makes each bite so satisfying.
- 1 teaspoon garlic powder: Enhances the savory depth and pairs wonderfully with the Parmesan and Caesar dressing.
- 1 tablespoon olive oil: A drizzle that promotes even browning and maximum crispiness when baked.
- Zest of 1 lemon (optional): Brings a fresh, citrusy brightness to awaken the flavors right before serving.
How to Make Crispy Caesar Chicken Breasts Recipe
Step 1: Preheat the Oven
Start by heating your oven to 400°F (200°C). Prepare a baking sheet by lining it with parchment paper or giving it a light coating of grease. This small step ensures an easy cleanup and prevents sticking, making your crispy chicken come off effortlessly.
Step 2: Prepare the Chicken
Take the chicken breasts and pat them dry thoroughly with paper towels. Removing excess moisture is key because it helps the Caesar dressing and crumb coating adhere better, creating that coveted crispy exterior.
Step 3: Coat the Chicken
In a shallow dish, whisk together the Caesar dressing and garlic powder. This flavorful marinade-soak will infuse the chicken with garlicky zest. Dip each chicken breast into this mixture, ensuring every inch is covered. Then, generously press the chicken into a mixture of panko breadcrumbs and grated Parmesan cheese. This two-step coating gives you that signature crunch and cheesy depth for the Crispy Caesar Chicken Breasts Recipe.
Step 4: Add Olive Oil
Place each coated piece on your prepared baking sheet. Drizzle olive oil evenly over the top of the chicken breasts. The oil works its magic by helping the breading crisp up and develop a gorgeous golden color as it bakes.
Step 5: Bake the Chicken
Pop the chicken into your preheated oven and bake for 25 to 30 minutes. You’ll know it’s done when the internal temperature reaches 165°F (74°C) and the breading is a beautiful golden brown. The result is impossibly crispy on the outside and tender and juicy inside—the highlight of any Crispy Caesar Chicken Breasts Recipe.
Step 6: Optional Lemon Zest
For a final flourish, sprinkle the chicken with freshly grated lemon zest right before serving. This adds a bright, fresh contrast that perfectly complements the rich flavors and elevates the entire dish to something truly special.
How to Serve Crispy Caesar Chicken Breasts Recipe
Garnishes
Adding a bit of fresh herb like chopped parsley or basil can brighten the plate and bring a hint of green freshness. A sprinkle of extra Parmesan cheese or a wedge of lemon on the side can also enhance the flavor and presentation dramatically. These little touches turn a simple dinner into a feast for the eyes and palate.
Side Dishes
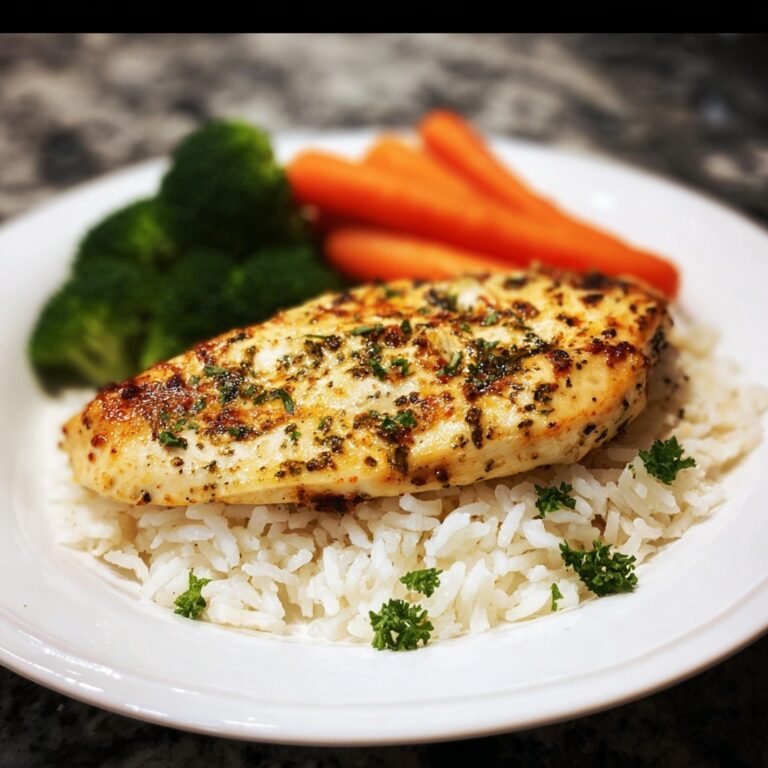
The crispy, rich nature of this chicken pairs wonderfully with light, fresh sides to balance the meal. Think crisp green salads, steamed or roasted vegetables, or even zesty pasta tossed in olive oil and herbs. You can also serve it alongside creamy mashed potatoes to create a comforting, hearty dinner everyone will love.
Creative Ways to Present
If you want to impress your guests or make weeknight dinners more fun, slice the chicken breasts and serve them over a Caesar salad for a delightful twist on the classic. Alternatively, use the crispy chicken as a protein-packed topping for grain bowls or sandwiches to add texture and flavor complexity. The Crispy Caesar Chicken Breasts Recipe is versatile enough to fit many occasions.
Make Ahead and Storage
Storing Leftovers
Leftover chicken should be transferred to an airtight container and refrigerated promptly. It will keep well for up to 3 days, allowing you to enjoy the delicious Crispy Caesar Chicken Breasts Recipe on busy days without sacrificing flavor or texture.
Freezing
For longer storage, you can freeze the cooked chicken breasts. Wrap them tightly in plastic wrap and place them in a freezer-safe bag or container. Frozen chicken will maintain its best quality for about 1 to 2 months. When ready to eat, thaw in the fridge overnight.
Reheating
To reheat and keep as much crispiness as possible, place the chicken on a baking sheet in a preheated 350°F (175°C) oven for about 10 to 15 minutes. Avoid microwaving, which can make the breading soggy. This method revives that golden, crunchy coating that makes the Crispy Caesar Chicken Breasts Recipe so special.
FAQs
Can I use other types of chicken cuts for this recipe?
Absolutely! While boneless skinless chicken breasts work best for even cooking and crispiness, you can also try chicken thighs. Just be mindful of adjusting cooking times since thighs may require a bit longer.
Is it possible to make this recipe gluten-free?
Yes! Simply substitute the panko breadcrumbs with gluten-free breadcrumbs or crushed gluten-free crackers. The texture will still be wonderfully crispy.
Can I prepare the chicken ahead of time before baking?
You can coat the chicken in the Caesar dressing and breadcrumb mixture and keep it in the fridge for a few hours before baking. This can even help the flavors meld better. Just make sure to bake it within 24 hours for the best results.
What if I don’t have Caesar dressing on hand?
You can make a quick substitute by mixing mayonnaise with minced garlic, lemon juice, and grated Parmesan cheese. It won’t be exactly the same but will still provide that creamy, tangy base needed for this recipe.
How do I know when the chicken is cooked through?
The safest and most reliable method is using a meat thermometer to check that the internal temperature has reached 165°F (74°C). The coating should be golden and the juices run clear when pierced.
Final Thoughts
This Crispy Caesar Chicken Breasts Recipe has quickly become one of my favorite dishes to share because it combines simplicity with game-changing flavor and texture. It’s approachable enough for everyday meals but impressive enough to serve guests any night of the week. I encourage you to give it a try—once you taste that crunchy, cheesy crust paired with juicy chicken, it’s hard to go back to plain grilled chicken again.
Print
Crispy Caesar Chicken Breasts Recipe
- Prep Time: 10 minutes
- Cook Time: 25-30 minutes
- Total Time: 40 minutes
- Yield: 4 servings
- Category: Main Course
- Method: Baking
- Cuisine: American
Description
Crispy Caesar Chicken Breasts offers a flavorful twist on classic chicken breasts by coating them in a zesty Caesar dressing, garlic powder, Parmesan cheese, and crunchy panko breadcrumbs. Baked to golden perfection, this dish delivers a crispy exterior with juicy, tender meat inside. Perfect for a quick, satisfying dinner served with your favorite sides.
Ingredients
Chicken
- 4 boneless, skinless chicken breasts
Coating
- 1/2 cup Caesar dressing
- 1 teaspoon garlic powder
- 1 cup panko breadcrumbs
- 1/4 cup Parmesan cheese, grated
Finishing
- 1 tablespoon olive oil
- Zest of 1 lemon (optional, for a fresh citrusy note)
Instructions
- Preheat the Oven: Preheat your oven to 400°F (200°C). Line a baking sheet with parchment paper or lightly grease it to prevent sticking.
- Prepare the Chicken: Pat the chicken breasts dry with paper towels. This step is essential to ensure the coating adheres well to the surface of the chicken.
- Coat the Chicken: In a shallow dish, mix the Caesar dressing with garlic powder. Dip each chicken breast into this mixture to coat evenly. Then, press each breast into the panko breadcrumbs combined with grated Parmesan cheese, making sure both sides are fully coated for maximum crunch and flavor.
- Add Olive Oil: Place the coated chicken breasts on the prepared baking sheet. Drizzle olive oil over the top of each breast. The olive oil helps achieve a golden, crispy crust while baking.
- Bake the Chicken: Bake in the preheated oven for 25-30 minutes, or until the internal temperature reaches 165°F (74°C) and the coating is golden brown and crisp.
- Optional Lemon Zest: Just before serving, sprinkle the chicken with fresh lemon zest to add a bright, citrusy note that complements the rich Caesar flavors.
- Serve: Pair the crispy Caesar chicken breasts with your choice of sides like steamed vegetables, pasta, or a green salad to create a complete and delicious meal.
Notes
- Patting the chicken dry is crucial for a crispy coating.
- Use a food thermometer to ensure the chicken reaches the safe internal temperature of 165°F (74°C).
- Lemon zest is optional but adds a refreshing brightness to the dish.
- For extra crispiness, you can broil the chicken for 1-2 minutes at the end of baking—watch closely to prevent burning.
- The recipe can be doubled easily to serve more people.


