
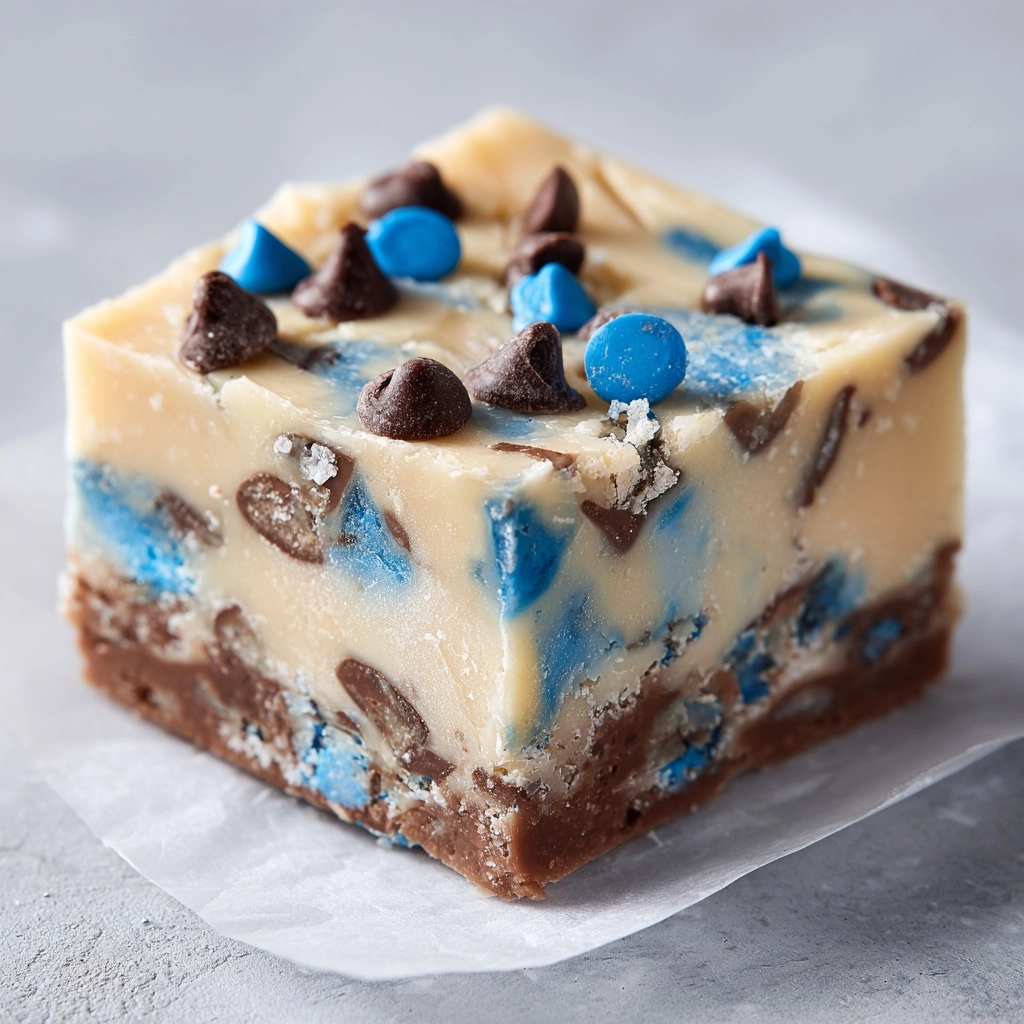
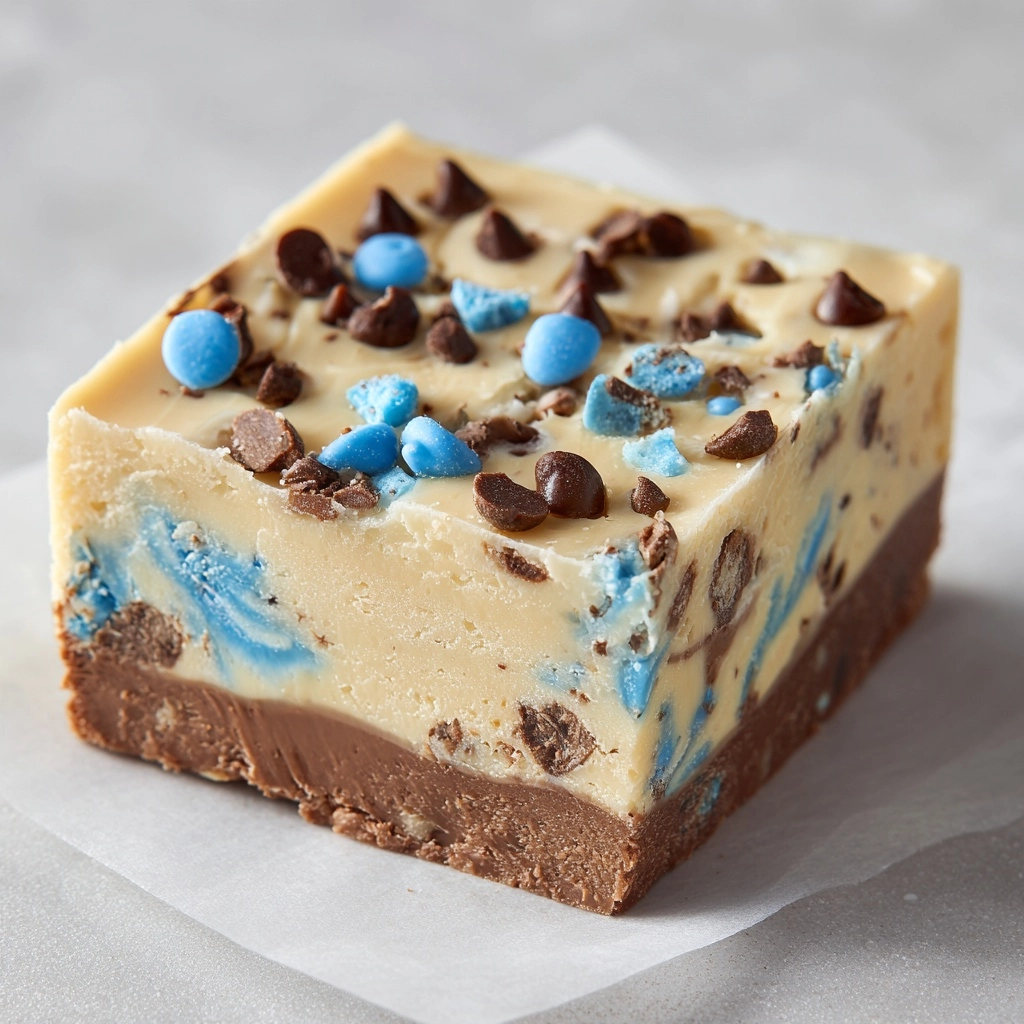
If you are looking for a delightful, colorful treat to brighten up your holiday, this Easy Easter Fudge Recipe is just what you need. It combines luscious white chocolate with sweetened condensed milk for a creamy texture, then tosses in pastel M&M’s and sprinkles to create a festive, irresistible confection. Perfectly smooth, sweet, and bursting with fun colors, this fudge is an absolute crowd-pleaser that’s simple enough to whip up in no time yet impressive enough to serve at any Easter gathering.
Ingredients You’ll Need
Gathering these few, straightforward ingredients is all it takes to make this incredible fudge. Each item plays an essential role, contributing to the perfect balance of taste, texture, and that unmistakable holiday vibe.
- 3 cups white chocolate chips: The creamy, sweet base that melts down smoothly and provides the fudge’s signature flavor.
- 1 (14 oz) can sweetened condensed milk: Adds richness and helps create that velvety fudge texture without extra fuss.
- 1/2 teaspoon vanilla extract: Brings warmth and elevates the chocolate’s flavor with a subtle aromatic note.
- 1/8 teaspoon salt: Balances sweetness and enhances all the flavors beautifully.
- 1/2 cup pastel M&M’s or mini candy-coated eggs: Adds cheerful pastel pops of color and a bit of crunch to the smooth fudge.
- 1/4 cup sprinkles (pastel or rainbow): Injects whimsy and extra festive flair on top.
- Nonstick spray or parchment paper: Essential for lining your pan to prevent sticking and make removing the fudge effortless.
How to Make Easy Easter Fudge Recipe
Step 1: Prepare Your Pan
Start by lining an 8×8-inch baking dish with parchment paper or lightly grease it with nonstick spray. This simple step ensures your fudge will release easily once it’s set, giving you perfect squares without any mess.
Step 2: Melt the Chocolate and Condensed Milk
In a medium saucepan over low heat, combine the white chocolate chips and sweetened condensed milk. Stir constantly to prevent scorching and keep the mixture smooth. You want the chocolate to fully melt and blend seamlessly with the milk, creating a delightful creamy base.
Step 3: Add Flavor Enhancers
Remove your pan from the heat and stir in the vanilla extract and salt. These subtle additions might seem small, but they heighten the overall flavor profile, making your fudge irresistible.
Step 4: Fold in the Colorful Mix-ins
Gently fold in most of the pastel M&M’s and sprinkles, reserving a handful to sprinkle on top later. These mix-ins bring fun colors and a slight crunch that make this fudge perfect for Easter celebrations.
Step 5: Pour, Decorate, and Chill
Pour the fudge mixture into your prepared pan and spread it evenly. Sprinkle the remaining M&M’s and sprinkles on top, pressing them in gently so they stick. Then, pop the pan into the refrigerator for at least 2 hours until the fudge is firm and sliceable.
Step 6: Cut and Serve
Once set, lift the fudge easily out of the pan by grabbing the edges of the parchment paper. Slice into 36 squares and prepare for compliments as everyone dives in to enjoy your joyful creation.
How to Serve Easy Easter Fudge Recipe
Garnishes
Sprinkle a few extra pastel M&M’s or mini candy eggs on top just before serving for an added touch of Easter fun. You can also dust lightly with edible glitter or coconut flakes to give it a magical finish that catches the eye.
Side Dishes
This fudge pairs beautifully with fresh spring fruit like strawberries or sliced kiwi for a refreshing contrast. A cup of hot tea or coffee is also a lovely companion, balancing the rich sweetness with something warm and comforting.
Creative Ways to Present
For a festive presentation, arrange your squares on a pastel-colored platter lined with paper doilies or shredded Easter grass. You can package the fudge in decorative cellophane bags tied with ribbons for adorable gifts or use tiered serving trays to make an inviting Easter dessert table.
Make Ahead and Storage
Storing Leftovers
Simply keep your Easy Easter Fudge Recipe in an airtight container and refrigerate. The cooler temperature preserves its texture and flavor for up to one week. This makes it a fantastic recipe to prepare early for your celebrations.
Freezing
If you want your fudge to last even longer, freeze it by wrapping it tightly in plastic wrap and placing it inside a freezer-safe bag or container. It can keep well for up to three months. Just thaw it gently in the refrigerator overnight before serving.
Reheating
Fudge is best enjoyed cold or at room temperature, so reheating is usually not needed. If your fudge feels too firm from refrigeration, let it sit at room temperature for 10–15 minutes to soften slightly before serving—this will bring out the flavor and make it easier to bite into.
FAQs
Can I use milk or dark chocolate instead of white chocolate?
Absolutely! While white chocolate gives a classic creamy base with pastel colors standing out beautifully, milk or dark chocolate can add rich depth and a slightly different flavor profile that’s just as delicious.
Are there any substitutions for sweetened condensed milk?
Sweetened condensed milk is key for the creamy texture and sweetness. If needed, you can substitute with homemade condensed milk or use a plant-based condensed milk alternative for dietary preferences, but keep in mind the texture may vary slightly.
How do I make this fudge nut-free and allergy-friendly?
This recipe is naturally nut-free, but always check your candy mix-ins like M&M’s or sprinkles for cross-contamination warnings. Choose allergen-safe options or omit mix-ins and decorate with safe alternatives.
Can I add flavor variations like peppermint or citrus?
Definitely! Add a few drops of peppermint extract, almond extract, or even a teaspoon of lemon zest when you stir in the vanilla and salt to give your fudge a unique twist perfect for your taste.
What is the best way to cut the fudge for neat squares?
Use a sharp knife, and for extra clean cuts, warm it slightly by running under hot water and drying before slicing. Cutting the fudge while cold but not frozen helps maintain clean edges without crumbling.
Final Thoughts
This Easy Easter Fudge Recipe is such a joy to make and share. It’s quick, no-bake, and always brings smiles with its creamy texture and cheerful colors. Give it a try for your holiday celebrations—you’ll wonder how you ever enjoyed Easter without it!
Print
Easy Easter Fudge Recipe
- Prep Time: 10 minutes
- Cook Time: 5 minutes
- Total Time: 2 hours 15 minutes
- Yield: 36 pieces
- Category: Dessert
- Method: No-Cook
- Cuisine: American
- Diet: Vegetarian
Description
This Easy Easter Fudge recipe is a creamy, no-bake white chocolate treat perfect for spring celebrations. Loaded with pastel M&M’s and colorful sprinkles, this fudge is simple to make and ideal for gifting or festive dessert platters. Ready in just over two hours including chilling, it’s a delicious and eye-catching way to celebrate Easter.
Ingredients
Fudge Base
- 3 cups white chocolate chips
- 1 (14 oz) can sweetened condensed milk
- 1/2 teaspoon vanilla extract
- 1/8 teaspoon salt
Toppings
- 1/2 cup pastel M&M’s or mini candy-coated eggs
- 1/4 cup sprinkles (pastel or rainbow)
Preparation
- Nonstick spray or parchment paper for lining
Instructions
- Prepare the Pan: Line an 8×8-inch baking dish with parchment paper or lightly grease it with nonstick spray. This ensures easy removal of the fudge once set.
- Melt Ingredients: In a medium saucepan over low heat, combine the white chocolate chips and sweetened condensed milk. Stir continuously until the mixture is fully melted and smooth, preventing burning or scorching.
- Add Flavorings: Remove the saucepan from heat. Stir in the vanilla extract and salt to enhance the fudge’s flavor profile.
- Fold in Mix-ins: Gently fold most of the pastel M&M’s and sprinkles into the fudge mixture, reserving a small amount to decorate the top.
- Pour and Decorate: Pour the fudge mixture into the prepared pan and spread it evenly. Sprinkle the remaining M&M’s and sprinkles over the top, pressing them gently into the surface to adhere.
- Chill to Set: Refrigerate the fudge for at least 2 hours or until firm enough to cut cleanly.
- Cut and Serve: Once set, lift the fudge out of the pan using the parchment paper. Cut into approximately 36 small squares and serve or package as desired.
Notes
- For a fun twist, substitute colored candy melts for the white chocolate chips or add a drop of food coloring to the fudge base for vibrant hues.
- Store leftover fudge in an airtight container in the refrigerator for up to one week to maintain freshness.
- Perfect for gifting or adding cheerful additions to Easter dessert tables.


