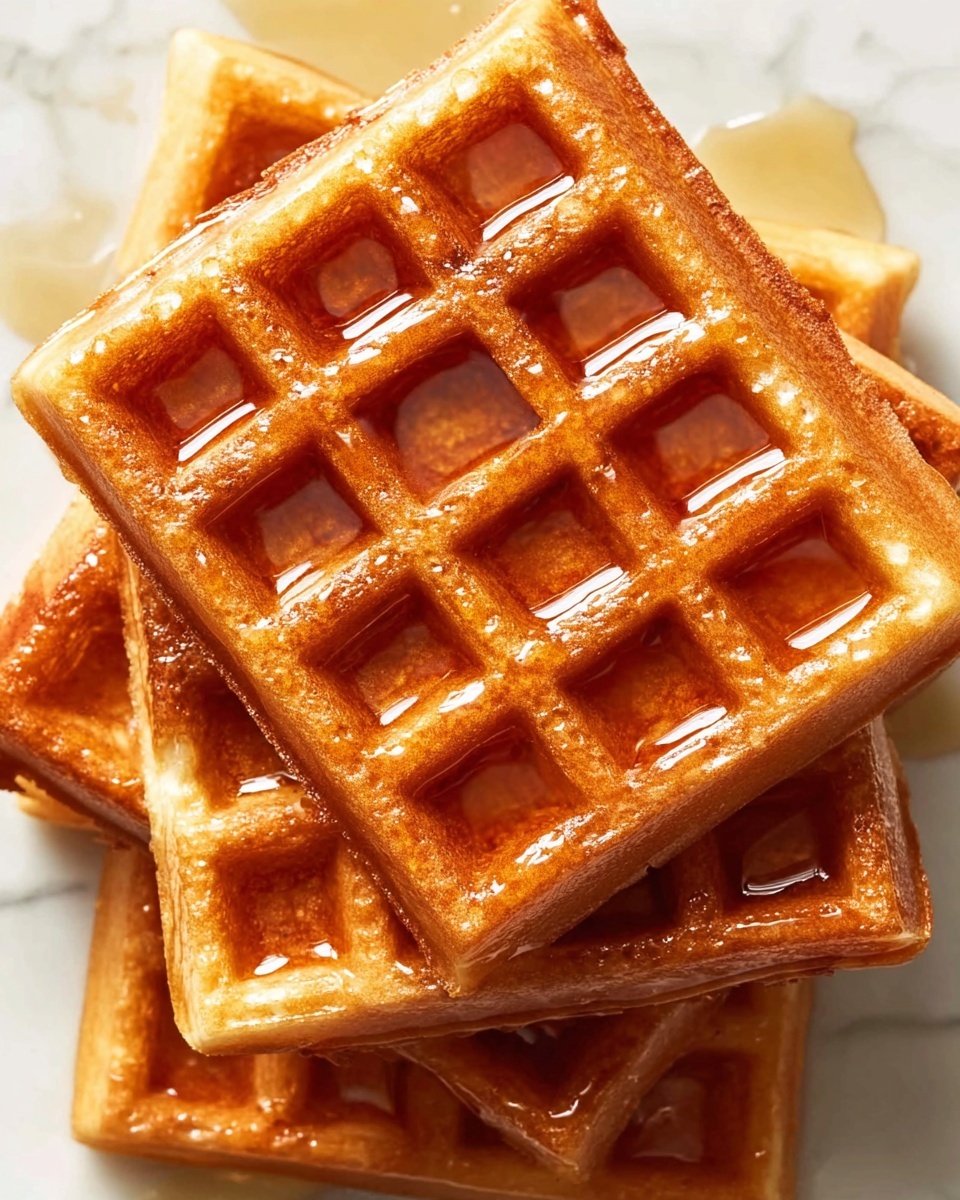
If you’ve ever dreamed of fluffy, golden waffles that are naturally gluten-free, then this Easy Gluten-Free Oat Waffles Recipe is about to become your new breakfast obsession. These Belgian-style waffles strike the perfect balance between crispy edges and tender, slightly chewy centers, thanks to wholesome oat flour and a hint of cinnamon. Not only are they simple to whip up, but they also carry the warm, comforting flavors of maple syrup and vanilla, making every bite an uplifting, cozy morning treat that even gluten lovers will praise.
Ingredients You’ll Need
Gathering simple, everyday ingredients is the secret to making your Easy Gluten-Free Oat Waffles Recipe shine. Each component plays its role, creating the perfect texture and rich, inviting flavor you crave in breakfast waffles.
- Oat flour (1 ½ cups): Use certified gluten-free oat flour to keep the waffles safe for gluten-sensitive eaters while adding a nutty flavor and hearty texture.
- Baking powder (2 teaspoons): This leavening agent gives your waffles that wonderful lift and lightness.
- Salt (½ teaspoon): Balances the sweetness and enhances flavor complexity.
- Cinnamon (pinch, optional): Adds a subtle warmth that pairs beautifully with the maple syrup.
- Milk of choice (¾ cup): Whether coconut, nut, or dairy milk, it moistens the batter and contributes to waffle tenderness.
- Melted coconut oil or unsalted butter (¼ cup + 1 tbsp coconut oil or 5 tbsp butter): Adds richness and crispy edges with a delicious buttery note.
- Large eggs (2): Provide structure, moisture, and help the batter bind perfectly.
- Maple syrup (2 tablespoons): Sweetens naturally while infusing a luscious depth of flavor.
- Vanilla extract (1 teaspoon): Enhances all the other flavors and gives aromatic sweetness.
How to Make Easy Gluten-Free Oat Waffles Recipe
Step 1: Mix the Dry Ingredients
Start by whisking together your oat flour, baking powder, salt, and a pinch of cinnamon (if you’re using it) in a large bowl. This ensures even distribution of the rising agents and spices, so each waffle bakes up perfectly fluffy and flavorful.
Step 2: Combine the Wet Ingredients
In another bowl, whisk your milk of choice, melted coconut oil or butter, eggs, maple syrup, and vanilla extract until everything is smoothly blended. If the coconut oil starts to solidify, just warm the mixture gently in the microwave for a few seconds; warm batter mixes easier and yields better waffles.
Step 3: Bring Wet and Dry Together
Pour the wet ingredients into your dry mixture, stirring gently with a large spoon until everything is just combined. Don’t worry if the batter looks a bit lumpy — that’s actually a good sign, telling you the oat flour is still intact and ready to create delightful texture. Let the batter rest for 10 minutes; this step is key as it allows the oat flour to soak up the liquid, making the waffles tender yet sturdy.
Step 4: Preheat the Waffle Iron
While the batter rests, plug in your waffle maker and set it to medium-high heat if it has temperature controls. Preheating is crucial because a hot iron creates that signature crispness outside while keeping the inside soft and fluffy.
Step 5: Cook the Waffles
After resting, stir your batter briefly again, then pour just enough to cover the waffle iron’s center area. Close the lid and cook until deep golden and crisp, which usually takes a few minutes depending on your machine. Resist the urge to open too soon — patience equals perfect waffles!
Step 6: Keep Waffles Crisp and Warm
Carefully transfer your cooked waffles to a cooling rack or baking sheet, making sure not to stack them so they retain their lovely crisp edges. If serving all at once, keep them warm in a 200°F oven while you finish the rest. Repeat with the rest of the batter, and get ready for a breakfast masterpiece.
How to Serve Easy Gluten-Free Oat Waffles Recipe
Garnishes
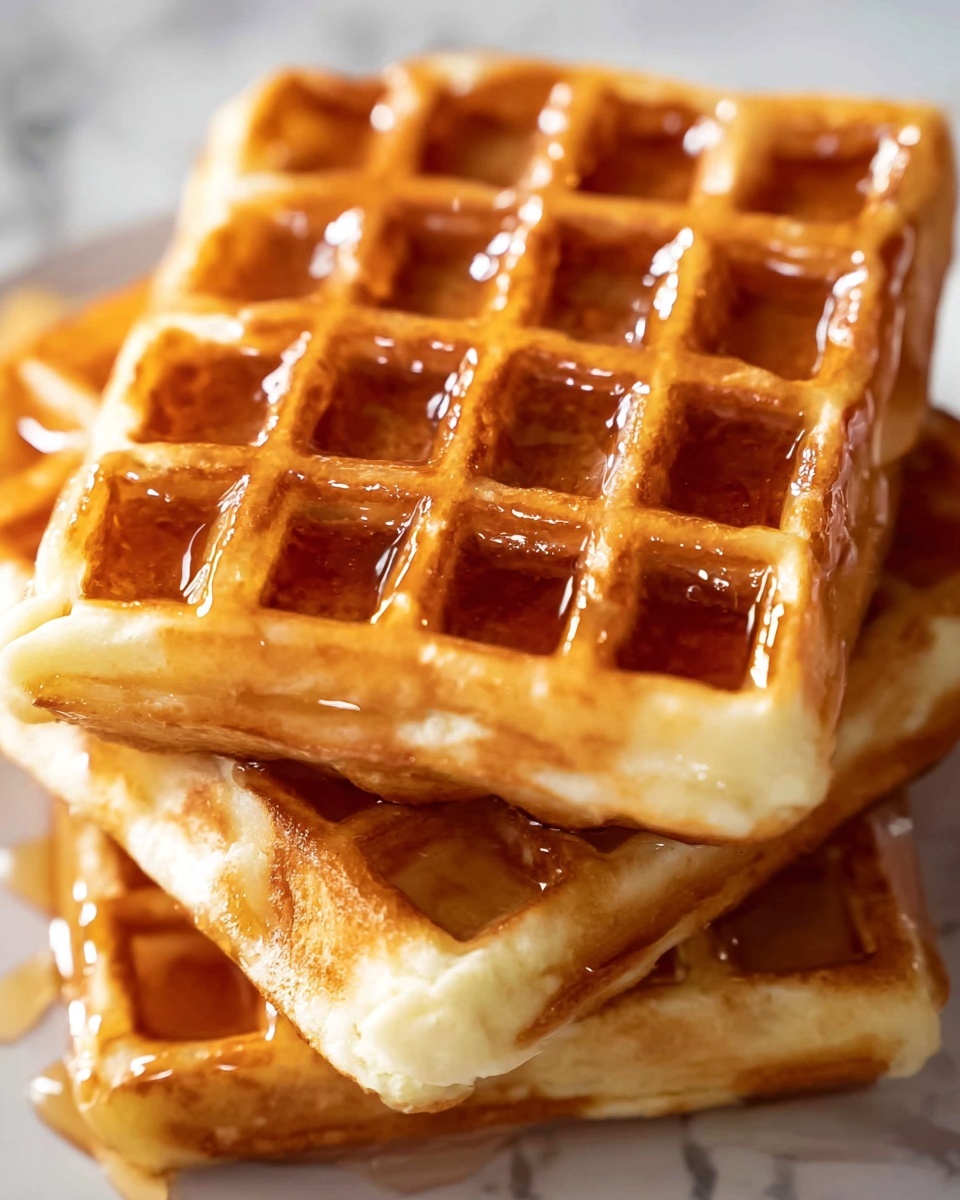
Top your waffles with fresh berries, a drizzle of maple syrup, or a dollop of coconut yogurt for a burst of freshness and creaminess. For extra indulgence, add chopped nuts or a sprinkle of powdered sugar. All these garnishes complement the oat flavor perfectly, turning simple waffles into a treat that’s as beautiful as it is delicious.
Side Dishes
Pair these waffles with crispy bacon, turkey sausage, or a vibrant fruit salad to round out the meal. Whether you’re craving sweet or savory, these sides add layers of texture and taste that make breakfast feel special and satisfying every time.
Creative Ways to Present
Why settle for plain plates when you can create waffle stacks layered with nut butters, sliced bananas, and dark chocolate chips? Or even try turning the waffles into a breakfast sandwich with avocado and eggs. This Easy Gluten-Free Oat Waffles Recipe is versatile, letting your creativity run wild when it comes to serving ideas.
Make Ahead and Storage
Storing Leftovers
If you have leftovers, store them in an airtight container in the refrigerator. They’ll stay good for about 2 to 3 days, perfect for quick morning meals or snacks, saving you time with minimal effort.
Freezing
These waffles freeze beautifully! Lay them out on a baking sheet to freeze individually, then transfer to a freezer bag or container. They can last up to 2 months, allowing you to enjoy homemade waffles whenever you want without starting from scratch.
Reheating
To revive the crispiness, reheat your waffles in a toaster or oven set at 350°F for 5 to 7 minutes. Avoid microwaving if you love that perfect crunch—this way they taste as fresh and delightful as when first made.
FAQs
Can I use regular flour instead of oat flour in this recipe?
While you can substitute regular flour, this recipe specifically shines with oat flour’s flavor and gluten-free properties. Oat flour adds a unique texture and nutty taste that you won’t get with all-purpose flour.
What if I don’t have a waffle iron?
If you don’t have a waffle iron, you can cook the batter like pancakes on a griddle or non-stick pan. Though the texture will differ from classic waffles, the taste remains just as delightful!
Is this recipe suitable for vegans?
This recipe uses eggs and butter or coconut oil; to make it vegan, replace eggs with flax eggs or mashed banana and opt for plant-based butter or oil. The batter might be slightly different, but still delicious.
Can I sweeten these waffles with sugar instead of maple syrup?
Yes, you can use granulated sugar or honey, but maple syrup lends a richer, more complex sweetness that complements the oat flavor better in this recipe.
Why should I let the batter rest before cooking?
Resting allows the oat flour to fully absorb the liquids, resulting in waffles that have a tender crumb and hold together well rather than being dense or gummy.
Final Thoughts
There’s something truly comforting about waking up to warm, homemade waffles, and this Easy Gluten-Free Oat Waffles Recipe makes that pleasure accessible to everyone—no gluten required! Whether you want a leisurely weekend brunch or a quick weekday breakfast, these waffles are bound to become a staple in your kitchen. Give this recipe a try, and you’ll discover how easy and rewarding gluten-free cooking can be!
Print
Easy Gluten-Free Oat Waffles Recipe
- Prep Time: 15 minutes
- Cook Time: 10 minutes
- Total Time: 25 minutes
- Yield: 6 Belgian-style waffles
- Category: Breakfast
- Method: Baking
- Cuisine: American
- Diet: Gluten Free
Description
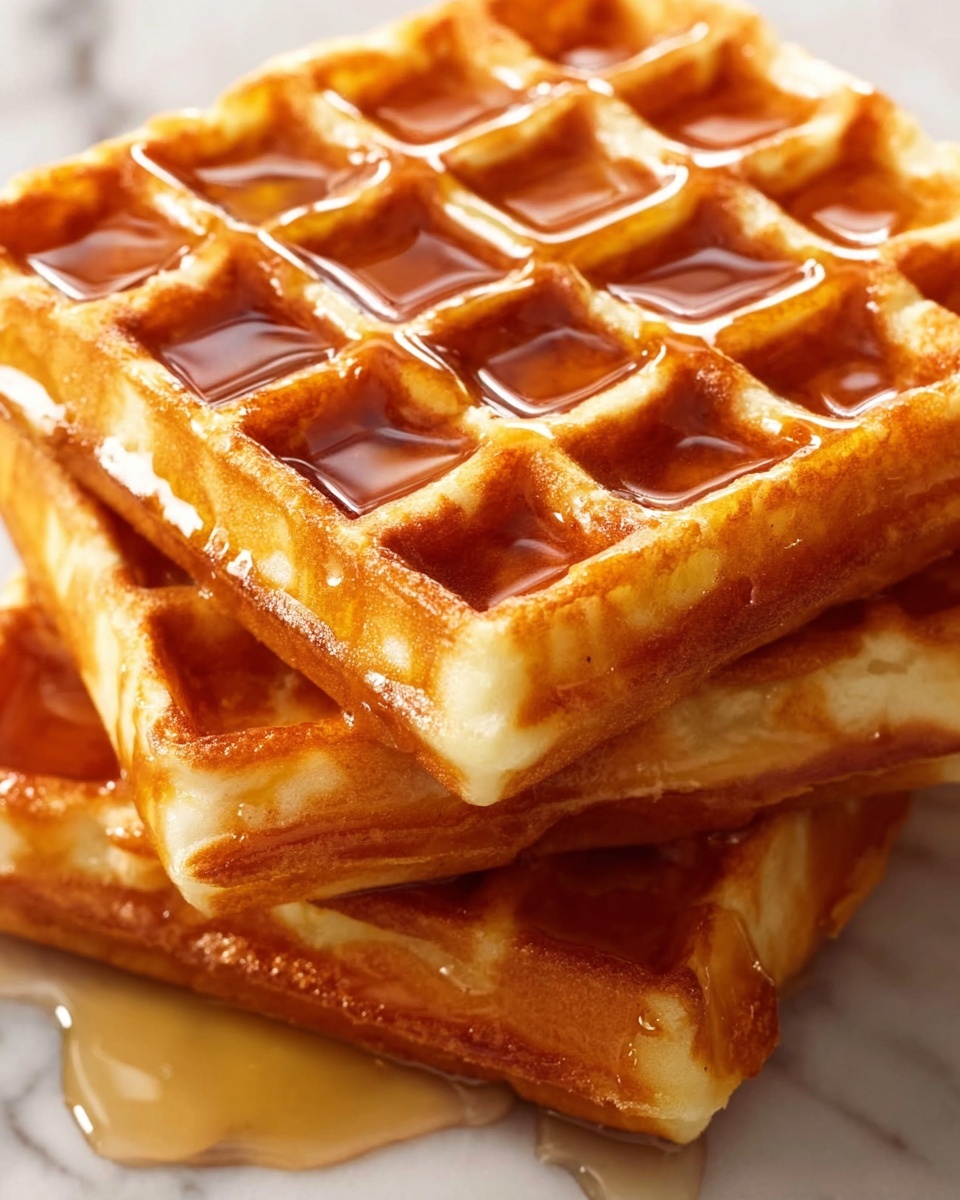
This Easy Gluten Free Oat Waffles recipe yields 6 delicious Belgian-style waffles made with nutritious oat flour and naturally sweetened with maple syrup. Perfect for a gluten-free breakfast or brunch, these waffles are crispy on the outside and tender on the inside. The recipe uses simple ingredients and a straightforward method, making it accessible to all skill levels. Enjoy them topped with your favorite syrup, nut butter, or fresh fruit for a wholesome start to your day.
Ingredients
Dry Ingredients
- 1 ½ cups (128 grams) oat flour, certified gluten-free if necessary
- 2 teaspoons baking powder
- ½ teaspoon salt
- Pinch of cinnamon (optional)
Wet Ingredients
- ¾ cup room temperature milk of choice (light coconut milk, nut milk, or cow’s milk)
- ¼ cup + 1 tablespoon melted coconut oil, or 5 tablespoons unsalted butter, melted
- 2 large eggs
- 2 tablespoons maple syrup
- 1 teaspoon vanilla extract
Instructions
- Mix Dry Ingredients: In a large mixing bowl, whisk together the oat flour, baking powder, salt, and cinnamon if using. Ensure the ingredients are evenly distributed for a consistent batter.
- Combine Wet Ingredients: In a separate bowl, whisk the milk, melted coconut oil or butter, eggs, maple syrup, and vanilla extract until fully combined. Warm the wet mixture gently in short microwave intervals if the coconut oil solidifies, until smooth.
- Combine Wet and Dry: Pour the wet ingredients into the dry and gently stir with a large spoon until just mixed. The batter can remain slightly lumpy. Let the batter rest for 10 minutes to allow the oat flour to absorb the liquid fully.
- Preheat Waffle Iron: While the batter rests, plug in your waffle iron to preheat. If your waffle maker has settings, set the temperature or browning dial to medium-high for optimal crispiness.
- Cook Waffles: Stir the rested batter briefly. Pour enough batter onto the waffle iron to cover the surface but avoid overfilling. Close the lid and cook until the waffles are deeply golden and crisp.
- Serve and Store: Transfer the cooked waffles to a cooling rack or baking sheet, spacing them apart to maintain crispness. To keep them warm, place the waffles in a 200°F oven until serving. Repeat with the remaining batter and serve hot with maple syrup, nut butter, or other favorite toppings.
Notes
- Use certified gluten-free oat flour to ensure the recipe is gluten-free.
- The batter can be slightly lumpy; avoid over-mixing to keep waffles light and tender.
- Resting the batter allows oat flour to hydrate, improving texture and thickness.
- Adjust cooking time according to your waffle iron’s settings for perfect crispiness.
- Store leftovers in an airtight container and reheat in a toaster or oven for best texture.

