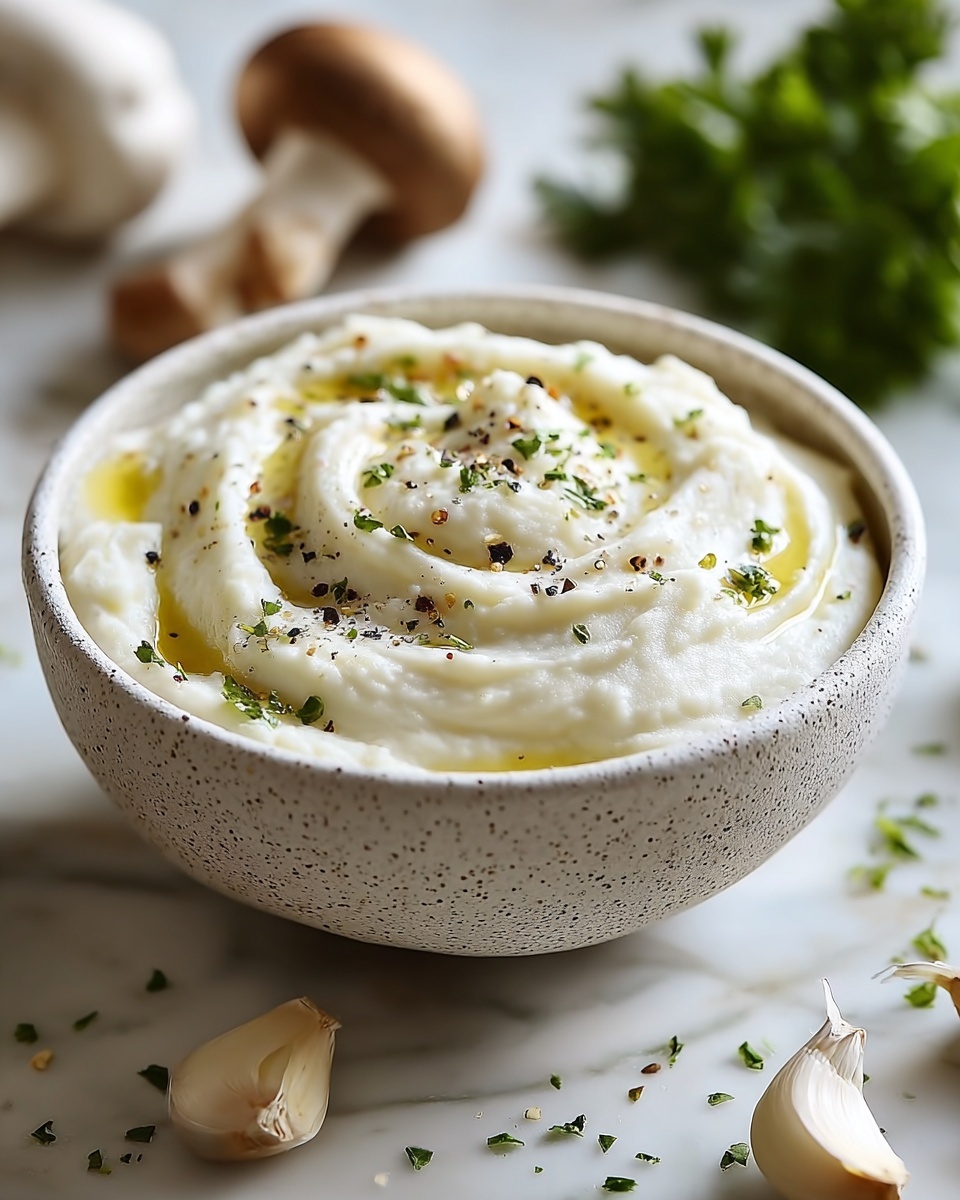
If you’ve ever wished for a dip that’s creamy, garlicky, and bursting with vibrant flavors, then you’re in for a treat with this Easy Homemade Garlic Aioli for a Flavor-Packed Dip Recipe. It’s that perfect sauce to elevate any snack or meal, combining simple ingredients into a luscious, velvety condiment that makes every bite sing. Whether you’re dipping crispy fries, spreading it on sandwiches, or dolloping it beside grilled meats, this homemade aioli brings a fresh, bold punch that store-bought versions just can’t match.
Ingredients You’ll Need
This recipe relies on just a handful of essential ingredients, each playing a vital role in creating the signature creamy texture and bright, garlicky flavor. The combination is straightforward but results in something truly special.
- Mayonnaise: Use high-quality mayonnaise for a rich, velvety finish that forms the base of your aioli.
- Fresh Garlic Cloves: Minced finely, they infuse the dip with that unmistakable bold garlic essence.
- Lemon Juice: Freshly squeezed for a vibrant zing that cuts through the richness.
- Olive Oil: Extra virgin olive oil adds a subtle fruity note and helps emulsify the sauce to perfection.
- Salt: Just a pinch enhances all the flavors, tying them together beautifully.
- Black Pepper: Freshly ground to provide a mild heat that rounds out the taste.
How to Make Easy Homemade Garlic Aioli for a Flavor-Packed Dip Recipe
Step 1: Prep Your Ingredients
Begin by gathering all your ingredients in one spot. Peel the garlic cloves carefully and have your lemon ready to juice. This prep step is key to ensuring a smooth, quick assembly without interruptions.
Step 2: Mince the Garlic
Use a sharp knife or garlic press to finely mince the fresh garlic. The finer the mince, the more evenly the garlic flavor will be distributed throughout your aioli, resulting in a perfectly balanced dip.
Step 3: Combine Mayonnaise and Garlic
In a mixing bowl, add the mayonnaise and minced garlic. Stir them together until the garlic is evenly incorporated, setting a flavorful base for the sauce.
Step 4: Add Fresh Lemon Juice
Squeeze in the lemon juice carefully, making sure to catch any seeds. The fresh lemon juice brightens the aioli and adds an essential acidic note that complements the richness.
Step 5: Drizzle and Emulsify Olive Oil
Slowly drizzle the extra virgin olive oil into the mixture while stirring continuously. This gradual addition helps the oil blend smoothly, creating a wonderfully velvety texture.
Step 6: Season with Salt and Pepper
Sprinkle in salt and freshly ground black pepper. Taste the mixture and adjust to your liking, making sure each bite packs just the right amount of seasoning.
Step 7: Refrigerate to Meld Flavors
Cover the bowl with plastic wrap and let it chill in the refrigerator for at least 30 minutes. This resting period lets all the flavors mingle and deepen, turning your aioli into something truly delightful.
Step 8: Stir and Adjust Consistency
Before serving, give the aioli a good stir. If you find the dip a bit too thick, gently thin it out with a splash of water or extra olive oil until it reaches your preferred consistency.
Step 9: Serve and Enjoy
Your Easy Homemade Garlic Aioli for a Flavor-Packed Dip Recipe is now ready to impress! Serve alongside your favorite fresh vegetables, crispy fries, or grilled meats to add that irresistible garlic kick.
How to Serve Easy Homemade Garlic Aioli for a Flavor-Packed Dip Recipe
Garnishes
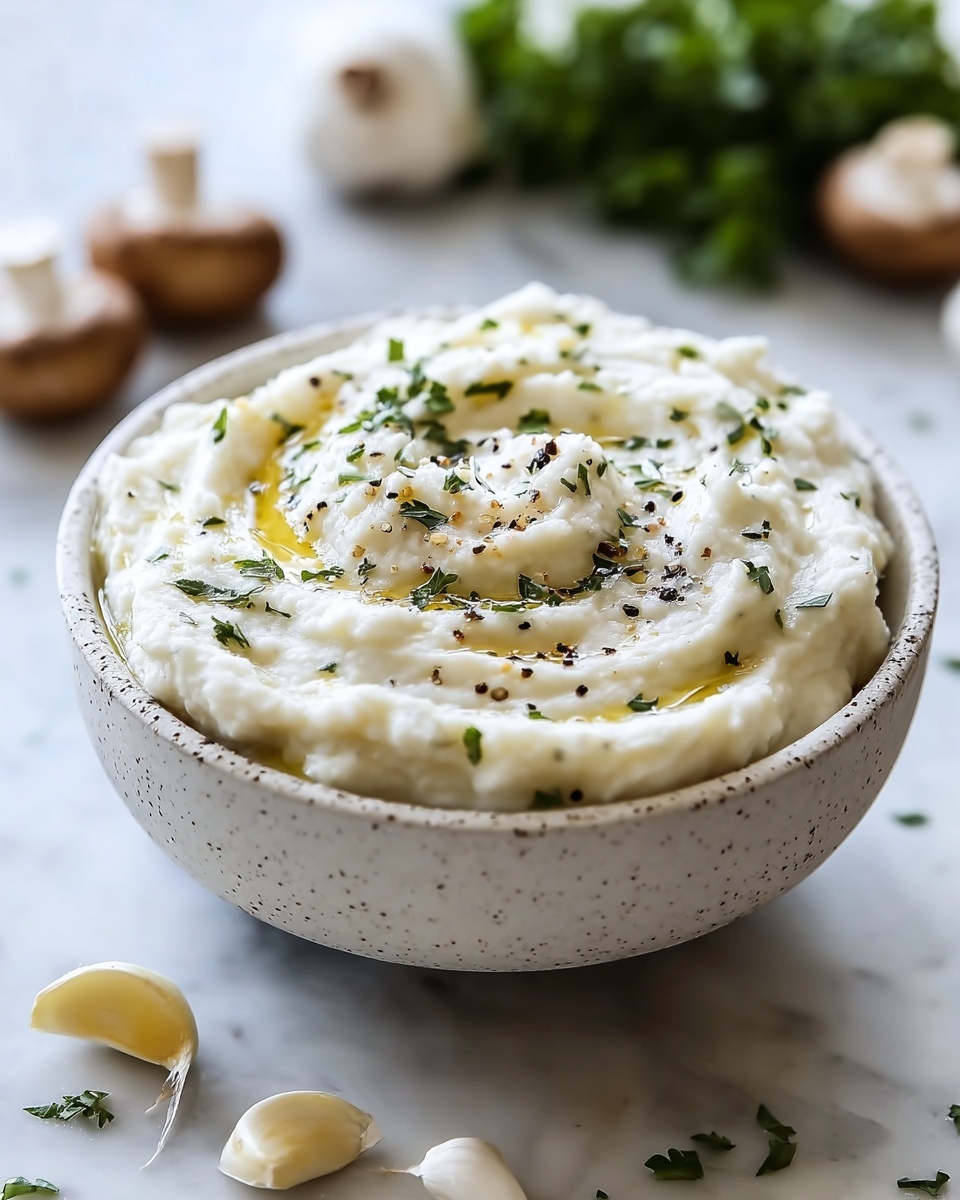
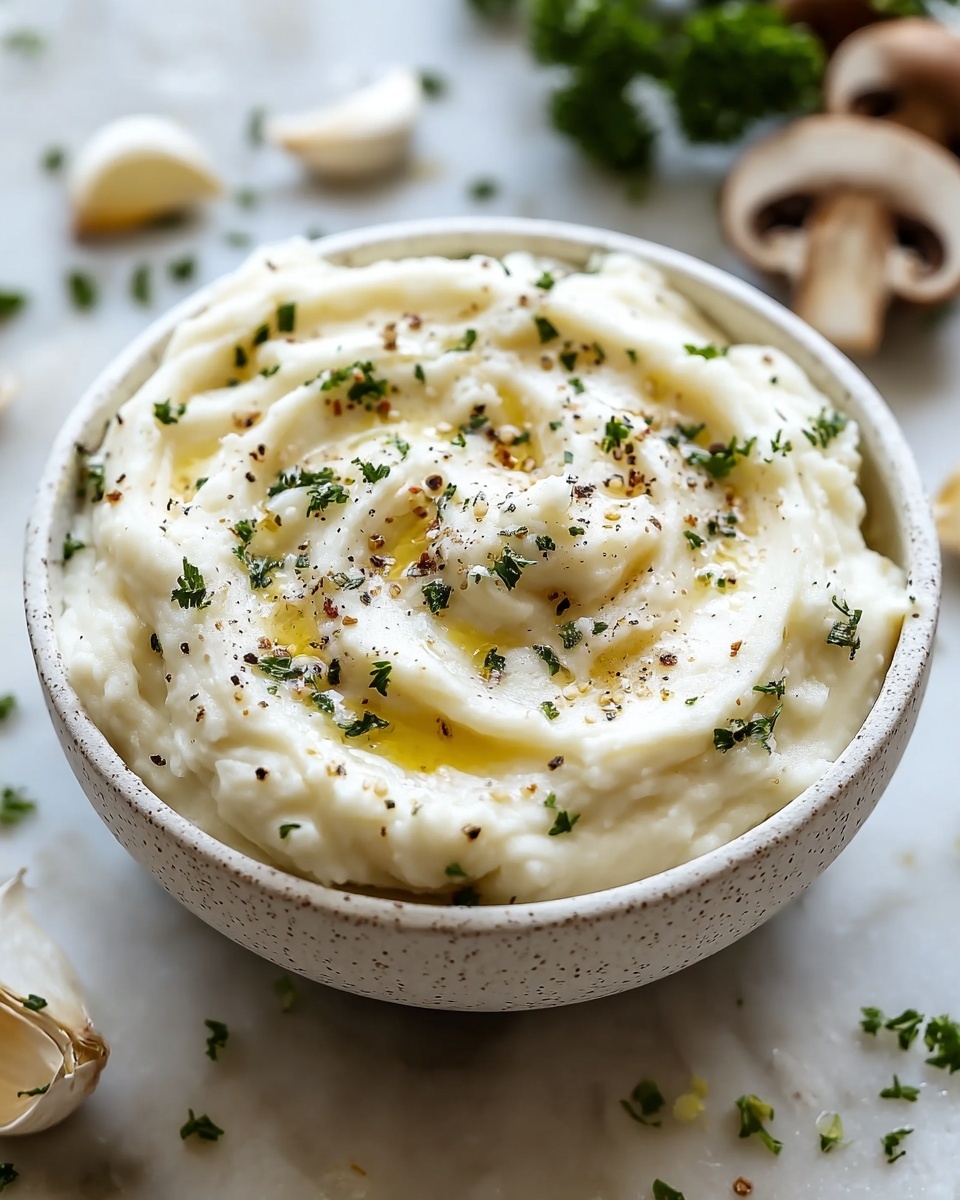
To elevate the presentation and add extra flair, sprinkle freshly chopped parsley or chives over the aioli. A light dusting of smoked paprika can also introduce a subtle smoky undertone, making your dip not just tasty but visually appealing as well.
Side Dishes
This aioli pairs beautifully with a wide range of sides. Try it with crunchy roasted potatoes, fresh crudités, warm crusty bread, or grilled seafood and chicken. Each pairing highlights different aspects of the aioli’s rich, garlic-forward character.
Creative Ways to Present
Think beyond bowls—serve your aioli in small ramekins for a dinner party or dollop it decoratively on a charcuterie platter. You can even use it as a spread on burgers or sandwiches for an instant flavor upgrade that will wow your guests.
Make Ahead and Storage
Storing Leftovers
Keep any leftover aioli in an airtight container in the refrigerator. It will stay fresh and flavorful for up to one week, so you can enjoy that garlicky goodness with multiple meals.
Freezing
While freezing aioli isn’t generally recommended due to potential texture changes, if necessary, freeze in a sealed container for up to one month. Thaw in the fridge and whisk well before using to bring it back to a smooth consistency.
Reheating
Because this aioli is best served cold or at room temperature, reheating is not advised. Instead, simply let it sit at room temperature for about 10 minutes before serving to soften the flavors if it has been chilled.
FAQs
Can I use garlic powder instead of fresh garlic?
While garlic powder can work in a pinch, fresh garlic provides a more vibrant and authentic flavor essential to this Easy Homemade Garlic Aioli for a Flavor-Packed Dip Recipe. The freshness really makes a difference.
Is it possible to make this aioli vegan?
Absolutely! You can substitute the mayonnaise with a vegan alternative to keep the texture creamy while still enjoying that garlic punch in your aioli.
How long does the aioli keep in the fridge?
Stored properly in an airtight container, your aioli will stay fresh and delicious for up to one week, making it perfect for prepping ahead or enjoying over several days.
Can I add other herbs or spices?
Yes! Feel free to experiment by adding herbs like dill, basil, or even a pinch of cayenne for heat. Just keep in mind how additions might alter the flavor balance you love.
What can I do if the aioli is too thick?
If your aioli seems too thick, simply stir in a little water or more olive oil until it reaches your desired consistency. This makes it perfect for dipping or spreading without compromising the flavor.
Final Thoughts
There’s something truly magical about creating your own Easy Homemade Garlic Aioli for a Flavor-Packed Dip Recipe at home. With a handful of simple ingredients and just a little time, you can transform ordinary snacks into irresistible bites loaded with fresh garlic goodness. Give this recipe a try—you’ll wonder how you ever lived without it!
Print
Easy Homemade Garlic Aioli for a Flavor-Packed Dip Recipe
- Prep Time: 15 minutes
- Cook Time: 0 minutes
- Total Time: 45 minutes
- Yield: 4 servings
- Category: Condiment
- Method: No-Cook
- Cuisine: Mediterranean
- Diet: Vegetarian
Description
This Easy Homemade Garlic Aioli is a creamy, flavorful dip made from fresh garlic, high-quality mayonnaise, and zesty lemon juice. Perfect for adding a rich, garlicky punch to fries, vegetables, or grilled meats, this simple no-cook recipe comes together quickly with minimal ingredients, making it an ideal condiment for any meal or snack.
Ingredients
Aioli Ingredients
- 1 cup Mayonnaise (High-quality mayonnaise for a rich, velvety finish)
- 3–4 cloves Fresh Garlic (Minced finely for even distribution of flavor)
- 2 tablespoons Lemon Juice (Freshly squeezed for vibrant flavor)
- 2 tablespoons Olive Oil (Extra virgin for a fruity note)
- 1/4 teaspoon Salt (Enhances the flavors of the aioli)
- 1/8 teaspoon Black Pepper (Freshly ground for subtle heat)
Instructions
- Prepare Ingredients: Start by gathering all necessary ingredients—mayonnaise, fresh garlic, lemon juice, olive oil, salt, and black pepper. Peel and ensure the garlic cloves are ready for mincing.
- Minced Garlic: Finely mince the fresh garlic cloves using a sharp knife or garlic press to ensure the flavor disperses evenly throughout the aioli.
- Combine Mayonnaise and Garlic: In a mixing bowl, add the mayonnaise and minced garlic, stirring well so the garlic is evenly distributed.
- Add Lemon Juice: Squeeze fresh lemon juice into the bowl, being careful to avoid any seeds. Mix thoroughly to blend the citrusy brightness into the base.
- Emulsify with Olive Oil: Slowly drizzle the extra virgin olive oil into the mixture while stirring continuously to create a smooth, emulsified texture.
- Season: Add salt and freshly ground black pepper to taste, stirring to incorporate the seasoning evenly.
- Chill and Meld Flavors: Cover the bowl with plastic wrap and refrigerate for at least 30 minutes to allow the flavors to meld and develop fully.
- Final Stir and Adjust: After chilling, give the aioli a good stir. If the consistency is too thick, adjust by adding a small amount of water or olive oil until desired consistency is reached.
- Serve: Serve the garlic aioli alongside fresh-cut vegetables, crispy fries, or grilled meats for a delicious, flavor-packed accompaniment.
Notes
- For a stronger garlic flavor, allow the aioli to chill longer before serving.
- Use fresh lemon juice for the best flavor; bottled lemon juice can be too acidic.
- If you prefer a smoother texture, you can use a blender or food processor to combine ingredients instead of mixing by hand.
- Store leftover aioli in an airtight container in the refrigerator for up to 3 days.
- Adjust garlic quantity according to taste preference.
- This aioli can be customized by adding herbs like parsley or chives for additional flavor.


