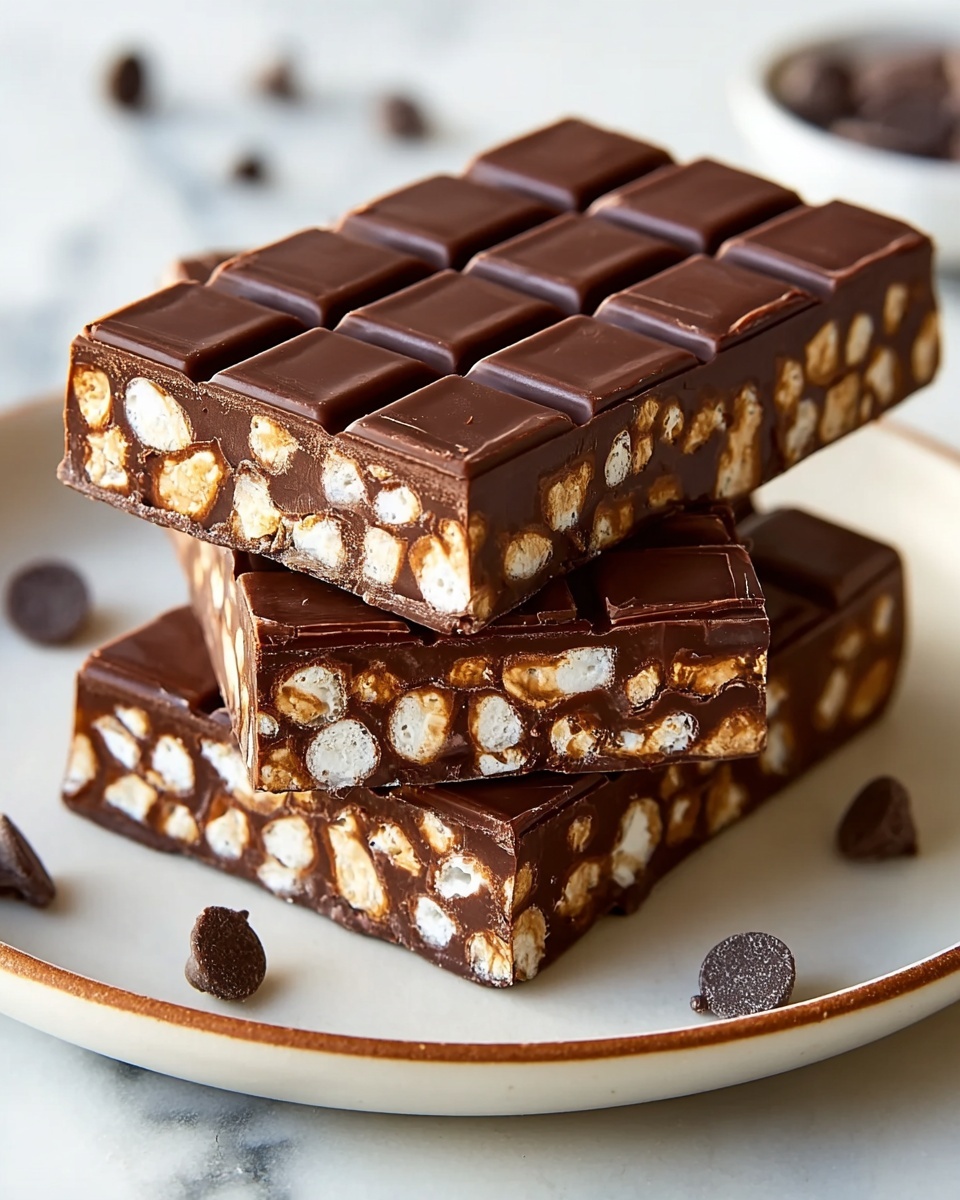
If you’re looking for a scrumptious treat that’s quick to whip up and doesn’t require turning on the oven, this Easy No-Bake Chocolate Crunch Bars Recipe is the answer you’ve been waiting for. Imagine layers of creamy, melted chocolate mingling perfectly with nutty butter and the delightful crunch of crispy rice cereal — all coming together in just a few simple steps. Whether you’re craving a sweet snack or need an easy dessert for a gathering, these bars hit the spot every time with their irresistible texture and rich flavor.
Ingredients You’ll Need
This recipe is a celebration of simple ingredients that each play a starring role in flavor and texture. From the silky smoothness of melted chocolate to the satisfying crunch of cereal, every element wonderfully complements the others.
- 2 cups Semi-sweet Chocolate Chips: Use high-quality chips for smooth melting and deep chocolate flavor.
- 3 cups Crispy Rice Cereal: This is the secret to the crunch that gives these bars their perfect texture.
- 1 cup Nut Butter: Creamy almond or peanut butter adds richness and a luscious nutty undertone.
- 1/2 cup Honey or Maple Syrup: A natural sweetener that also helps bind all the ingredients together.
- 1 teaspoon Vanilla Extract: Just a touch enhances the overall flavor profile beautifully.
- 1 pinch Salt: Balances the sweetness and brings out every note.
How to Make Easy No-Bake Chocolate Crunch Bars Recipe
Step 1: Melt the Chocolate
Start by melting your semi-sweet chocolate chips in a microwave-safe bowl. Heat in 30-second bursts, stirring in between, until your chocolate is perfectly smooth and glossy. The smooth texture will make the mixing process a breeze later on.
Step 2: Blend in the Nut Butter
Once the chocolate is melted, add the nut butter and stir vigorously until it’s fully combined. This step creates that creamy, luscious base that coats every crunchy bite of cereal.
Step 3: Sweeten and Flavor the Mixture
Add the honey or maple syrup, vanilla extract, and a pinch of salt to the chocolate mixture. Stir thoroughly so that every scoop has that perfectly balanced sweetness and a subtle depth brought by the vanilla and salt.
Step 4: Combine with Crispy Rice Cereal
In a large bowl, gently fold the crispy rice cereal into your chocolate mixture. The goal is to coat the cereal evenly without crushing it, so take your time to mix gently and maintain that lovely crunch.
Step 5: Press the Mixture Into the Pan
Line a 9×9-inch baking dish with parchment paper, then transfer your mixture into the pan. Press it down firmly and evenly with the back of a spatula or your fingers to create a compact layer that will hold together when set.
Step 6: Chill Until Firm
Refrigerate the pan for 1 to 2 hours. This patience pays off as the bars firm up and hold their shape perfectly without crumbling.
Step 7: Slice and Enjoy
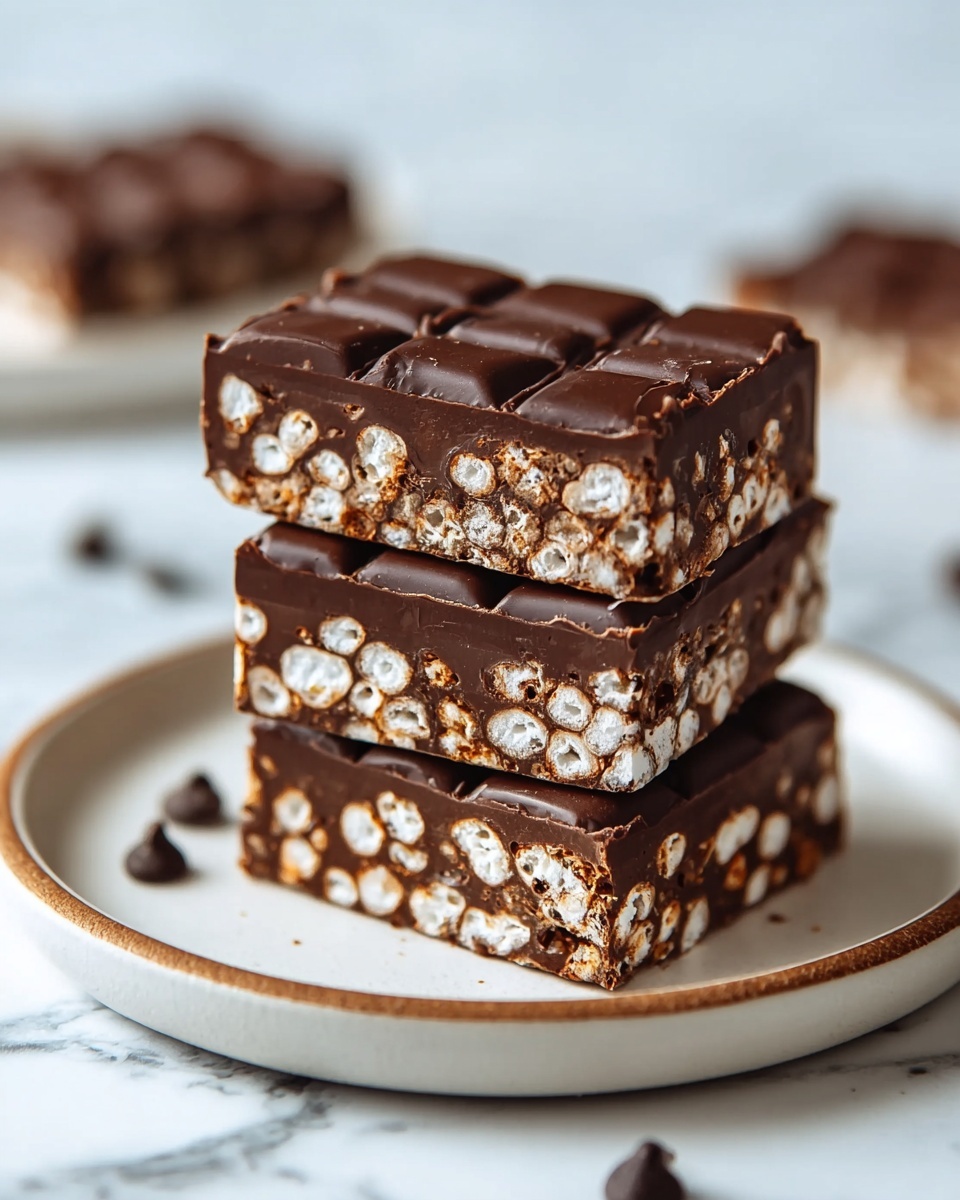
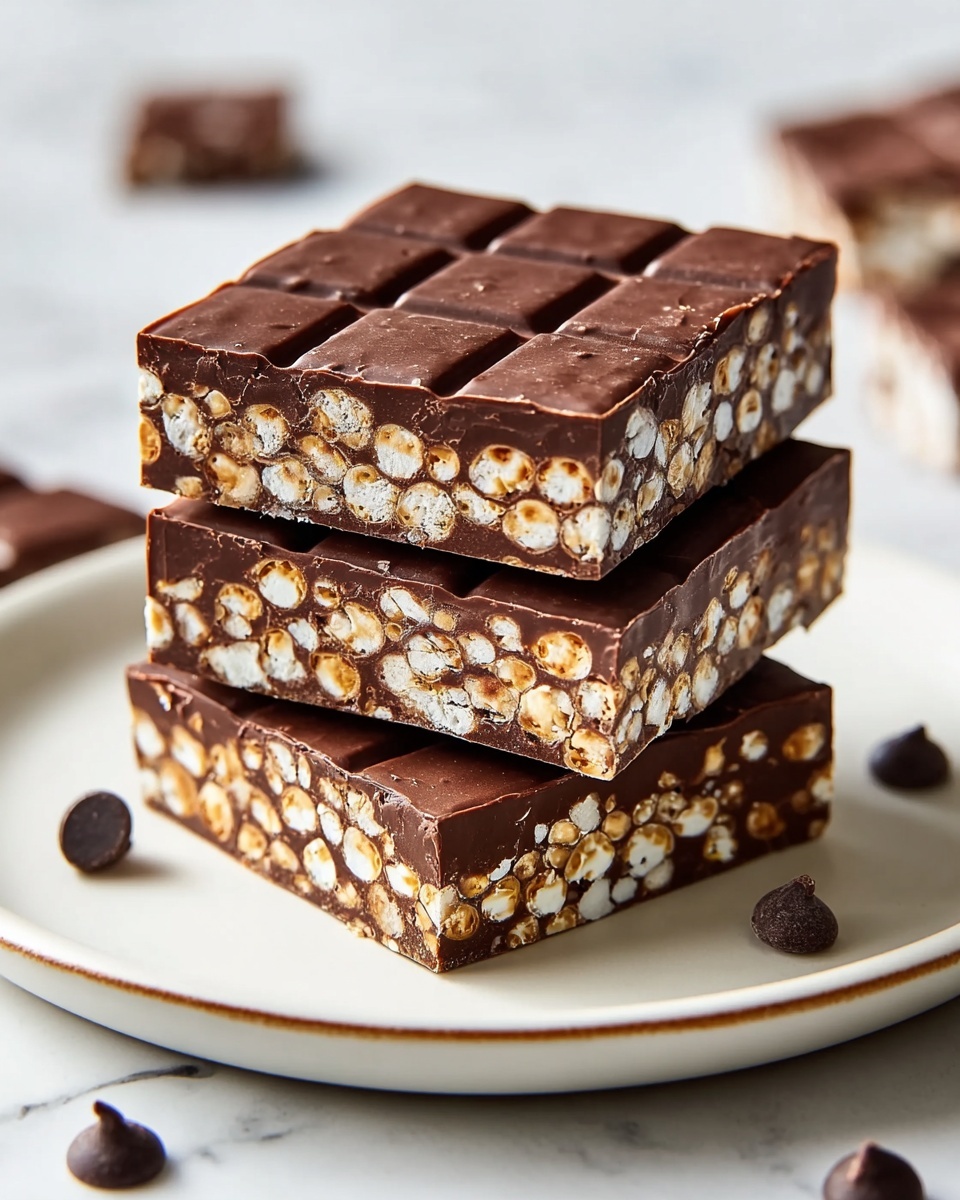
Remove the set mixture using the parchment paper, place it on a cutting board, and cut into squares or rectangles. These bars are ready to serve and enjoy immediately, making for a quick and satisfying bite.
How to Serve Easy No-Bake Chocolate Crunch Bars Recipe
Garnishes
For an extra-special touch, sprinkle some sea salt flakes or drizzle melted white chocolate on top before chilling. You can also toss on chopped nuts or shredded coconut to add contrast in flavor and texture.
Side Dishes
These bars pair delightfully with a cold glass of milk or a warm cup of coffee or tea. Their combination of sweet, crunchy, and creamy really shines alongside simple beverages.
Creative Ways to Present
Try arranging the bars on a decorative platter lined with colorful parchment paper for parties, or wrap individual bars in wax paper tied with twine to make charming homemade gifts. Adding a few fresh berries on the side can also elevate the presentation and add a pop of color.
Make Ahead and Storage
Storing Leftovers
Your leftover bars will keep wonderfully in an airtight container placed in the refrigerator for up to one week. This way, the chocolate stays firm and the cereal remains crisp for each indulgent bite.
Freezing
If you want to keep them longer, wrap individual bars tightly in plastic wrap and store them in a freezer-safe container. Frozen bars last up to a month and thaw quickly at room temperature.
Reheating
Since these bars are best served cool and crunchy, warming them is not recommended. Instead, just let them sit at room temperature for 10 minutes before serving if they feel too firm after refrigeration or freezing.
FAQs
Can I use a different type of chocolate in this recipe?
Absolutely! Milk chocolate or dark chocolate chips can be used instead of semi-sweet, but keep in mind the flavor and sweetness will change accordingly. Dark chocolate will give a richer, more intense flavor, while milk chocolate will add extra creaminess and sweetness.
What nut butter works best for these bars?
Creamy almond or peanut butter are both excellent choices because they melt smoothly and add great flavor. You can experiment with cashew or sunflower seed butter if you have nut allergies, but results may vary slightly.
Is there a vegan option for this Easy No-Bake Chocolate Crunch Bars Recipe?
Yes! Use maple syrup instead of honey and select dairy-free chocolate chips alongside a plant-based nut butter. This keeps the bars deliciously supportive of vegan diets without compromising texture.
Can I add other mix-ins to these bars?
Definitely! Feel free to toss in mini marshmallows, dried fruit pieces, or even small chocolate chunks for extra texture. Just be mindful not to overwhelm the crispy rice cereal, which is key to the crunch.
How do I make sure the bars hold together well?
Firmly pressing the mixture into the pan and allowing sufficient chilling time are crucial to help the bars set solidly. Also, using a sticky sweetener like honey or maple syrup ensures everything binds beautifully.
Final Thoughts
There’s truly nothing like having a batch of these Easy No-Bake Chocolate Crunch Bars Recipe ready whenever you want a sweet pick-me-up. Their simple ingredients, fuss-free method, and irresistible taste make them my go-to recipe for treats that wow every time. I can’t wait for you to try this yourself and see how quickly these bars become a beloved classic in your kitchen!
Print
Easy No-Bake Chocolate Crunch Bars Recipe
- Prep Time: 15 minutes
- Cook Time: 0 minutes
- Total Time: 1 hour 15 minutes
- Yield: 12 servings
- Category: Dessert
- Method: No-Cook
- Cuisine: American
- Diet: Vegetarian
Description
These Easy No-Bake Chocolate Crunch Bars combine creamy melted chocolate and nut butter with crispy rice cereal for a delicious and crunchy treat. Sweetened naturally with honey or maple syrup and enhanced by vanilla, these bars require no baking and set quickly in the fridge, making them perfect for a quick dessert or snack.
Ingredients
Chocolate Mixture
- 2 cups Semi-sweet Chocolate Chips (High-quality chocolate chips for melting)
- 1 cup Nut Butter (Creamy almond or peanut butter works best)
- 1/2 cup Honey or Maple Syrup (Natural sweetener and binding agent)
- 1 teaspoon Vanilla Extract (Enhances flavor)
- 1 pinch Salt (Balances sweetness)
Crunchy Base
- 3 cups Crispy Rice Cereal (Adds crunch to the bars)
Instructions
- Melt the chocolate chips: Place the semi-sweet chocolate chips in a microwave-safe bowl and heat in 30-second intervals, stirring in between, until the chocolate is fully melted and smooth.
- Combine with nut butter: Stir the nut butter into the melted chocolate until the mixture is fully combined and creamy in texture.
- Add sweeteners and flavor: Mix in the honey or maple syrup, vanilla extract, and a pinch of salt thoroughly to integrate all flavors evenly.
- Mix with crispy rice cereal: In a large mixing bowl, fold the crispy rice cereal gently into the chocolate mixture until all cereal pieces are evenly coated.
- Prepare the baking dish: Line a 9×9-inch baking dish with parchment paper, then transfer the coated cereal mixture into it, pressing down firmly to create an even layer.
- Chill to set: Place the dish in the refrigerator for 1 to 2 hours, allowing the bars to firm up and hold their shape.
- Serve: Remove the set mixture from the dish using the parchment paper, cut into 12 squares or rectangles, and enjoy immediately or store for later.
Notes
- Use high-quality chocolate chips for the best flavor and smooth texture.
- Feel free to substitute almond butter with peanut butter or any other nut/seed butter as preferred.
- Maple syrup can be used as a vegan alternative to honey.
- Ensure the mixture is pressed firmly into the baking dish to help the bars hold together well.
- Store bars in an airtight container in the refrigerator for up to one week.
- For a nuttier texture, consider adding chopped nuts or seeds to the cereal mixture before pressing into the dish.


