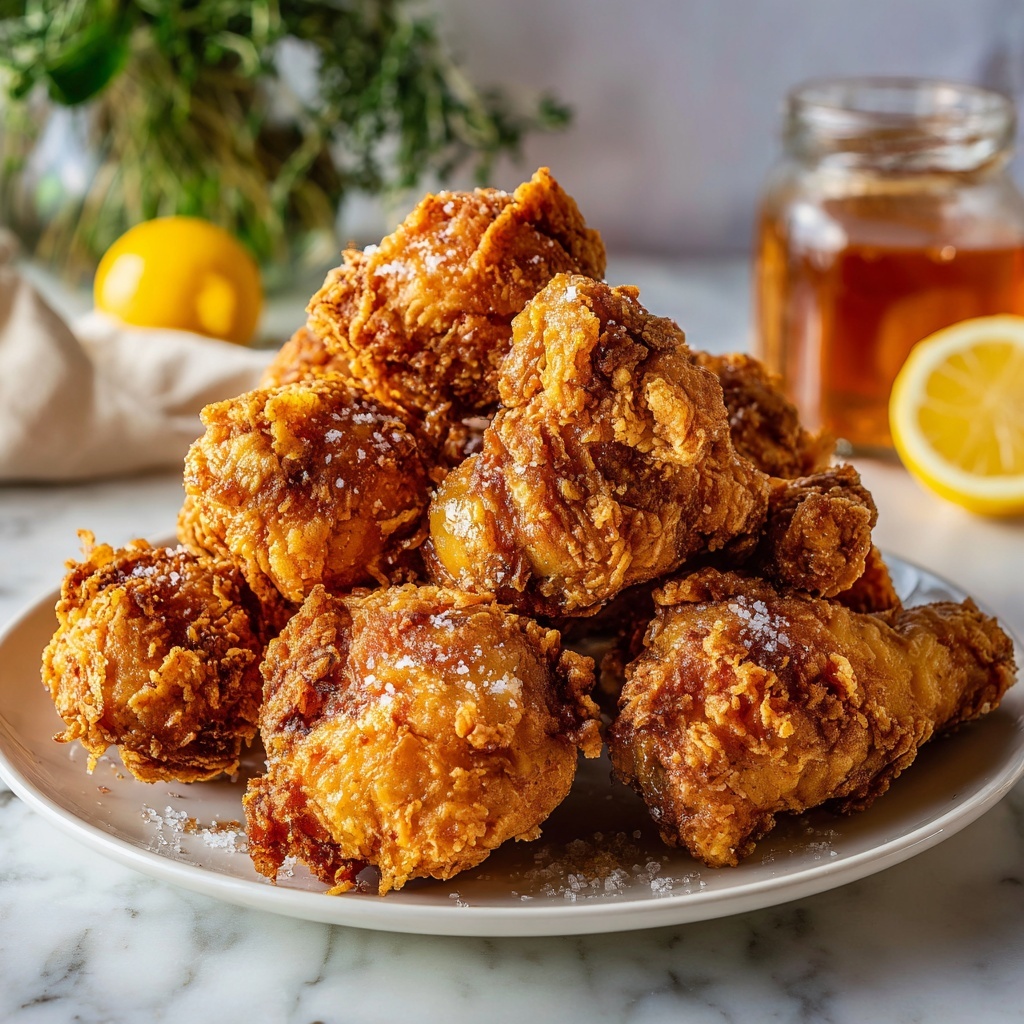
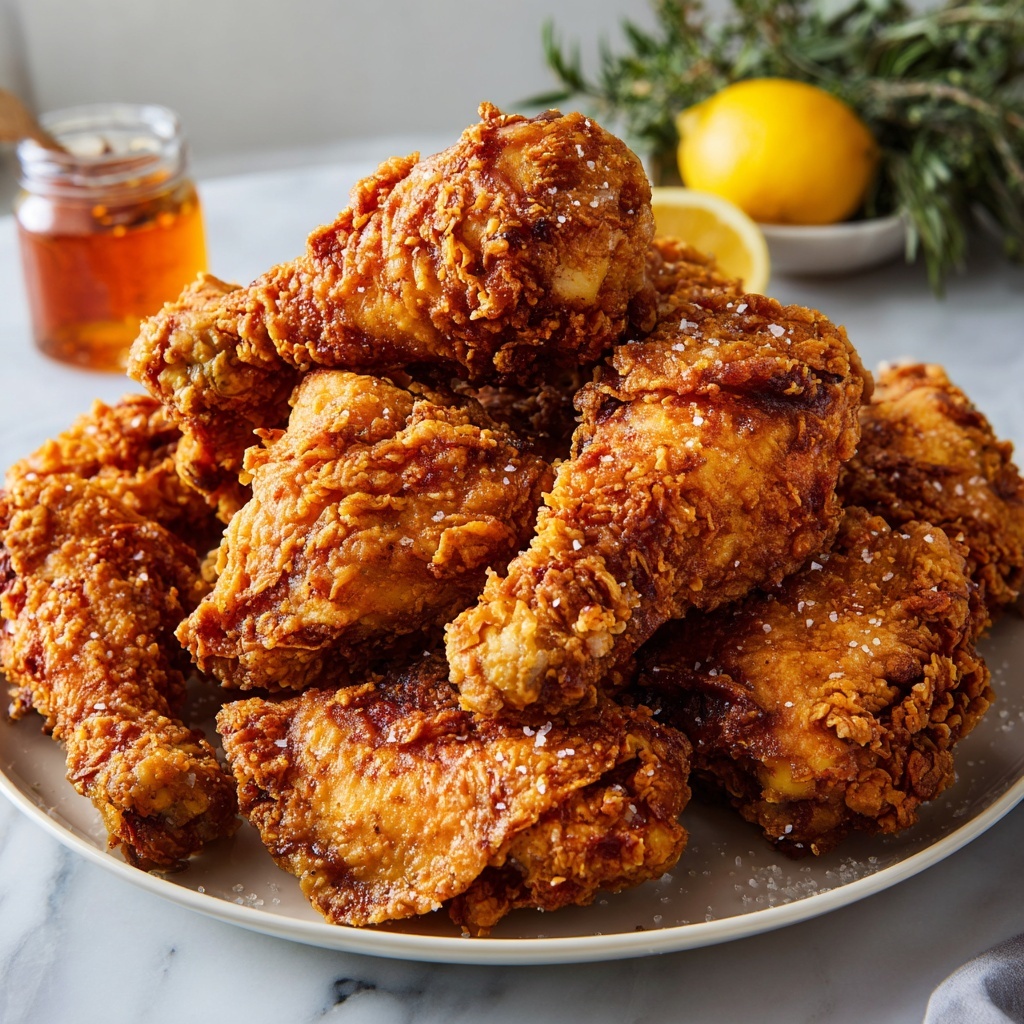
There is nothing quite like sinking your teeth into a perfectly crispy, juicy chicken that tastes like it was made with love in a warm family kitchen. Grandma’s Fried Chicken Recipe delivers that nostalgic, soul-satisfying flavor that brings everyone to the table, sharing smiles and stories. With its golden crust and tender meat soaked in buttermilk goodness, this recipe turns simple ingredients into a feast that feels like a warm hug from the past.
Ingredients You’ll Need
Every ingredient in Grandma’s Fried Chicken Recipe plays a vital role in building that perfect balance of crispiness, flavor, and juiciness. These straightforward staples come together beautifully to create layers of savory goodness and bring out the Southern charm in every bite.
- Whole chicken (about 3–4 pounds), cut into 8 pieces: The star of the show, ensuring even frying and ample crispy skin.
- Buttermilk (2 cups): The marinade that tenderizes the chicken and infuses it with tangy richness.
- Salt (2 teaspoons, divided): Essential to enhance all the flavors throughout the chicken and coating.
- Black pepper (1 teaspoon): Adds a gentle heat that balances the dish perfectly.
- Garlic powder (1 teaspoon): Brings a subtle aromatic depth to the crust.
- Paprika (1 teaspoon): Delivers a mild smoky note and beautiful color to the coating.
- All-purpose flour (2 cups): Creates the crispy, golden crust that everyone loves.
- Baking powder (1/2 teaspoon): Helps achieve that light, airy crunch in the coating.
- Vegetable oil (for frying): The perfect frying medium to ensure even crispiness without overpowering the chicken’s flavor.
How to Make Grandma’s Fried Chicken Recipe
Step 1: Marinate the Chicken
Start by placing the chicken pieces in a large bowl or zip-top bag. Pour the buttermilk over, then sprinkle in 1 teaspoon of salt and the black pepper. Mixing everything together coats each piece evenly, allowing the buttermilk to work its magic. Cover and refrigerate for a minimum of 4 hours, but overnight is ideal for yielding tender, flavorful meat that melts in your mouth.
Step 2: Prepare the Flour Coating
When you’re ready to fry, pull the chicken from the buttermilk and let excess liquid drip off gently—too much moisture will cause the coating to slide off or become soggy. In a shallow dish, combine the flour, baking powder, remaining 1 teaspoon salt, garlic powder, and paprika. This seasoned flour mix is the secret behind that crispy, golden crust that defines this recipe.
Step 3: Dredge the Chicken
Coat each piece of chicken thoroughly in the flour mixture, pressing it on firmly so the coating sticks well. For extra crunch, you can double-dip by returning the chicken briefly to the buttermilk and then back in the flour before frying. Let the coated chicken rest for about 15 minutes on a wire rack—this little trick helps the crust set and stay intact while frying.
Step 4: Fry the Chicken
Heat 2 to 3 inches of vegetable oil in a deep skillet or Dutch oven to 325°F. Carefully add the chicken pieces skin-side down, working in batches so the oil temperature stays consistent and the chicken fries evenly. Cook each side for 12 to 15 minutes until the crust is deeply golden and the internal temperature reaches 165°F. Drain the fried chicken on a wire rack over a baking sheet or paper towels, allowing any excess oil to drip off.
Step 5: Rest and Serve
Let the chicken rest for 5 minutes after frying to lock in juices and finish crisping. This final pause guarantees a moist interior paired with a crackling crust—a true hallmark of Grandma’s Fried Chicken Recipe.
How to Serve Grandma’s Fried Chicken Recipe

Garnishes
A sprinkle of freshly chopped parsley or a few lemon wedges on the side can brighten up the plate and add a pop of freshness that complements the rich fried chicken. You might also consider a dash of hot sauce for those who like a little heat alongside their comfort food.
Side Dishes
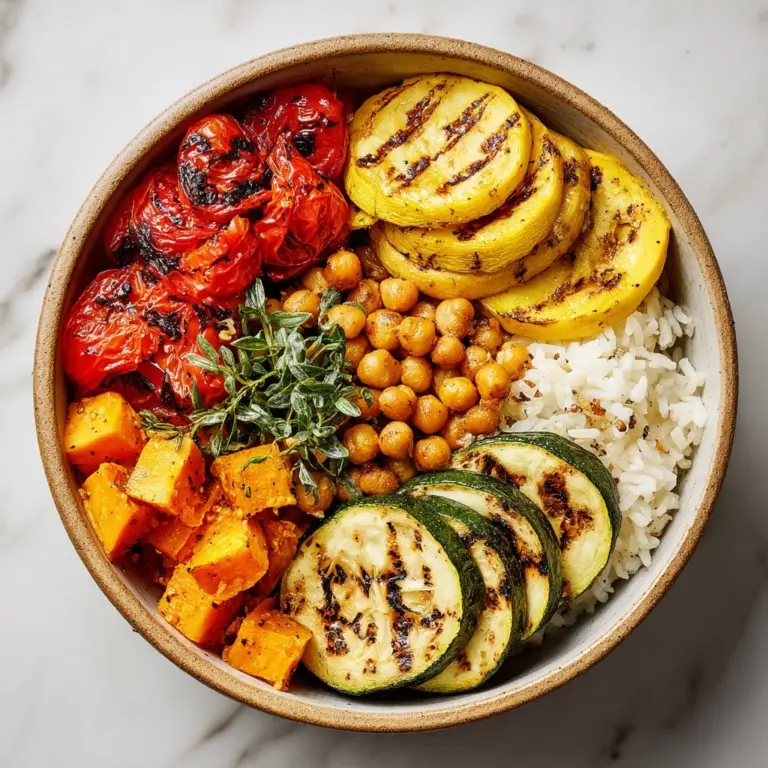
This recipe pairs beautifully with classic Southern sides like creamy mashed potatoes, tangy coleslaw, or fluffy buttermilk biscuits. These accompaniments bring balance to the meal, offering cool, creamy, and starchy textures to contrast the crunchy chicken.
Creative Ways to Present
For a fun family feast, serve the chicken on a large platter lined with crisp lettuce leaves or edible flowers for a festive look. You could also present it with small bowls of different dipping sauces, from honey mustard to spicy barbecue, allowing everyone to customize every bite.
Make Ahead and Storage
Storing Leftovers
Once cooled completely, you can store leftover fried chicken in an airtight container in the refrigerator for up to 3 days. Keeping it on a wire rack inside the container helps maintain crispness by preventing condensation buildup.
Freezing
If you want to save some for later, freeze your cooked fried chicken by wrapping each piece tightly in plastic wrap and then placing them in a freezer bag. It’s best to freeze within a day of cooking and consume within 1 to 2 months for peak flavor.
Reheating
Reheat leftovers in a 375°F oven on a wire rack over a baking sheet to revive the crispy crust without drying out the meat. Avoid microwaving as it tends to make the crust soggy. Reheat for 15 to 20 minutes until warmed through and crackling again.
FAQs
Can I use chicken breasts instead of a whole chicken?
Absolutely! Boneless, skin-on chicken breasts work well, though frying times will be shorter—around 8 to 10 minutes per side depending on thickness. Just be sure not to overcook to keep the meat juicy.
Is buttermilk necessary for this recipe?
While buttermilk is traditional and really helps tenderize the chicken, you can substitute with plain yogurt or milk mixed with a splash of lemon juice or vinegar for a similar effect.
How do I know when the chicken is done frying?
Use a meat thermometer to ensure the internal temperature reaches 165°F. Visually, the crust should be a deep golden brown and the chicken should feel firm but not tough when pressed.
Can I make this recipe gluten-free?
Yes! Just swap the all-purpose flour with a gluten-free flour blend suitable for frying. The texture might vary slightly, but the flavors will remain fantastic.
What’s the best oil to use for frying chicken?
Vegetable oil or peanut oil work best because they have a high smoke point and a neutral flavor, allowing the chicken’s seasoning to shine without burning.
Final Thoughts
Nothing beats the warm, crispy delight of Grandma’s Fried Chicken Recipe. This dish is a wonderful way to bring tradition, comfort, and incredible flavor right into your kitchen. Whether it’s for a family dinner or a special gathering, give it a try—you’ll soon understand why it’s a beloved classic passed down through generations.
Print
Grandma’s Fried Chicken Recipe
- Prep Time: 15 minutes (plus 4 hours marinating)
- Cook Time: 30 minutes
- Total Time: 4 hours 45 minutes
- Yield: 4 servings
- Category: Main Course
- Method: Frying
- Cuisine: Southern American
- Diet: Gluten Free
Description
Grandma’s Fried Chicken is a classic Southern American dish featuring tender chicken pieces marinated in buttermilk, then dredged in a seasoned flour mixture and fried to crispy, golden perfection. This recipe ensures juicy, flavorful chicken with a crunchy crust that’s perfect for a comforting main course.
Ingredients
Chicken and Marinade
- 1 whole chicken (about 3–4 pounds), cut into 8 pieces
- 2 cups buttermilk
- 2 teaspoons salt, divided
- 1 teaspoon black pepper
Coating
- 2 cups all-purpose flour
- 1/2 teaspoon baking powder
- 1 teaspoon garlic powder
- 1 teaspoon paprika
Frying
- Vegetable oil (for frying, about 2–3 inches deep)
Instructions
- Marinate the Chicken: Place the chicken pieces in a large bowl or zip-top bag. Pour in the buttermilk, 1 teaspoon of salt, and black pepper. Mix well to coat all pieces thoroughly, then cover and refrigerate for at least 4 hours or overnight to enhance flavor and tenderness.
- Prepare the Flour Mixture: In a shallow bowl or dish, combine the flour, baking powder, remaining 1 teaspoon salt, garlic powder, and paprika. Mix well to evenly distribute the seasonings.
- Dredge the Chicken: Remove the chicken pieces from the buttermilk, allowing excess to drip off. Dredge each piece thoroughly in the seasoned flour mixture, pressing firmly so the coating adheres well to the chicken.
- Heat the Oil: In a deep skillet or Dutch oven, pour in enough vegetable oil to reach 2–3 inches deep. Heat the oil to 325°F (163°C), ensuring it reaches the proper frying temperature before adding chicken.
- Fry the Chicken: Carefully place chicken pieces in the hot oil skin-side down, working in batches to prevent overcrowding which can lower oil temperature. Fry each piece for 12–15 minutes per side until golden brown, crispy, and cooked through, reaching an internal temperature of 165°F (74°C).
- Drain and Rest: Remove fried chicken and place on a wire rack over a baking sheet or on paper towels to drain excess oil. Allow the chicken to rest for 5 minutes before serving to let juices redistribute.
Notes
- For extra crispy chicken, let the dredged pieces rest for 15 minutes before frying to help the coating set.
- Double-dip the chicken by dipping back into the buttermilk and then flour for a crunchier crust.
- Serve alongside mashed potatoes, coleslaw, or warm biscuits for a classic Southern meal experience.
- Use gluten-free flour substitution to make the recipe gluten-free.

