
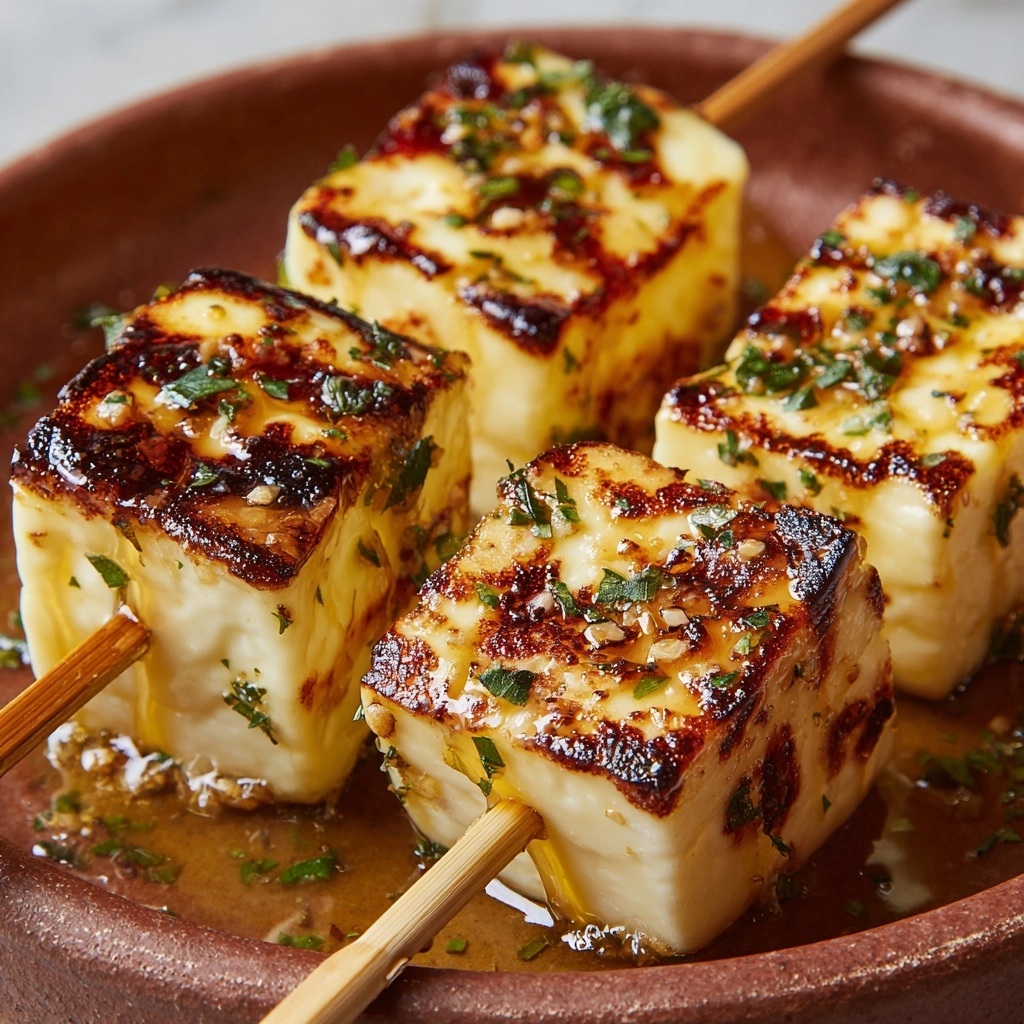
If you’re looking for a fun, bite-sized twist on a classic comfort food, look no further than this Grilled Cheese Skewers Recipe. It takes the gooey, melty goodness of a grilled cheese sandwich and transforms it into an irresistible party appetizer or snack that’s perfect for sharing. Crispy on the outside with soft, cheesy centers, these skewers are not only delicious but also a delightful way to bring everyone together around the table. Whether you’re serving kids, friends, or family, Grilled Cheese Skewers are the ultimate crowd-pleaser.
Ingredients You’ll Need
With just a handful of simple, everyday ingredients, this Grilled Cheese Skewers Recipe comes together quickly and effortlessly. Each element plays a special role in creating that perfect balance of flavor, crunch, and melty delight.
- Thick-cut bread: Provides a sturdy base that crisps up nicely while holding all the cheesy goodness inside.
- Softened butter: Ensures a golden, crispy crust and adds rich flavor when grilled.
- Shredded cheddar cheese (or cheese of choice): Melts perfectly to give you that irresistible ooey-gooey center.
- Garlic powder (optional): Adds a subtle savory depth that elevates the grilled cheese beyond the basics.
- Dried oregano (optional): Brings a touch of herbal brightness and complexity to the flavor profile.
- Wooden skewers: Perfect for assembling the bite-sized cubes into fun and easy-to-eat morsels.
- Cooking spray or additional butter for grilling: Helps prevent sticking and ensures an even, delicious crust.
How to Make Grilled Cheese Skewers Recipe
Step 1: Prepare and Butter the Bread
Begin by buttering one side of each bread slice evenly with softened butter. If you want to add extra flavor, sprinkle a light dusting of garlic powder and dried oregano on the buttered side. This simple seasoning will heighten the aroma and make every bite taste amazing. Keep the buttered side down as you assemble to ensure a crisp exterior.
Step 2: Assemble the Sandwiches
Take four slices of bread and place them buttered side down on your work surface. Generously layer each one with shredded cheddar cheese, spreading it out evenly so every bite will be cheesy and melty. Then top each with the remaining slices of bread, buttered side facing up. You’ve just created the perfect grilled cheese sandwiches ready for the skillet.
Step 3: Grill to Golden Perfection
Heat a skillet or griddle over medium heat and apply a little cooking spray or butter to prevent sticking. Grill each sandwich for about 2 to 3 minutes per side, watching carefully for that beautiful golden brown crust to develop. The cheese should melt completely inside, creating the signature warm, gooey center that makes grilled cheese so beloved. Patience here is key for that irresistible texture.
Step 4: Cut into Cubes and Skewer
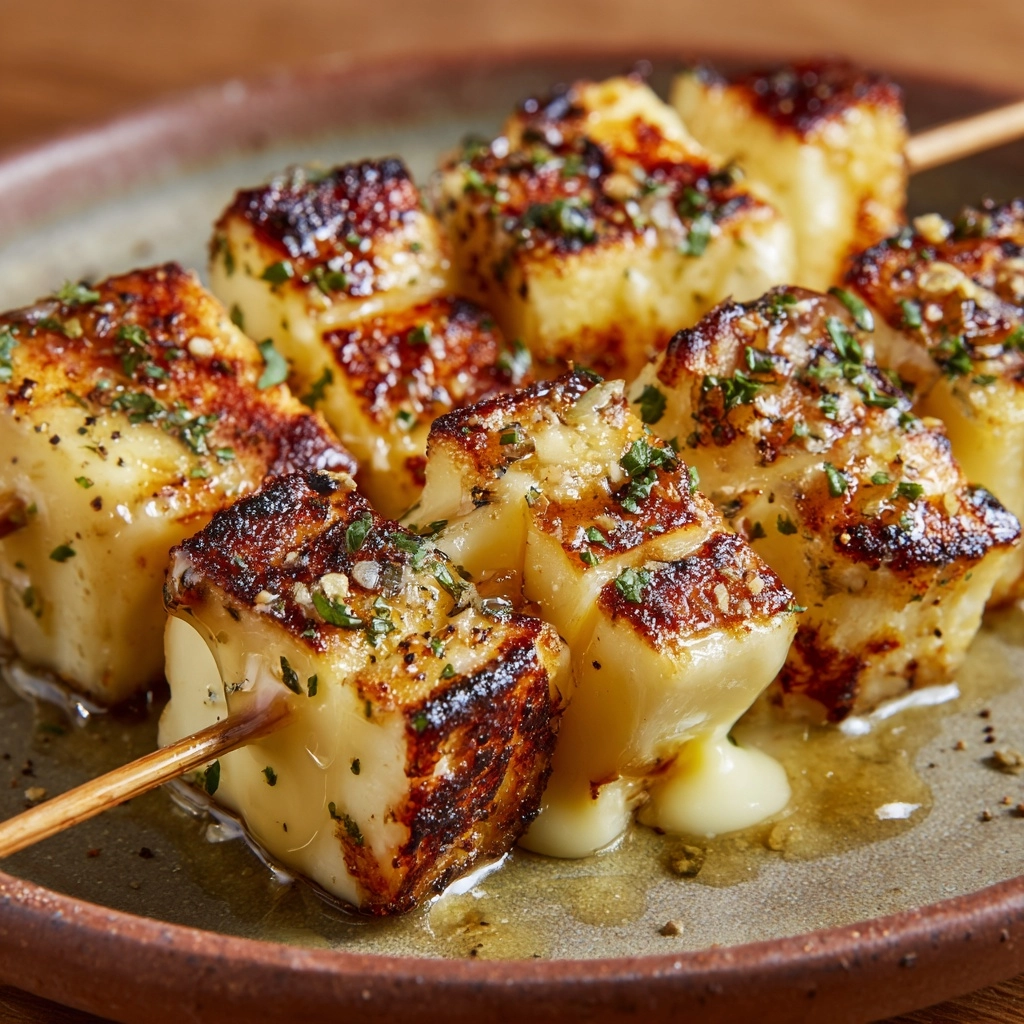
Once grilled, let the sandwiches cool slightly to make handling easier. Then slice each sandwich into bite-sized cubes—aim for roughly 4 to 6 pieces per sandwich, depending on your preference. Carefully thread the cubes onto wooden skewers, stacking them neatly for a charming presentation. These skewers are not just delicious; they’re downright adorable and perfect for sharing.
How to Serve Grilled Cheese Skewers Recipe
Garnishes
Enhance the visual appeal and flavor by adding simple garnishes like fresh parsley or a sprinkle of paprika. A small ramekin of marinara or tangy tomato soup on the side also complements the skewers beautifully, making them perfect for dipping and double the fun.
Side Dishes
Pair the skewers with light, fresh sides like crisp baby greens or a tangy coleslaw to contrast the rich cheese. For a heartier spread, creamy tomato basil soup or roasted vegetable bites create a comforting and satisfying meal experience.
Creative Ways to Present
For parties or kid-friendly events, consider serving the skewers standing upright in a pretty glass or mason jar filled with crushed crackers or colorful veggies to hold them in place. You could also arrange them on a large wooden board surrounded by dipping sauces, cherry tomatoes, and olives for a vibrant, shareable platter.
Make Ahead and Storage
Storing Leftovers
If you have leftovers, store the grilled cheese cubes without skewers in an airtight container in the refrigerator. They will stay tasty for up to 2 days, making a quick snack or lunch option that you can easily reheat later.
Freezing
While the skewers themselves are best fresh, you can freeze the grilled cheese cubes before skewering. Place them in a single layer on a baking sheet to freeze, then transfer to a freezer bag for up to one month. This way, you have ready-to-make bites just waiting for a quick re-grill.
Reheating
For the best texture, reheat leftover grilled cheese cubes in a hot skillet or toaster oven to crisp them up again. Avoid microwaving if you want to keep that perfect golden crust, as it tends to make the bread soggy and less appetizing.
FAQs
Can I use other types of cheese in this Grilled Cheese Skewers Recipe?
Absolutely! While cheddar is a classic choice, using mozzarella, provolone, pepper jack, or even a blend of cheeses can add exciting flavors and textures. Feel free to experiment to find your favorite combination.
What bread works best for Grilled Cheese Skewers?
Thick-cut bread is ideal because it holds together well when grilled and cut into cubes. White, sourdough, or whole wheat are all great options depending on your taste and desired texture.
Can I make these ahead of time for a party?
Definitely. You can prepare the sandwiches, grill them, and cut into cubes a few hours ahead. Keep them warm covered with foil until ready to skewer and serve, or prepare the cubes and assemble right before guests arrive.
Are there fun variations for kids?
Yes! Kids love it when you make food playful. Try cutting the sandwiches into fun shapes with cookie cutters before skewering or using mild cheeses for a simple, kid-friendly snack. Adding colorful veggie pieces to the skewers can also make them more appealing.
What dipping sauces go well with Grilled Cheese Skewers Recipe?
Tomato-based sauces like marinara or a classic tomato soup are perfect, but you can also try ranch dressing, honey mustard, or even a spicy aioli for a creative twist. The options are limitless and invite everyone to customize their bites.
Final Thoughts
There is something truly special about turning a beloved classic into playful, shareable bites with this Grilled Cheese Skewers Recipe. Whether for a cozy night in, a party, or a quick snack, these skewers deliver all the comfort, flavor, and fun you could ask for. I encourage you to give this recipe a try—you might just discover your new favorite way to enjoy grilled cheese!
Print
Grilled Cheese Skewers Recipe
- Prep Time: 10 minutes
- Cook Time: 10 minutes
- Total Time: 20 minutes
- Yield: 16–24 skewer pieces
- Category: Appetizer
- Method: Stovetop
- Cuisine: American
- Diet: Vegetarian
Description
Grilled Cheese Skewers are a fun and delicious twist on the classic grilled cheese sandwich, perfect for parties or a kid-friendly snack. Crispy, buttery bread sandwiches filled with melty cheddar cheese are grilled to golden perfection, then cut into bite-sized cubes and threaded onto wooden skewers for easy serving and dipping.
Ingredients
Ingredients
- 8 slices thick-cut bread
- 2 tablespoons softened butter
- 1 1/2 cups shredded cheddar cheese (or cheese of choice)
- 1/2 teaspoon garlic powder (optional)
- 1/2 teaspoon dried oregano (optional)
- Wooden skewers
- Cooking spray or additional butter for grilling
Instructions
- Prepare the bread: Butter one side of each bread slice evenly. If you like, sprinkle the buttered side lightly with garlic powder and dried oregano to add extra flavor.
- Assemble sandwiches: Place four slices of bread buttered side down on a clean surface. Evenly distribute the shredded cheddar cheese over these slices. Top with the remaining bread slices, buttered side up, to form four sandwiches.
- Preheat the skillet: Heat a skillet or griddle over medium heat. Optionally, spray or lightly butter the cooking surface to prevent sticking.
- Grill the sandwiches: Place the sandwiches on the hot skillet and cook for 2 to 3 minutes per side, or until the bread is golden brown and the cheese inside is melted gooey.
- Cool and cut: Remove the sandwiches from heat and let them cool slightly. Then, cut each sandwich into 4 to 6 bite-sized cubes.
- Skewer the cubes: Carefully thread the cubes onto wooden skewers, arranging them neatly for serving.
- Serve warm: Serve the grilled cheese skewers warm, optionally alongside tomato soup or your favorite dipping sauces for extra indulgence.
Notes
- Try different cheeses like mozzarella, provolone, or pepper jack for a variety of flavors.
- For a fun, kid-friendly presentation, cut the sandwiches into fun shapes before skewering.
- Use thick-cut bread for sturdier skewers that hold together well.


