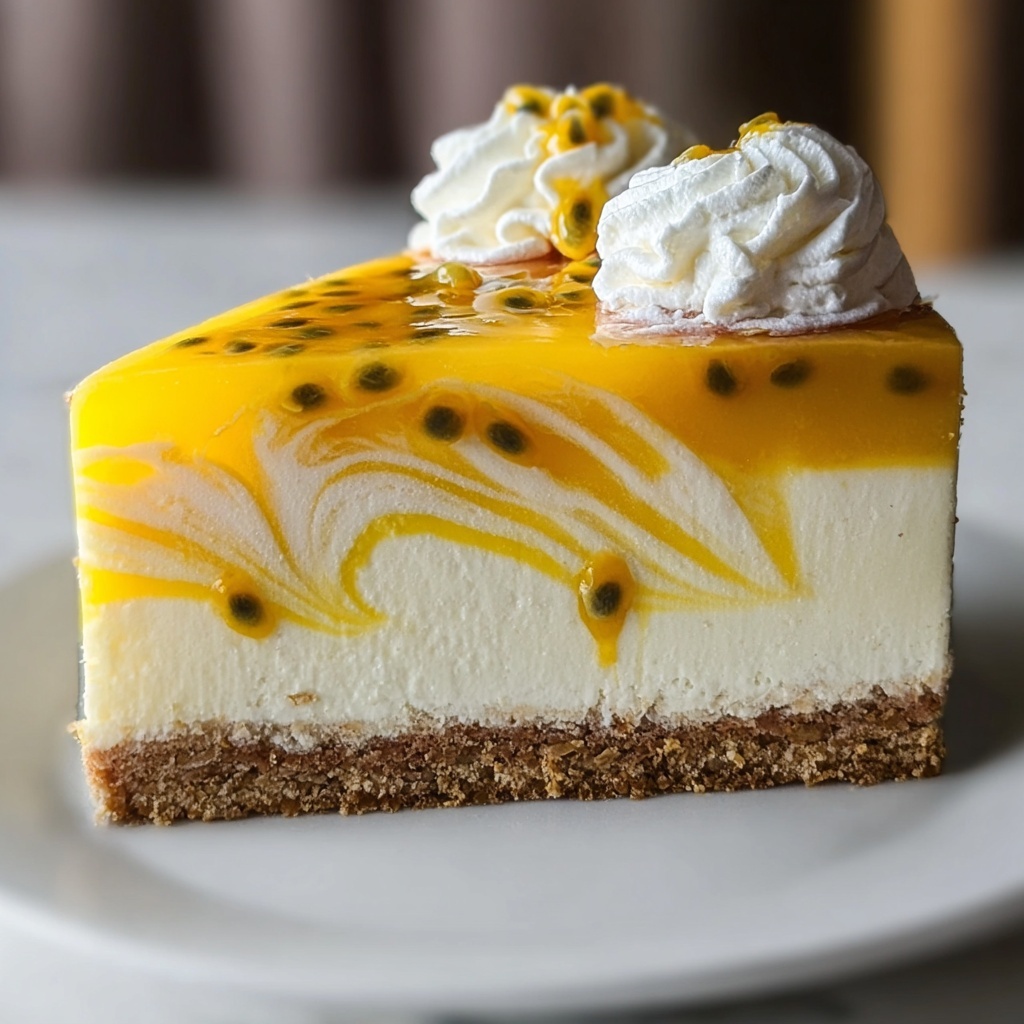
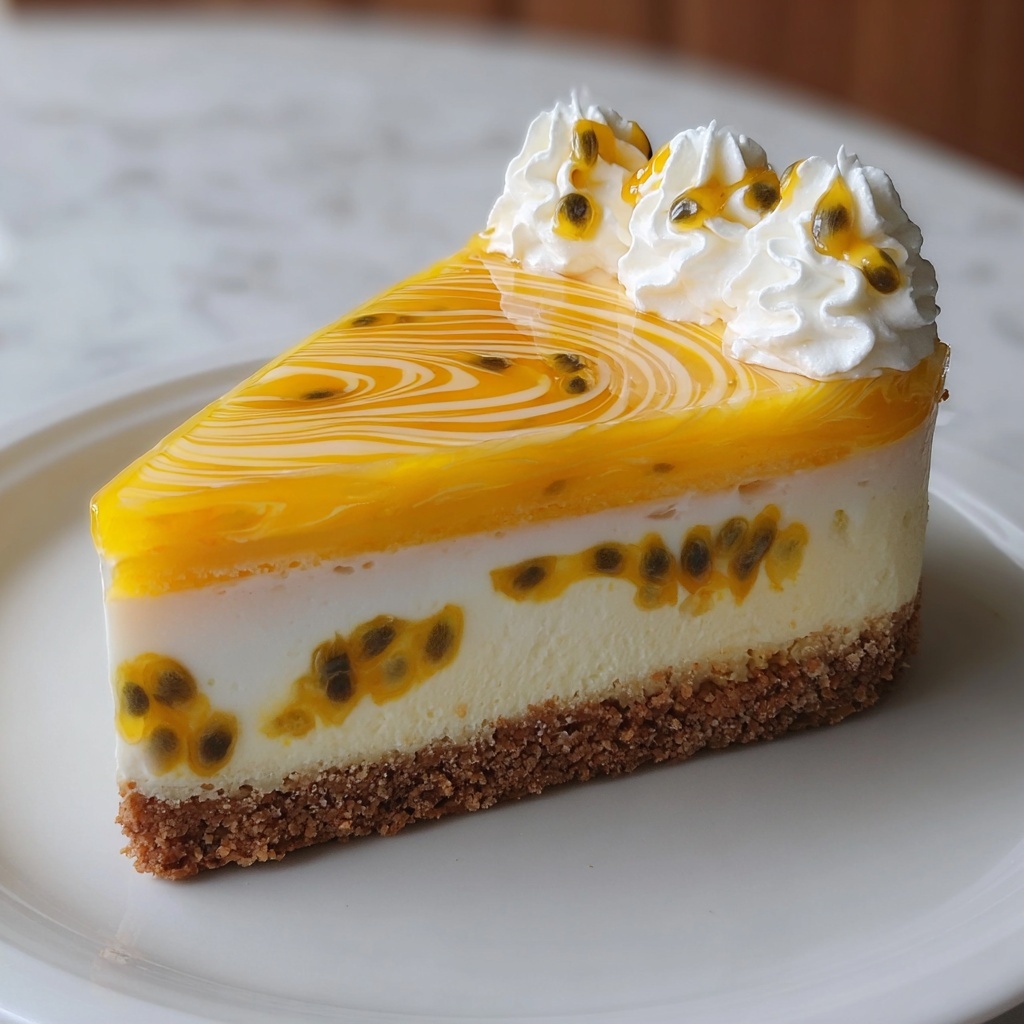
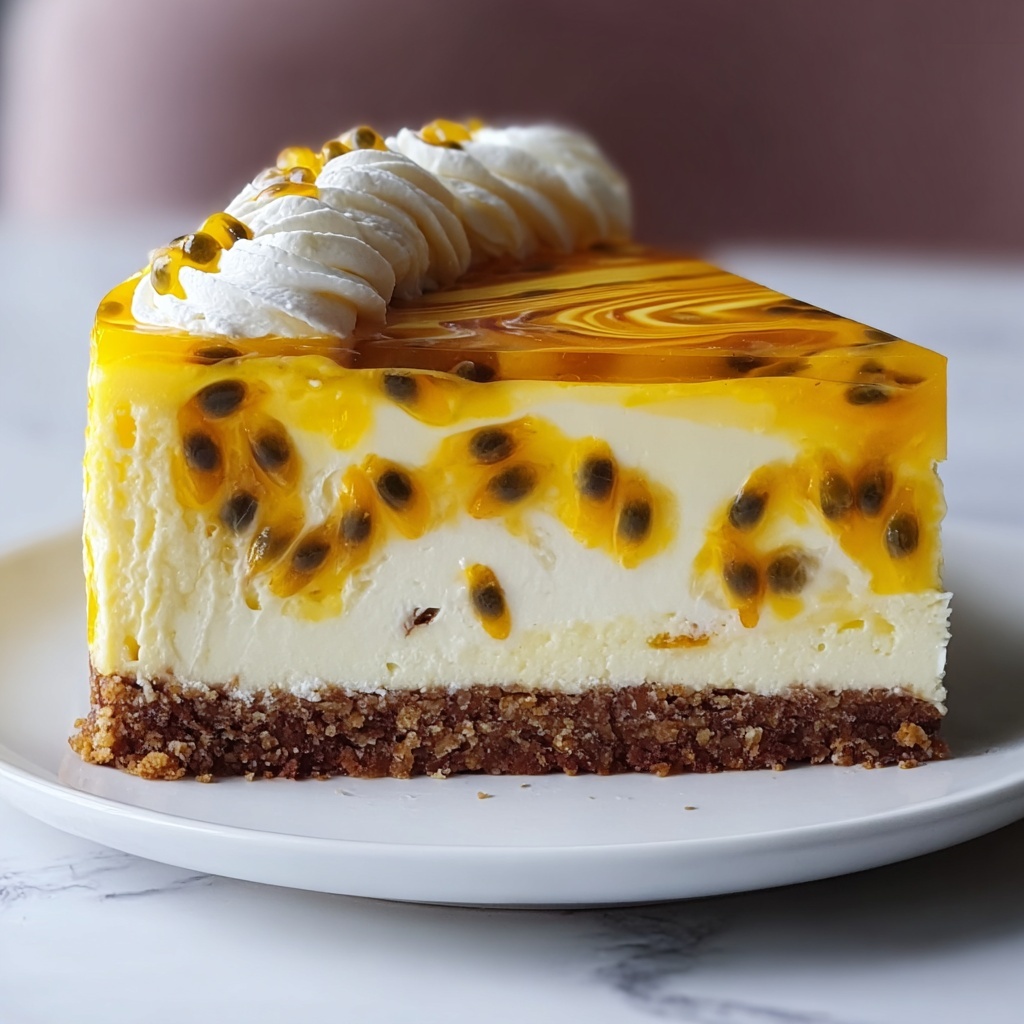
If you are looking for a dessert that truly dazzles both visually and on the taste buds, the Heavenly Passion Fruit Cheesecake to Wow Your Guests Recipe is an absolute must-try. Combining the rich creaminess of classic cheesecake with the exotic tang of passion fruit, this dessert strikes a perfect balance between sweet and tart. It’s a celebration in every bite, guaranteed to impress friends and family, while remaining surprisingly simple to create at home. Whether for a special occasion or an elegant weekend treat, this cheesecake will become your go-to showstopper recipe.
Ingredients You’ll Need
This recipe calls for a handful of simple but essential ingredients, each playing a key role in crafting the perfect texture, taste, and vibrant color of the cheesecake. From the crumbly biscuit base to the luscious passion fruit filling, every element is perfectly curated to bring out the best in this dessert.
- Digestive biscuits (200 grams): Crushed for a sweet and crumbly base that adds a subtle nutty flavor and satisfying crunch.
- Unsalted butter (100 grams): Melted to bind the biscuit crumbs and give the crust a golden richness.
- Cream cheese (500 grams): Softened to create the signature creamy and velvety body of the cheesecake.
- Caster sugar (150 grams): Sweetness that balances the tartness of the passion fruit while enhancing overall flavor.
- Passion fruit pulp (200 grams): Delivers the star tangy, tropical flavor that energizes and freshens the dessert.
- Double cream (300 ml): Whipped to soft peaks for a light, airy texture that complements the dense filling.
- Eggs (3 large): Provide structure and help bind the filling to perfection.
- Cornflour (30 grams): Stabilizes the filling, ensuring a smooth, firm, and sliceable cheesecake.
- Vanilla extract (1 teaspoon): Adds a warm, aromatic depth that rounds out the striking passion fruit bright notes.
How to Make Heavenly Passion Fruit Cheesecake to Wow Your Guests Recipe
Step 1: Prepare the Biscuit Base
Start by preheating your oven to 160°C (140°C fan). Combine the crushed digestive biscuits with the melted unsalted butter in a bowl until the mixture resembles wet sand. Press this evenly into the base of a greased springform tin, pressing firmly to create a compact crust. Pop it in the oven for 10 minutes to set, then allow it to cool completely on a wire rack. This step forms the delicious foundation that will hold all the creamy goodness.
Step 2: Create the Passion Fruit Cheesecake Filling
In a large bowl, whisk together the softened cream cheese and caster sugar until smooth and creamy. Next, add the passion fruit pulp, eggs, cornflour, and vanilla extract. Blend until the mixture is silky and consistent. In a separate bowl, whip the double cream until it just holds soft peaks, then gently fold it into the passion fruit mixture. This creates that light yet luscious texture that makes the Heavenly Passion Fruit Cheesecake to Wow Your Guests Recipe so memorable.
Step 3: Bake and Set the Cheesecake
Pour the prepared filling over the cooled biscuit base and smooth the top carefully with a spatula. Place it in the oven and bake for 45-50 minutes. The cheesecake should be slightly wobbly in the center, which ensures it won’t dry out and keeps it wonderfully creamy. Once baked, turn off the oven and leave the cheesecake inside for about an hour to cool gradually. Finally, transfer it to the fridge for at least four hours or overnight for that perfect set and flavor development.
How to Serve Heavenly Passion Fruit Cheesecake to Wow Your Guests Recipe
Garnishes
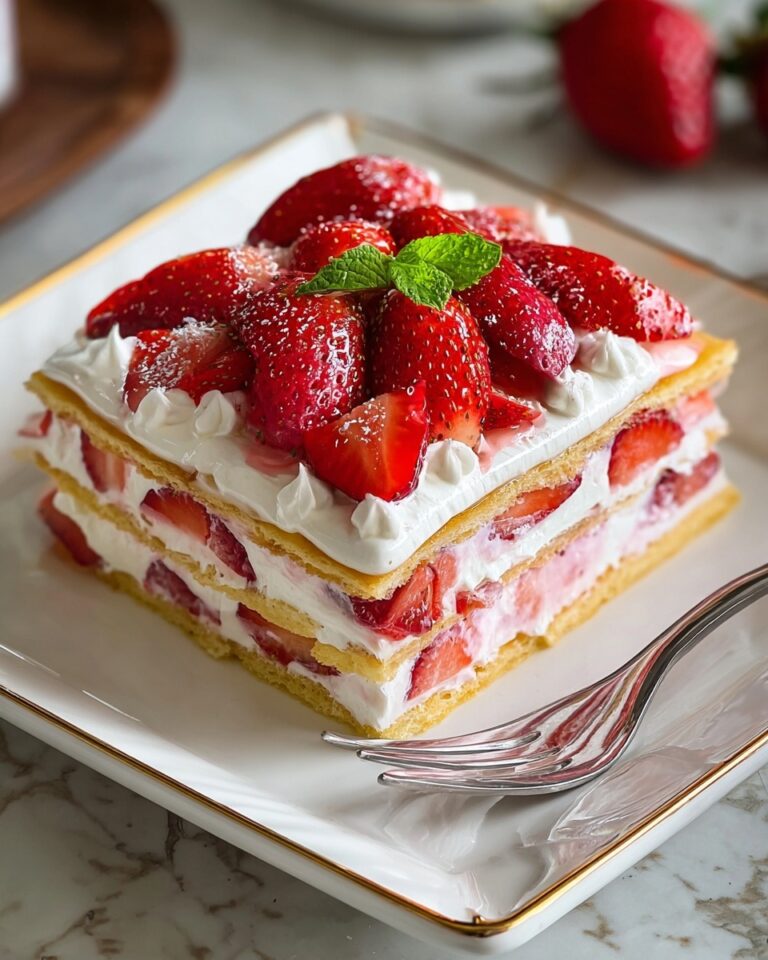
To enhance presentation and add texture, top your cheesecake with a scattering of fresh passion fruit seeds, a few mint leaves, or a dusting of toasted coconut flakes. These garnishes not only look stunning but also provide a delightful contrast to the creamy filling.
Side Dishes
This cheesecake pairs wonderfully with a simple fruit salad featuring tropical fruits like mango, kiwi, or pineapple. A scoop of lightly sweetened whipped cream or a scoop of vanilla ice cream also complements the tartness beautifully, making each bite more indulgent.
Creative Ways to Present
For a special touch, serve individual portions in clear glasses or jars layered with crushed biscuits, passion fruit pulp, and whipped cream. Alternatively, create a cheesecake platter with slices arranged around a passion fruit sauce drizzle for a vibrant and inviting display. Hosting a gathering? Offering mini versions in tart shells is sure to delight your guests.
Make Ahead and Storage
Storing Leftovers
Keep any leftovers covered tightly in the refrigerator to maintain freshness and prevent the cheesecake from absorbing other flavors. Proper storage ensures the creamy texture and passion fruit flavor stay intact for 3 to 4 days, making it a fantastic make-ahead dessert.
Freezing
You can freeze the cheesecake to enjoy it later by wrapping it securely in cling film and then aluminum foil to protect it from freezer burn. When frozen, it will keep well for up to one month. Thaw slowly in the refrigerator overnight before serving to preserve the delicate consistency.
Reheating
This cheesecake is best served chilled; reheating is not recommended as it can affect the texture and flavor. If you prefer a less firm cheesecake, allow it to stand at room temperature for 15-20 minutes before slicing and serving, which softens the creaminess delightfully.
FAQs
Can I use frozen passion fruit pulp for this recipe?
Absolutely! Frozen passion fruit pulp works just as well as fresh. Just make sure to thaw it completely and drain any excess liquid before using to prevent the filling from becoming too runny.
What if I don’t have digestive biscuits? Is there a substitute?
You can substitute digestive biscuits with graham crackers or any other mildly sweet biscuit. Just ensure they are finely crushed for a similar texture that binds well with the melted butter.
How do I know when the cheesecake is done baking?
Look for a cheesecake that is set around the edges but still has a slight wobble in the center when you gently shake the pan. This indicates it will firm up perfectly during cooling without becoming dry.
Can I make this cheesecake gluten-free?
Yes! Use gluten-free biscuits for the base and double-check your other ingredients are gluten-free. The flavor and texture will still be just as delicious.
What’s the best way to cut the cheesecake for neat slices?
Use a sharp knife dipped in hot water and wiped clean between slices. This prevents the knife from sticking and gives you smooth, elegant cuts every time.
Final Thoughts
Trying the Heavenly Passion Fruit Cheesecake to Wow Your Guests Recipe is like inviting a burst of tropical sunshine into your kitchen. It is wonderfully rich yet refreshingly tangy, perfect for celebrating any occasion or simply indulging yourself. I truly encourage you to make this cheesecake your next impressive dessert – your guests will be raving, and you’ll delight in every luscious forkful.
Print
Heavenly Passion Fruit Cheesecake to Wow Your Guests Recipe
- Prep Time: 30 minutes
- Cook Time: 1 hour
- Total Time: 5 hours 20 minutes
- Yield: 8 servings
- Category: Dessert
- Method: Baking
- Cuisine: International
- Diet: Vegetarian
Description
This Heavenly Passion Fruit Cheesecake is a luscious and tangy dessert that combines a buttery crumbly biscuit base with a creamy passion fruit-infused filling. Perfectly baked to a delicate wobble and chilled to set, it offers a delightful balance of sweetness and tartness, ideal for impressing guests with a tropical twist.
Ingredients
Base
- 200 grams Digestive biscuits (Crushed for a sweet and crumbly base.)
- 100 grams Unsalted butter (Melted to bind the biscuit crumbs.)
Filling
- 500 grams Cream cheese (Softened for a creamy texture.)
- 150 grams Caster sugar (Balances the tartness of the passion fruit.)
- 200 grams Passion fruit pulp (Provides a delightful tangy flavor.)
- 300 ml Double cream (Whipped for a light texture.)
- 3 large Eggs (Bind the filling together.)
- 30 grams Cornflour (Stabilizes the filling.)
- 1 teaspoon Vanilla extract (Adds warmth to the flavor profile.)
Instructions
- Preheat Oven: Preheat your oven to 160°C (140°C fan) to prepare for baking the cheesecake base and filling.
- Prepare Biscuit Base: Combine crushed digestive biscuits with melted unsalted butter in a bowl until well mixed. Press this mixture evenly into the base of a greased springform tin to form a compact crust.
- Bake Base: Place the springform tin with the biscuit base into the oven and bake for 10 minutes. Once baked, remove from oven and allow to cool completely on a wire rack.
- Mix Cream Cheese and Sugar: In a mixing bowl, whisk together the softened cream cheese and caster sugar until the mixture is smooth and creamy, ensuring no lumps remain.
- Add Flavorings and Eggs: Incorporate the passion fruit pulp, eggs, cornflour, and vanilla extract into the cream cheese and sugar mixture. Blend thoroughly until fully combined for a consistent filling.
- Whip Double Cream: In a separate bowl, whip the double cream until soft peaks form. This will lighten the texture of the cheesecake filling.
- Fold in Whipped Cream: Gently fold the whipped double cream into the passion fruit cream cheese mixture, maintaining the airiness for a light filling.
- Assemble Cheesecake: Pour the filling mixture over the cooled biscuit base, smoothing the top with a spatula to ensure an even surface.
- Bake Cheesecake: Return the assembled cheesecake to the oven and bake for 45-50 minutes, until the center is slightly wobbly but mostly set.
- Cool in Oven: Turn off the oven and leave the cheesecake inside to cool slowly for 1 hour, which helps prevent cracking.
- Chill: Transfer the cheesecake to the refrigerator and chill for at least 4 hours or overnight to fully set and enhance flavors before serving.
Notes
- Ensure the cream cheese is softened to room temperature for a smoother filling.
- Do not overbake; the slight wobble in the center indicates perfect texture.
- Use fresh passion fruit pulp for the best flavor, but canned pulp can be a substitute.
- Chilling overnight improves the cheesecake’s texture and flavor integration.
- Use a springform tin for easy removal of the cheesecake after baking.


