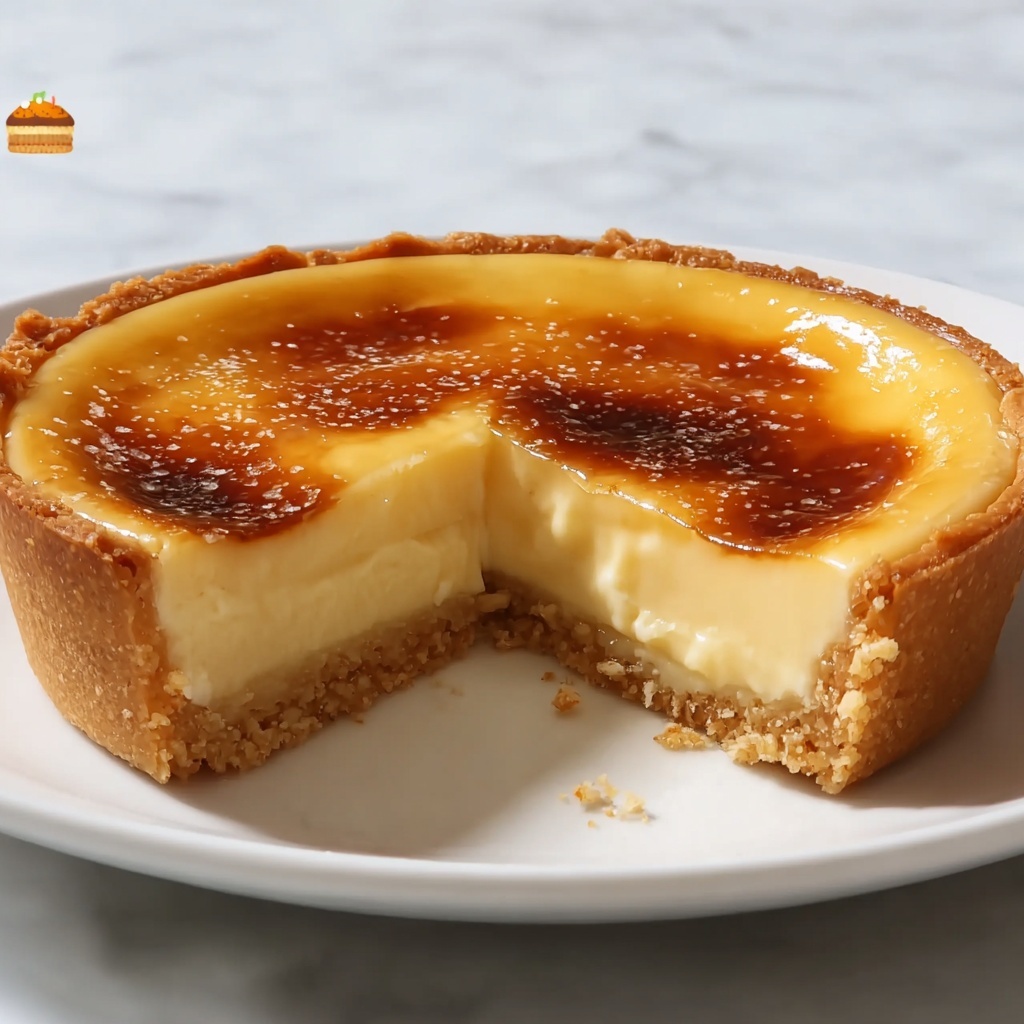
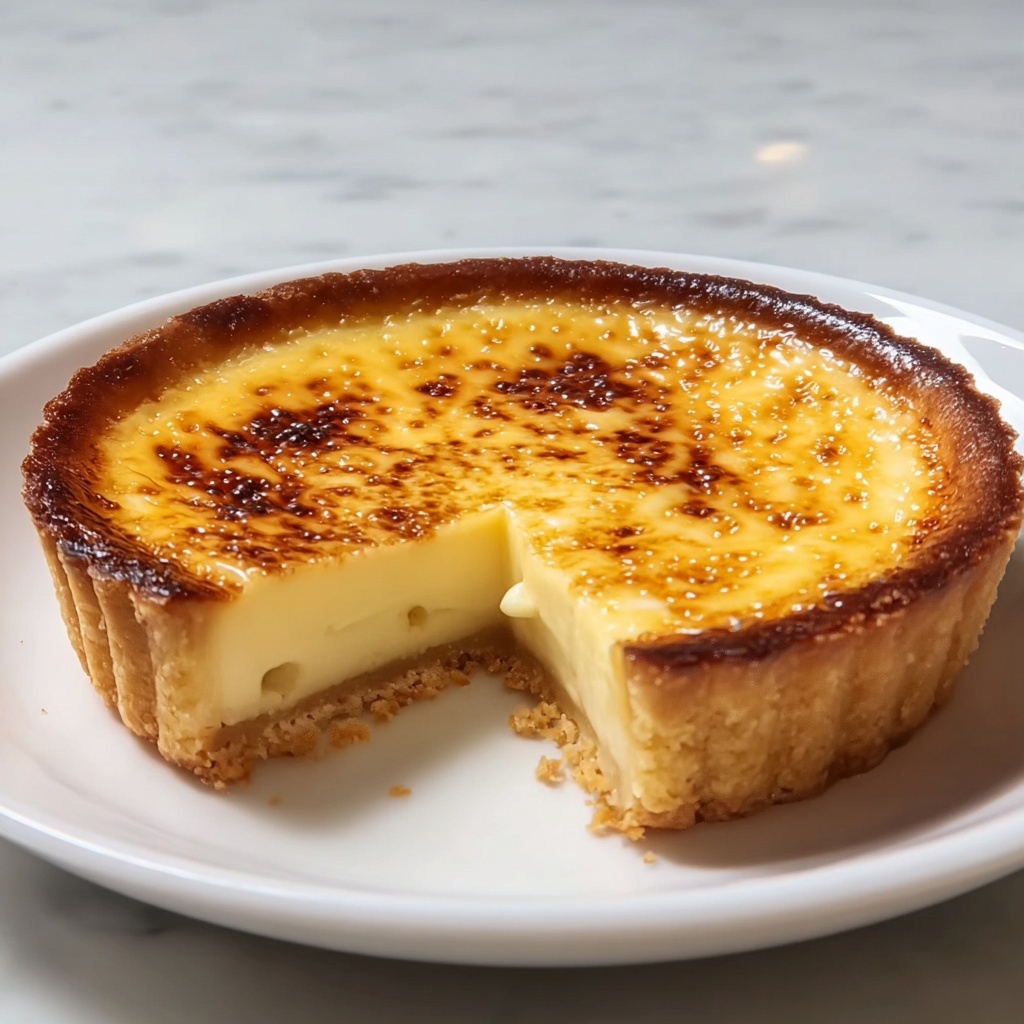
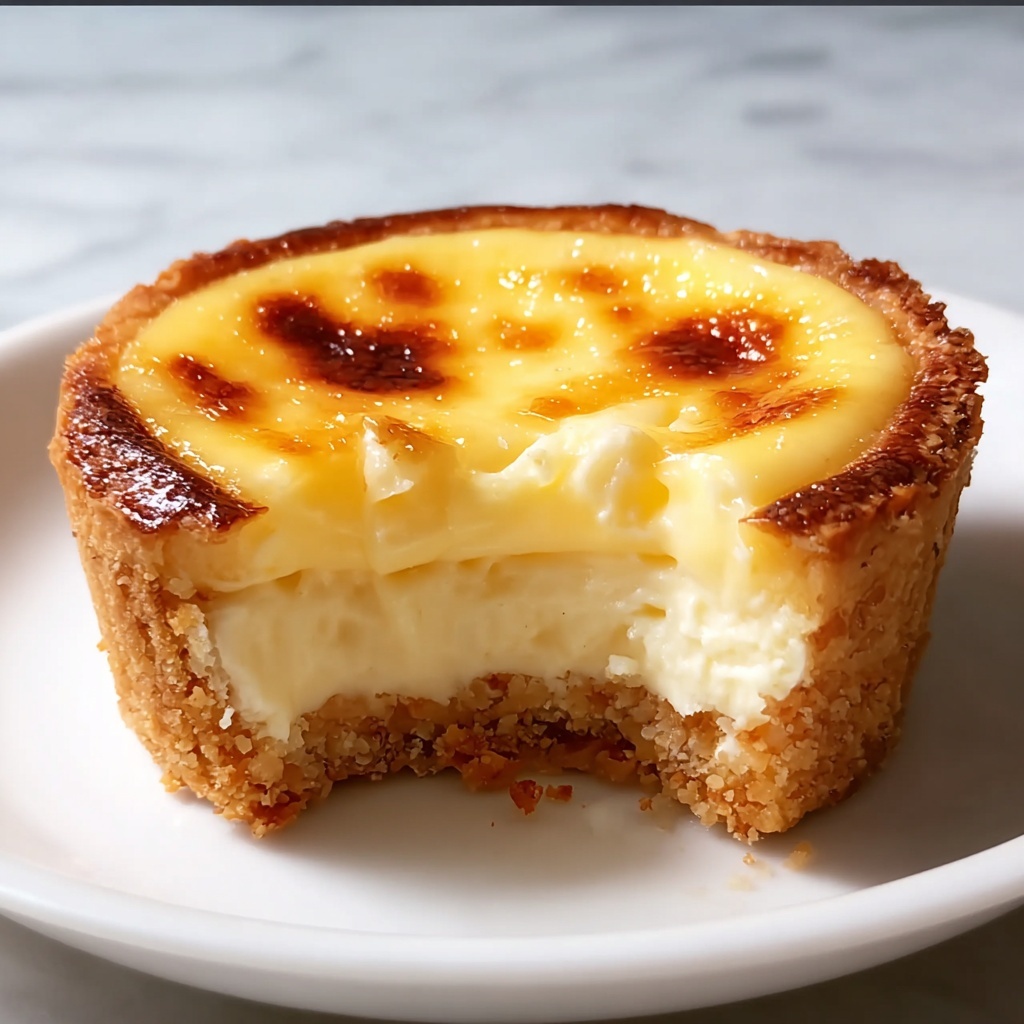
There is something truly magical about the delicate, creamy goodness packed into every bite of this Hokkaido Cheese Tart Recipe. Originating from Japan’s northernmost island, Hokkaido, these tarts bring together a buttery crust and an unbelievably smooth, fluffy cheese filling that melts beautifully on your tongue. The combination of cream cheese, mascarpone, and a touch of Parmesan delivers just the right balance of richness and subtle tanginess, while the hint of lemon zest brightens things up perfectly. If you want to impress your friends or simply treat yourself to a dessert that feels both luxurious and comforting, this Hokkaido Cheese Tart Recipe is your golden ticket to a slice of pure bliss.
Ingredients You’ll Need
The ingredients for this Hokkaido Cheese Tart Recipe are wonderfully straightforward yet essential, each adding its own special touch to the flavor, texture, and overall beauty of the tart. From the soft buttery crust to the velvety filling, every item plays a starring role that will have your kitchen smelling heavenly and your taste buds singing.
- Unsalted butter (softened, 75g): Provides a rich, creamy base for the crust that melts in your mouth.
- Granulated sugar (25g): Sweetens the crust just enough without overpowering the tart’s delicate flavor.
- Egg yolk (room temperature): Binds the crust ingredients together for a tender, flaky texture.
- Vanilla extract (½ teaspoon): Adds a warm, aromatic note that complements the cheese perfectly.
- Lemon zest (1 lemon): Brightens the tart with a fresh, citrusy pop.
- All-purpose flour (130g): The backbone of the crust, giving structure without toughness.
- Cream cheese (100g): The star ingredient for the soft, creamy filling.
- Mascarpone cheese (100g): Adds luxurious smoothness and subtle sweetness to the filling.
- Parmesan cheese (30g, grated): Lends a hint of savory depth that surprises and delights.
- Extra unsalted butter (30g): Incorporated in the filling for richness and silkiness.
- Milk (80ml): Ensures the filling is smooth and creamy, not dense.
- Icing sugar (30g, sifted): Sweetens the filling delicately, enhancing the creamy texture.
- Corn starch (1 tablespoon, sifted): Helps thicken the filling to a perfect custard-like consistency.
- Vanilla extract (½ teaspoon): Adds subtle sweetness and depth to the filling.
- Lemon juice (1 tablespoon): Balances the richness with just a touch of tang.
- Egg (1, lightly beaten): Gives body to the filling and helps it set beautifully.
- Egg yolk (for egg wash): Ensures a beautiful golden finish on the tart tops.
How to Make Hokkaido Cheese Tart Recipe
Step 1: Prepare the Crust
Start by creaming together the softened butter and granulated sugar until they form a smooth, fluffy base. Then, mix in the egg yolk, vanilla extract, and freshly zested lemon to add bursts of flavor and fragrance. Gently fold in the flour little by little, being careful not to overwork the dough because a tender crust is what we’re after here. Once the dough comes together, wrap it tightly in cling film and let it chill in the fridge for an hour. This step is crucial as it firms up the dough, making it easier to handle and more tender after baking.
Step 2: Make the Cheese Filling
While the dough chills, let’s focus on the luscious cheese filling. Over medium heat, melt the cream cheese, mascarpone, Parmesan, butter, and milk together, stirring occasionally until you have a velvety smooth mixture. Next, add your sifted icing sugar and corn starch to thicken the mixture as it cooks. Now stir in the lightly beaten egg, vanilla extract, and lemon juice — these ingredients help to build that custard-like texture we crave in the filling. Keep cooking gently until the mixture thickens nicely, then strain it through a fine sieve to ensure it is silky smooth. Set this mixture aside to cool completely before filling your tart shells.
Step 3: Bake the Tart Shells
After your dough has chilled, press it evenly into individual tart pans. Pop them into a preheated oven at 340°F (170°C) and bake for 15 minutes until they turn a lovely pale golden color. Let the shells cool a bit before removing them from the pans to avoid cracking. The result should be crisp but tender tart shells that provide the perfect vessel for the creamy filling.
Step 4: Assemble and Freeze
Pipe or spoon the cooled cheese filling into the tart shells, filling each generously. Then place the filled tarts into the freezer for 30 minutes. This chilling step helps the filling set firm enough to hold its shape but remain creamy and soft once baked again.
Step 5: Final Bash in the Oven
Before you bake again, brush the tops of your tarts lightly with egg yolk to give them that gorgeous golden sheen. Bake the tarts for just a few minutes until the tops are lightly browned and inviting. Let them cool at room temperature before serving — patience here rewards you with that perfect texture contrast between the crisp shell and dreamy filling.
How to Serve Hokkaido Cheese Tart Recipe
Garnishes
To really wow your guests or enjoy an extra-special treat, garnish your Hokkaido Cheese Tart with a dusting of powdered sugar or a thin slice of fresh fruit like strawberry or kiwi. A few fresh mint leaves can add an elegant touch of green and a burst of freshness that contrasts beautifully with the creamy tartness.
Side Dishes
Because the tart is rich and smooth, light accompaniments such as a crisp green salad or a bowl of seasonal berries complement it perfectly. A cup of freshly brewed green tea or a gentle floral white tea pairs wonderfully, cutting through the richness with a soothing balance.
Creative Ways to Present
Why not get playful? Try serving mini Hokkaido Cheese Tarts in cute, individual tartlet pans or even in glass jars layered with a bit of berry compote for a visually stunning dessert. For a festive twist, sprinkle some edible flowers on top or drizzle a berry coulis around the plate for restaurant-worthy presentation in the comfort of your own home.
Make Ahead and Storage
Storing Leftovers
If you have leftovers, store your Hokkaido Cheese Tarts in an airtight container in the refrigerator. The creamy filling stays fresh and delicious for up to 3 days, allowing you to savor that delicate flavor with ease.
Freezing
Freezing is a great option if you want to prepare these tarts in advance. After assembling and chilling the tarts, wrap them tightly in plastic wrap and place them in an airtight container or freezer bag. They will keep beautifully for up to one month. When ready to enjoy, thaw overnight in the fridge.
Reheating
To bring your frozen or refrigerated tarts back to their best, gently reheat in a low oven (around 300°F or 150°C) for 5 to 7 minutes. This helps refresh the crisp crust and warms the filling just enough without overcooking. Avoid the microwave if you can, as it can make the crust soggy and the filling rubbery.
FAQs
What makes the Hokkaido Cheese Tart special compared to regular cheese tarts?
The Hokkaido Cheese Tart Recipe features a unique blend of cream cheese, mascarpone, and Parmesan, creating a remarkably smooth, light, and slightly tangy filling that distinguishes it with a rich but airy texture.
Can I use other types of cheese if I don’t have mascarpone or Parmesan?
While mascarpone and Parmesan add distinct creaminess and depth, you can substitute mascarpone with more cream cheese and Parmesan with a mild aged cheese like gruyère for a slightly different but still delicious outcome.
How do I prevent the tart crust from getting soggy?
Proper chilling of the dough before baking and pre-baking the tart shells (blind baking) helps keep them crisp. Also, letting the shells cool fully before filling and freezing them briefly helps maintain texture.
Is it possible to make these tarts gluten-free?
Yes! Simply swap the all-purpose flour with a good-quality gluten-free flour blend that’s suitable for baking. The texture might slightly differ, but you’ll still get a tasty tart.
Can I prepare the filling ahead of time?
Absolutely. The cheese filling can be made a day ahead and stored covered in the refrigerator. Just give it a gentle stir before piping it into the tart shells.
Final Thoughts
This Hokkaido Cheese Tart Recipe is a true delight that combines simplicity and elegance in every bite. It’s one of those desserts that feels special yet is surprisingly easy to make at home. Once you get a taste of that luscious filling with its perfectly flaky crust, you’ll find yourself coming back to this recipe time and again. So go ahead, treat yourself and your loved ones to a slice of happiness—you absolutely won’t regret it!
Print
Hokkaido Cheese Tart Recipe
- Prep Time: 20 minutes
- Cook Time: 1 hour 25 minutes
- Total Time: 1 hour 45 minutes
- Yield: 6 servings
- Category: Dessert
- Method: Baking
- Cuisine: Japanese
- Diet: Vegetarian
Description
Hokkaido Cheese Tarts are delightful creamy custard-filled pastries with a buttery crust, combining cream cheese, mascarpone, Parmesan, and a hint of lemon zest. These tarts offer a perfect balance of rich texture and subtle tanginess, baked to golden perfection for a satisfying dessert experience.
Ingredients
For the Crust
- ⅓ cup unsalted butter (75g), softened
- 2 tablespoons granulated sugar (25g)
- 1 egg yolk (room temperature)
- ½ teaspoon vanilla extract
- Zest of 1 lemon
- 1 cup all-purpose flour (130g)
For the Filling
- 3.5 oz cream cheese (100g)
- 3.5 oz mascarpone cheese (100g)
- 1 oz Parmesan cheese (30g), grated
- 2 tablespoons unsalted butter (30g)
- ⅓ cup milk (80ml)
- ¼ cup icing sugar (30g), sifted
- 1 tablespoon corn starch, sifted
- ½ teaspoon vanilla extract
- 1 tablespoon lemon juice
- 1 egg, lightly beaten
For Finishing
- 1 egg yolk (for egg wash)
Instructions
- Make the crust: In a bowl, cream together the softened unsalted butter and granulated sugar until smooth and fluffy. Add the egg yolk, vanilla extract, and lemon zest, mixing well to combine the flavors evenly throughout the mixture.
- Form the dough: Gradually sift and add the all-purpose flour into the mixture, mixing gently until a dough forms. Be careful not to overwork it to maintain a tender crust. Wrap the dough tightly with cling film and chill in the refrigerator for 1 hour to firm up.
- Prepare the filling: While the dough chills, place the cream cheese, mascarpone, grated Parmesan, butter, and milk in a pot over medium heat. Melt and stir occasionally until all ingredients are fully combined and smooth.
- Thicken the filling: Add the sifted icing sugar and corn starch to the cheese mixture and cook gently, stirring constantly until the mixture thickens. Stir in the lightly beaten egg, vanilla extract, and lemon juice, continuing to cook until the filling reaches a custard-like consistency. Remove from heat, strain to remove any lumps, and allow to cool.
- Shape and pre-bake the tart shells: Remove the chilled dough from the fridge and press it evenly into tart pans. Bake at 340°F (170°C) for 15 minutes until golden. Let the tart shells cool completely before removing them from the pans to maintain shape.
- Fill the tarts: Pipe or spoon the cooled cheese filling into the pre-baked tart shells, filling each with even amounts. Place the filled tarts in the freezer for 30 minutes to allow the filling to set firmly.
- Finish baking: Brush the surface of each tart with egg yolk to create a glossy, golden finish. Bake the tarts for a few minutes at 340°F (170°C) until the tops are lightly browned. Let cool before serving for the best flavor and texture.
Notes
- Ensure the room temperature egg yolk in the crust for proper incorporation.
- Do not overwork the dough to prevent a tough crust.
- Straining the filling ensures a smooth, lump-free custard.
- Freezing the filled tarts helps the filling set properly for clean slices.
- Use fresh lemon zest and juice for a bright citrus flavor.
- The final brief bake with egg wash adds a beautiful golden sheen and texture contrast.


