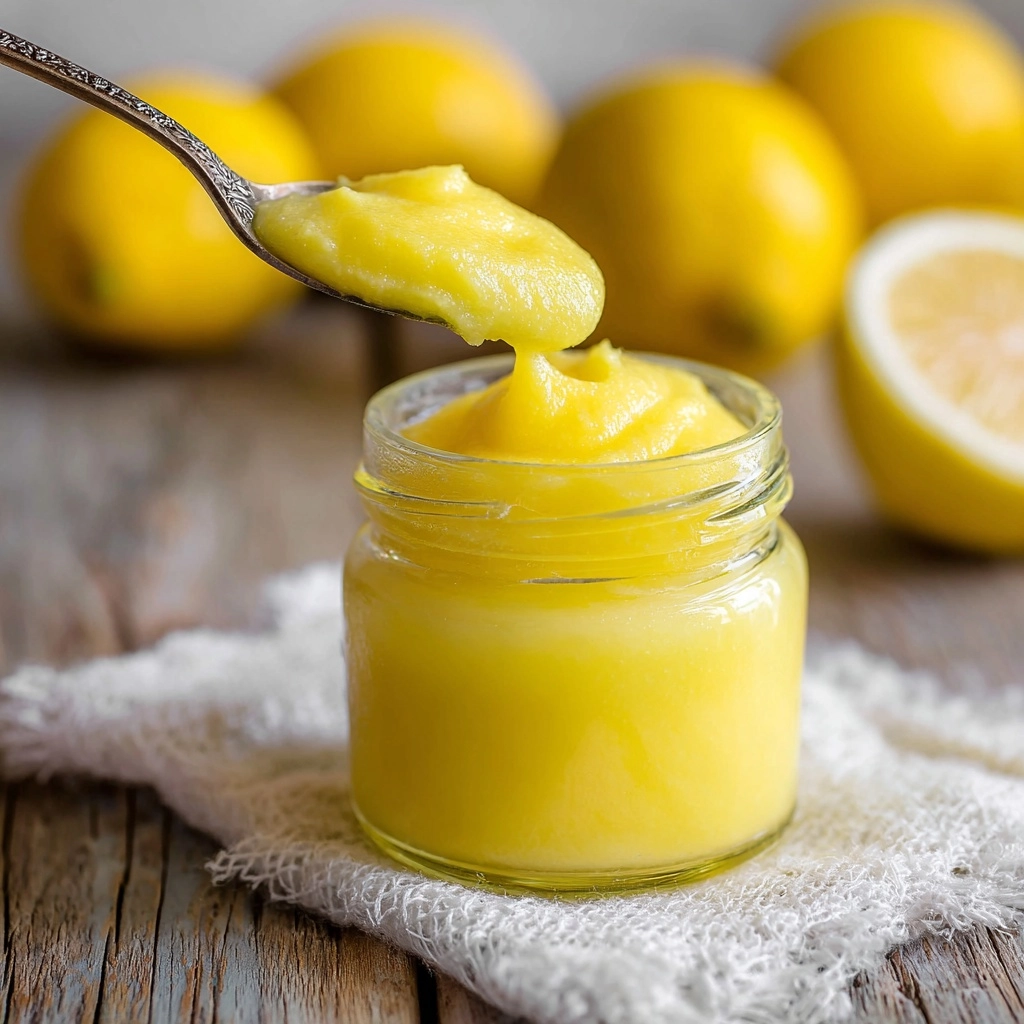
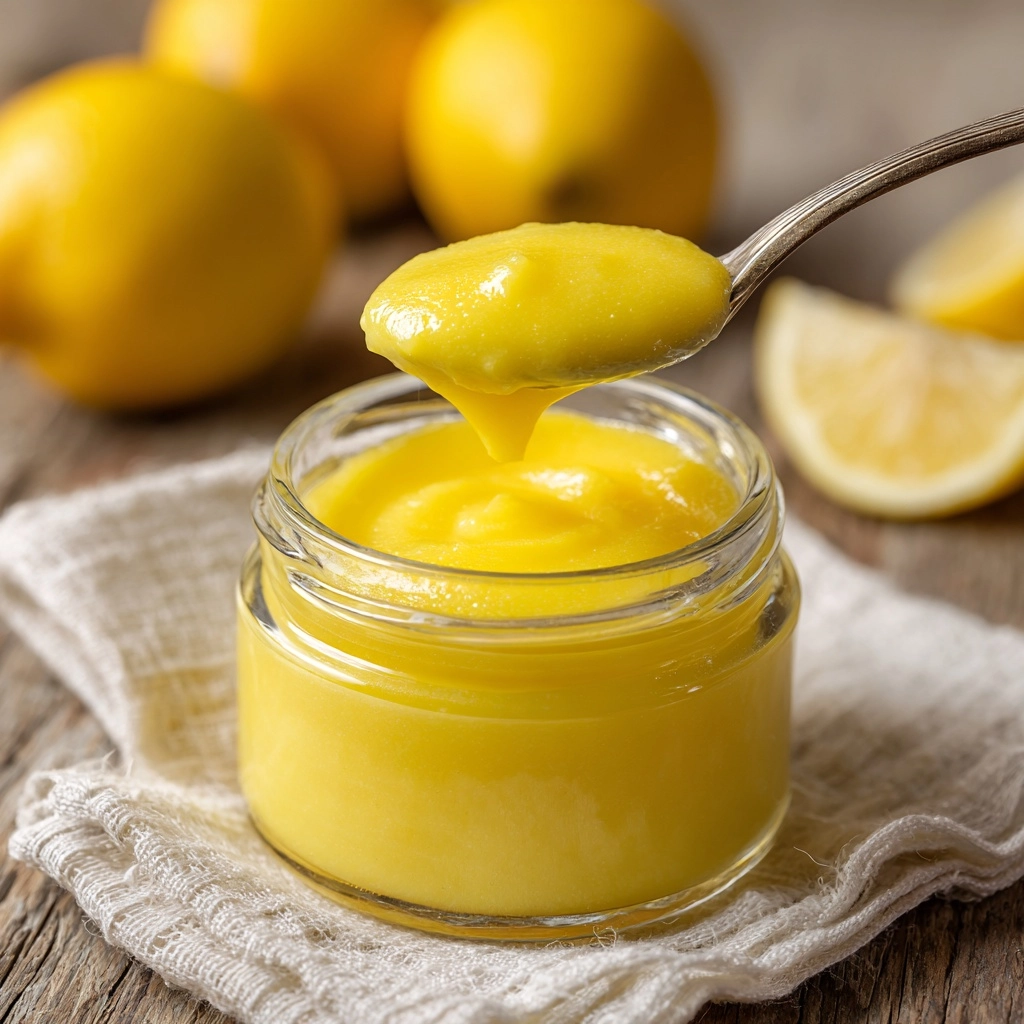
If you’ve ever bitten into a tart, silky spoonful of lemon curd and wished for more, then this Homemade Lemon Curd Recipe is going to become your new best friend in the kitchen. Bursting with zesty lemon flavor balanced by a luxuriously smooth, buttery texture, this recipe transforms a handful of simple ingredients into a bright, tangy spread that elevates everything from toast to desserts. It’s such a delightfully fresh and vibrant way to brighten up your breakfast, snack, or dessert table, and once you try making it yourself, you’ll wonder how you ever lived without it.
Ingredients You’ll Need
Gathering straightforward, wholesome ingredients is key to nailing this recipe. Each ingredient plays a crucial role, from bringing that characteristic tartness to creating a velvety texture and beautiful golden color. Here’s what you’ll want to have on hand to make your homemade lemon curd sing.
- 4 large egg yolks: For that rich, creamy base and natural thickening power.
- 2 large whole eggs: They add structure and balance to the tartness.
- 1 cup granulated sugar: Sweetness that tames the lemon’s natural sharpness.
- 2/3 cup fresh lemon juice: The star of the show, providing fresh, bright citrus flavor.
- 1 tablespoon lemon zest: Intensifies the lemon aroma and adds bursts of citrus oils.
- 6 tablespoons unsalted butter (cut into small cubes): Adds luscious richness and smooth finish.
How to Make Homemade Lemon Curd Recipe
Step 1: Whisk the Eggs and Sugar
Begin by combining your egg yolks, whole eggs, and sugar in a medium saucepan. Whisk these together until the mixture is completely smooth and uniform — this step ensures a silky texture without any lumps. Patience here is your friend as this creamy blend sets the foundation for your luscious lemon curd.
Step 2: Stir in Lemon Juice and Zest
Next, add the fresh lemon juice and lemon zest into the mixture. Using freshly squeezed juice and zested lemon rind infuses your curd with the purest, brightest citrus flavor — nothing compares to the zing of fresh lemons. Stir well so the flavors start to marry beautifully.
Step 3: Cook Gently and Stir Constantly
Place the saucepan over medium-low heat and start cooking, stirring constantly with a rubber spatula or wooden spoon. Make sure to scrape the bottom and sides continually to avoid any curdling or sticking. This slow, consistent stirring is crucial as it helps the curd thicken gradually to that perfect spoon-coating consistency, which usually takes about 8 to 10 minutes.
Step 4: Add the Butter Off Heat
Once thickened, remove the pot from heat promptly and add the cubed butter. Stir it in immediately until it melts completely and the curd turns impossibly glossy and rich. The butter rounds out the texture and adds that melt-in-your-mouth finish that you’ll fall head over heels for.
Step 5: Strain and Cool
For an ultra-smooth, velvety curd, strain the mixture through a fine mesh sieve to remove any cooked egg bits or zest remnants. This step is optional but highly recommended if you want a silky-perfect spread. Let the strained curd cool for a bit before transferring it to a jar or airtight container.
How to Serve Homemade Lemon Curd Recipe

Garnishes
Bringing a little extra flair when serving your lemon curd elevates the experience. Fresh mint leaves, thin lemon slices, or a sprinkle of powdered sugar make a simple yet elegant touch, enhancing both the flavor and the presentation. These little accents turn a humble spoonful into a guest-worthy delight.
Side Dishes
This homemade lemon curd shines alongside soft scones, warm toast, or fluffy pancakes, where its tartness beautifully contrasts the buttery richness of the baked goods. It’s also incredible paired with yogurt or dolloped on vanilla ice cream for a tangy twist that wakes up your taste buds.
Creative Ways to Present
Think beyond the jar and get playful! Layer your lemon curd between pavlova layers, swirl it into cheesecake batter, or fold it into whipped cream for a luscious frosting. You can even use it as a filling in cupcakes or tartlets. The possibilities to get inventive with this versatile spread are endless, and every version tastes like sunshine on a plate.
Make Ahead and Storage
Storing Leftovers
Your homemade lemon curd will happily keep in the refrigerator for up to two weeks when stored in an airtight container. This makes it easy to prepare in advance and enjoy its bright flavor whenever you like. Always use a clean spoon to scoop to preserve freshness.
Freezing
If you want to keep your lemon curd longer, freezing is an option. Place it in a freezer-safe jar or container, leaving some space for expansion. When you’re ready to enjoy it, thaw it slowly in the refrigerator for several hours or overnight to preserve its creamy texture.
Reheating
To bring your curd back to a spreadable consistency after refrigeration or freezing, warm it gently in a bowl over hot water or briefly microwave in short bursts, stirring in between. Avoid high heat to prevent separation; low and slow is the way to go.
FAQs
Can I use bottled lemon juice for this Homemade Lemon Curd Recipe?
While fresh lemon juice gives the brightest, freshest flavor, you can use bottled juice in a pinch. Just ensure it’s pure lemon juice without added preservatives or sweeteners to maintain authentic taste.
Why is it important to cook the lemon curd slowly?
Cooking slowly and stirring constantly prevents the eggs from scrambling and helps the mixture thicken evenly. This careful technique results in that smooth, creamy texture that’s signature to lemon curd.
What can I do if my lemon curd is too runny?
If your curd hasn’t thickened enough, return it to low heat and cook a little longer while stirring. Make sure not to overheat or it might curdle. If it’s already cooled, letting it chill will also help it set more firmly.
Is homemade lemon curd safe to eat raw?
Because this recipe includes cooked eggs, it is safe to eat once prepared properly. Avoid uncooked or undercooked versions to ensure safety and the best texture.
Can I use this lemon curd as a cake filling?
Absolutely! Homemade lemon curd adds a wonderful tangy layer to cakes, cupcakes, or tarts. Just make sure it’s chilled and slightly thickened so it spreads easily and holds its shape.
Final Thoughts
Making your own lemon curd is truly a joyful kitchen journey that rewards you with a jar of sunshine-flavored magic. This Homemade Lemon Curd Recipe is simple, satisfying, and endlessly versatile, promising to add zest and brightness to your meals. Trust me, once you’ve whipped up this tangy treasure, it will become a cherished staple you’ll want to share with everyone you love. So grab those lemons and get ready to make an irresistible batch today!
Print
Homemade Lemon Curd Recipe
- Prep Time: 10 minutes
- Cook Time: 10 minutes
- Total Time: 20 minutes
- Yield: About 1 1/2 cups
- Category: Condiment
- Method: Stovetop
- Cuisine: American
- Diet: Vegetarian
Description
This homemade lemon curd is a smooth, tangy, and creamy spread made from fresh lemons, eggs, sugar, and butter. Perfect for topping scones, filling cakes, or enjoying by the spoonful, this easy-to-make recipe yields a vibrant citrus condiment that brings bright flavor to any dessert.
Ingredients
Ingredients
- 4 large egg yolks
- 2 large whole eggs
- 1 cup granulated sugar
- 2/3 cup fresh lemon juice (from about 4 lemons)
- 1 tablespoon lemon zest
- 6 tablespoons unsalted butter (cut into small cubes)
Instructions
- Combine eggs and sugar: In a medium saucepan, whisk together the egg yolks, whole eggs, and granulated sugar until the mixture is smooth and well incorporated.
- Add lemon flavor: Stir in the fresh lemon juice and lemon zest, ensuring the mixture is evenly blended.
- Cook gently: Place the saucepan over medium-low heat and cook the mixture, stirring constantly with a rubber spatula or wooden spoon. Scrape the bottom and sides of the pan to prevent curdling or burning. Continue cooking for about 8 to 10 minutes, until the curd thickens enough to coat the back of a spoon.
- Incorporate butter: Remove the pan from heat immediately and add the cubed unsalted butter, stirring until it melts completely and the curd becomes smooth and glossy.
- Strain the curd (optional): For an extra smooth texture, strain the lemon curd through a fine mesh sieve into a clean bowl to remove any cooked egg bits or zest remnants.
- Cool and store: Allow the lemon curd to cool slightly, then transfer it to a jar or airtight container. Refrigerate until fully chilled before serving. The curd will thicken further as it cools.
Notes
- For a silky smooth texture, always strain the lemon curd after cooking.
- Use organic lemons to maximize flavor and avoid pesticide residues.
- Be sure to zest lemons before juicing to make zesting easier and more efficient.
- Lemon curd will keep well in the refrigerator for up to 2 weeks when stored in an airtight container.
- Use lemon curd as a topping for scones, toast, yogurt, or as a filling for cakes and pastries.


