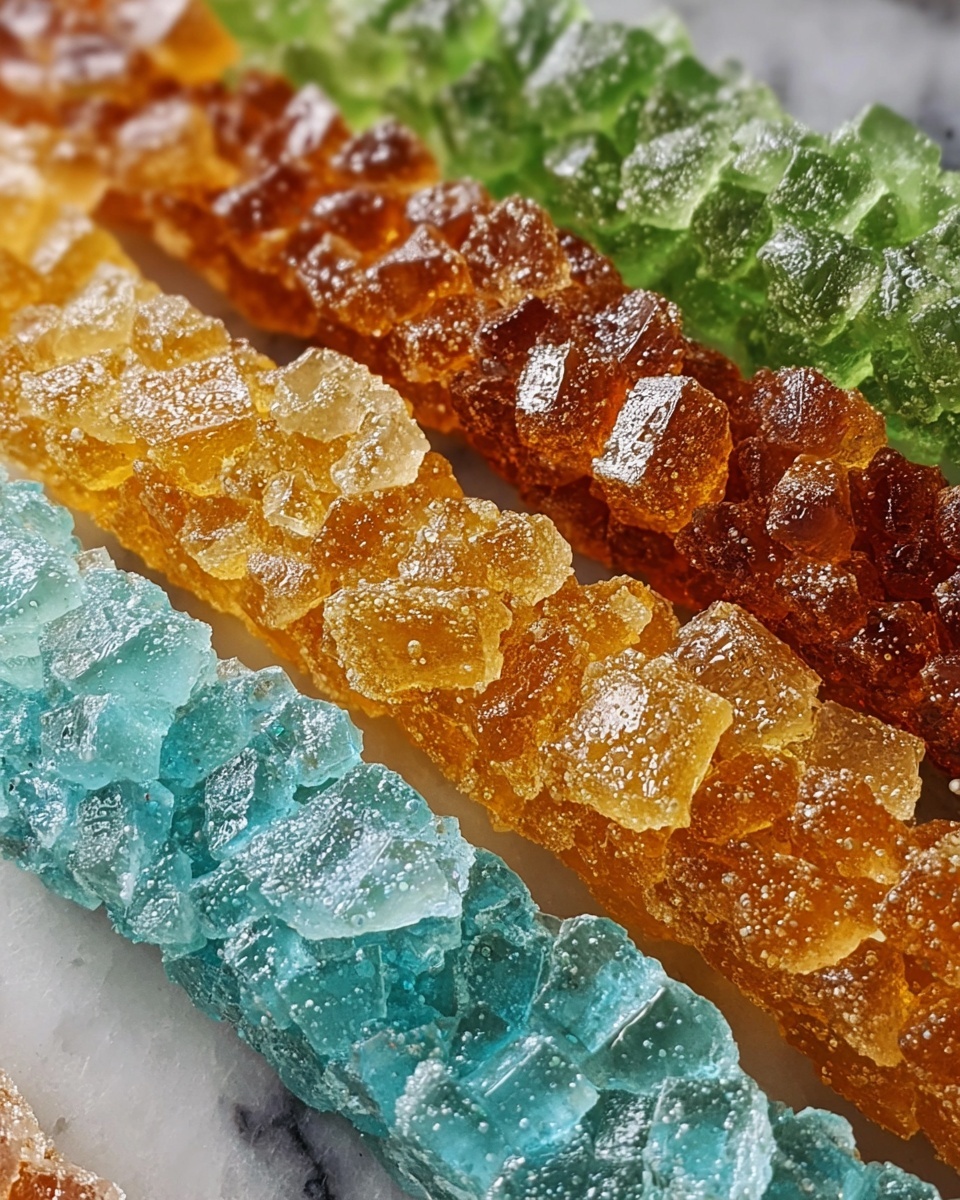
If you have a sweet tooth and an adventurous spirit, this Homemade Rock Candy Recipe is going to delight you like nothing else. Imagine watching sugar crystals slowly grow into dazzling, edible jewels that you can proudly call your own creation. This recipe is not only a fun science experiment to share with friends or family but also a nostalgic treat that takes you back to childhood fairs and candy shops. With just a handful of simple ingredients and some patience, you’ll create colorful, flavored rock candy that’s as beautiful as it is delicious. Let’s dive into how you can bring a bit of sparkling magic into your kitchen!
Ingredients You’ll Need
Getting started with this Homemade Rock Candy Recipe is refreshingly straightforward. These ingredients are all pantry staples, but each one plays a key role in shaping the perfect candy crystals, from the sweetness and texture to the color and flavor.
- Granulated sugar (3 cups): The star of the show, sugar provides the crystals that grow into rock candy.
- Water (1 cup): Dissolves the sugar, creating the syrup base necessary for crystal formation.
- Flavoring (1 teaspoon, optional): Adds a twist of your favorite taste, like vanilla or almond extract, to make your candy uniquely yours.
- Food coloring (optional): Transforms your rock candy into vibrant, eye-catching hues perfect for gifting or decorating.
- Wooden skewers or cotton strings: These give the crystals a surface to cling to and grow upon.
- Clothes pins: Keep your skewers or strings perfectly suspended so the crystals can develop evenly.
How to Make Homemade Rock Candy Recipe
Step 1: Create Your Sugar Syrup
Begin by combining 3 cups of granulated sugar and 1 cup of water in a medium saucepan. Heat this mixture over medium heat, stirring constantly to dissolve the sugar fully. Once the sugar dissolves and the syrup comes to a gentle boil, reduce the heat to low and keep stirring for another 3 to 5 minutes. This little extra time ensures no stubborn sugar grains are left, so your crystals form flawlessly without grit. Just watch carefully so the syrup doesn’t burn—it should remain perfectly clear.
Step 2: Cool and Customize Your Syrup
After cooking, remove your syrup from the heat and let it cool for about 5 minutes. This slight cooling makes it easier to add the fun extras without affecting crystal growth. At this point, add a few drops of food coloring if you want a bright pop of color. Make sure to stir until the hue is beautifully uniform. Next, introduce your chosen extract, such as vanilla or almond, to infuse your candy with a lovely aroma and flavor that will shine alongside the sparkle of the crystals.
Step 3: Prepare Your Growing Surface
Pour the flavored syrup into clean, deep glass jars or mason jars — these containers allow the skewers or strings to hang freely without touching the sides or bottom. Next, take your wooden skewer or cotton string and dip it into the syrup to coat thoroughly. Secure it in place with a clothes pin balanced on the jar’s edge, ensuring it’s suspended straight down to give crystals room to grow evenly. This step is crucial; a well-situated skewer ensures your rock candy develops a flawless, edible gem-like texture.
Step 4: Patience and Growth
Now comes the test of patience. Place the jars somewhere cool and undisturbed. Within 3 to 7 days, depending on your room temperature and syrup concentration, sugar crystals will start to form and grow along the skewers or strings. Resist the temptation to disturb the jars during this time. Watching those glistening crystals expand is one of the most rewarding parts of this Homemade Rock Candy Recipe.
Step 5: Harvest and Dry
Once your crystals have reached the desired size and look like little sparkling treasures, gently remove the rock candy from the jar. Let them dry on a paper towel or a wire rack before enjoying or storing. This drying time ensures the crystals harden just right and prevents stickiness.
How to Serve Homemade Rock Candy Recipe
Garnishes
Rock candy is often admired as a standalone treat, but it can also elevate other desserts beautifully. Chop your homemade crystals to sprinkle on top of cupcakes or ice cream for a whimsical crunch and shimmering effect. They also make a charming garnish in cocktails or hot beverages, slowly sweetening your drink while adding a nostalgic sparkle.
Side Dishes
While rock candy isn’t typically served with sides, it pairs wonderfully with a cup of tea or coffee, enhancing your afternoon break. If you’re aiming to craft a charming party spread, present your rock candy alongside fresh fruit, mild cheeses, or even as a sweet pick-me-up amidst savory snacks.
Creative Ways to Present
Presentation can transform simple rock candy into a stunning gift or table centerpiece. Try placing your crystal sticks in pretty glass jars with ribbons tied around the top for birthdays or holidays. Or, for a festive touch, color the crystals to match your event’s theme and attach little tags with sweet messages. This Homemade Rock Candy Recipe gives you so many opportunities to express your creativity.
Make Ahead and Storage
Storing Leftovers
If you have any leftover rock candy, store it in an airtight container at room temperature, away from humidity. Proper storage keeps the crystals firm and prevents them from absorbing moisture that might cause them to become sticky or dissolve.
Freezing
Freezing rock candy is generally not recommended because the cold and moisture can cause the crystals to degrade, lose shine, or clump together once thawed. It’s best to enjoy your creation fresh or within a reasonable timeframe.
Reheating
Since rock candy is best enjoyed as is, reheating isn’t necessary or advised. However, if your rock candy becomes sticky, gently spreading it out in a dry place for a day can help restore some of its crispness.
FAQs
How long does it take for rock candy to form?
Typically, rock candy crystals grow over 3 to 7 days depending on factors like room temperature and syrup concentration. Cooler, undisturbed areas usually yield the best crystal growth.
Can I use other types of sugar for this recipe?
Granulated sugar works best because it dissolves and crystallizes predictably. Using raw or brown sugar may result in different textures or less clear crystals.
Is it necessary to use food coloring?
No, food coloring is completely optional. Rock candy is delicious as transparent crystals, but adding color makes them visually fun and customizable.
Can I reuse the syrup after harvesting crystals?
It’s possible but not ideal. Most sugar gets crystallized out, and leftover syrup may not form new crystals as well. Fresh syrup is best for consistent results.
How do I prevent the sugar from crystallizing on the sides of the jar?
Make sure your skewer or string does not touch the jar sides and avoid stirring after pouring syrup. You can also wipe down the jar sides with a damp cloth before adding the syrup.
Final Thoughts
This Homemade Rock Candy Recipe is truly a joyful journey that combines a little chemistry with a lot of sweetness and creativity. It’s a fantastic way to entertain yourself or little ones, and the payoff is a beautiful, handmade treat that’s as fun to give as it is to enjoy. So go ahead, gather your ingredients, pick your favorite flavors and colors, and start crafting your own sparkling sugar treasures today!
Print
Homemade Rock Candy Recipe
- Prep Time: 10 minutes
- Cook Time: 10 minutes
- Total Time: 3 to 7 days (including crystal growth time)
- Yield: 1 to 1.1 jars of rock candy (depending on jar size)
- Category: Dessert
- Method: Stovetop
- Cuisine: American
Description
Homemade Rock Candy is a fun and easy DIY sugar crystal treat that allows you to create colorful, flavored candy crystals right at home. Using simple ingredients like sugar and water, this recipe guides you through making a supersaturated sugar solution and growing beautiful rock candy crystals on skewers or strings over several days. Perfect for a fun science experiment or sweet snack, you can customize your rock candy with different flavors and colors to suit your taste.
Ingredients
Main Ingredients
- 3 cups granulated sugar
- 1 cup water
- 1 teaspoon flavoring (optional, such as vanilla, almond, or fruit extracts)
- Food coloring (optional, for colored crystals)
Equipment
- Wooden skewers or cotton strings
- Clothes pins (to hold skewers in place)
Instructions
- Make the Sugar Syrup: In a medium saucepan, combine the water and sugar. Heat over medium heat, stirring constantly until the sugar completely dissolves and the syrup comes to a boil.
- Simmer the Syrup: Once boiling, reduce heat to low and continue stirring for another 3-5 minutes to ensure all sugar is dissolved. Take care to prevent the syrup from burning.
- Cool the Syrup Slightly: Remove the saucepan from heat and let the syrup cool for about 5 minutes to avoid cooking off flavorings and to prevent boiling your extract.
- Add Color: If you want colored crystals, add a few drops of food coloring now, stirring until evenly mixed.
- Add Flavor: Mix in your chosen extract (vanilla, almond, fruit, etc.) at this stage for flavor customization.
- Prepare Jars: Pour the syrup into clean glass jars or glasses, ensuring the container is deep enough for your skewer or string to hang freely without touching the sides or bottom.
- Set Up Crystal Growth: Dip your wooden skewer or cotton string into the syrup to coat it fully. Suspend it in the jar using a clothes pin to hold it in place, making sure it doesn’t touch sides or bottom.
- Grow the Crystals: Place the jar in a cool, undisturbed spot. Allow the sugar crystals to form over 3-7 days, depending on room temperature and desired crystal size.
- Harvest and Dry: When crystals have reached the preferred size, remove the rock candy from the jar and let it dry before serving or storing.
Notes
- Use distilled water for the purest crystal growth.
- Ensure the skewer or string is clean and dry before dipping to encourage crystal formation.
- Be patient; crystal growth can vary depending on environmental factors like humidity and temperature.
- Avoid disturbing the jars while crystals are growing to prevent irregular shapes.
- Skewers can be lightly coated with sugar beforehand to help crystals initiate growth.
- Store finished rock candy in airtight containers to keep them dry and crisp.
