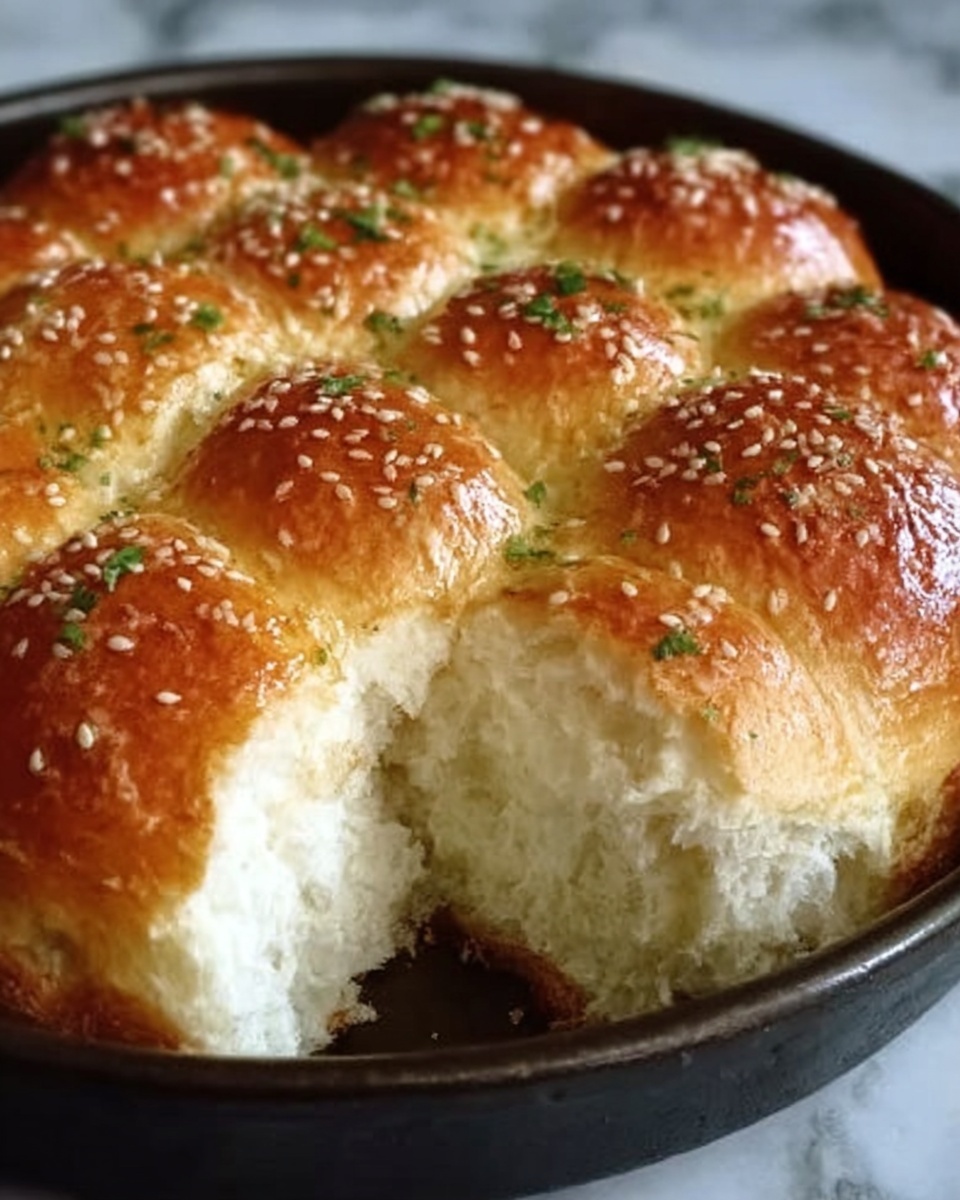
If you’ve ever dreamed of making fresh, fluffy bread without firing up your oven, then you’re in for a treat with this No-Oven Stovetop Bread Recipe. This delightful bread emerges from simple pantry staples and a clever cooking method that transforms dough into golden, soft loaves cooked right on your stovetop. It’s perfect for those days when you want fresh-baked bread but don’t have access to an oven or simply want to try something new and fun in the kitchen. The irresistible aroma and pillowy texture will have you hooked from the very first bite.
Ingredients You’ll Need
To make this No-Oven Stovetop Bread Recipe, you’ll only need a handful of straightforward ingredients, each playing a crucial role in building flavor, texture, and color. These essentials come together to create bread that’s both tender inside and crisp on the outside.
- 5 cups flour: Provides the structure for the bread, giving it that chewy, satisfying bite.
- 2 cups warm milk: Activates the yeast and adds moisture for a soft crumb.
- 1 cup vegetable or canola oil: Keeps the bread tender and adds richness without overwhelming flavor.
- 1 tablespoon dry yeast: The magical ingredient that makes the dough rise and become airy.
- 1 tablespoon granulated sugar: Feeds the yeast and adds a slight touch of sweetness.
- 1 teaspoon salt: Balances flavors and strengthens the dough’s gluten network.
- 2.5 – 3 liters water (for boiling): Used to gently poach and cook the dough balls before pan-frying.
- 1 teaspoon salt (for boiling water): Seasons the bread subtly during the boiling step.
How to Make No-Oven Stovetop Bread Recipe
Step 1: Prepare the Dough
Start by warming the milk—it should feel like a comforting bath, not too hot to kill the yeast. Mix the warm milk with sugar and dry yeast in a large bowl. Let it rest for 5 to 10 minutes until it bubbles up with frothy life, signaling that your yeast is awake and ready to work its magic.
Step 2: Combine the Dough
Next, pour in the flour, oil, and salt to your yeast mixture. Use a sturdy spoon or your hands to bring everything together. If the dough feels too sticky, sprinkle in a little more flour, or if it’s dry, add a splash of milk. The goal is a slightly tacky but manageable dough that’s ready to knead.
Step 3: Knead the Dough
Transfer your dough onto a floured surface and get kneading for 8 to 10 minutes. This is the moment to connect with your bread—kneading builds strength and elasticity, transforming the dough into a smooth, stretchy ball that feels alive and ready to rise.
Step 4: Let the Dough Rise
Lightly grease a clean bowl and nestle your dough inside, covering it with a damp cloth to create a warm, cozy environment. Let it rise undisturbed for about an hour, or until it has doubled in size, puffed up with all that trapped yeast energy.
Step 5: Prepare for Boiling
While the dough rests, fill a large pot with 2.5 to 3 liters of water and bring it to a rolling boil. Add a teaspoon of salt to season the bread subtly during this crucial boiling step that gives the bread a wonderfully tender texture.
Step 6: Shape and Boil the Bread
After the dough has fully risen, punch it down to release excess air and divide it into even-sized balls. Carefully drop these dough balls into the boiling salted water, giving them a gentle stir to prevent sticking. Let them poach for 1 to 2 minutes, until they puff up and start floating to the surface—that’s your signal that they’re perfectly cooked inside.
Step 7: Cook on Stovetop
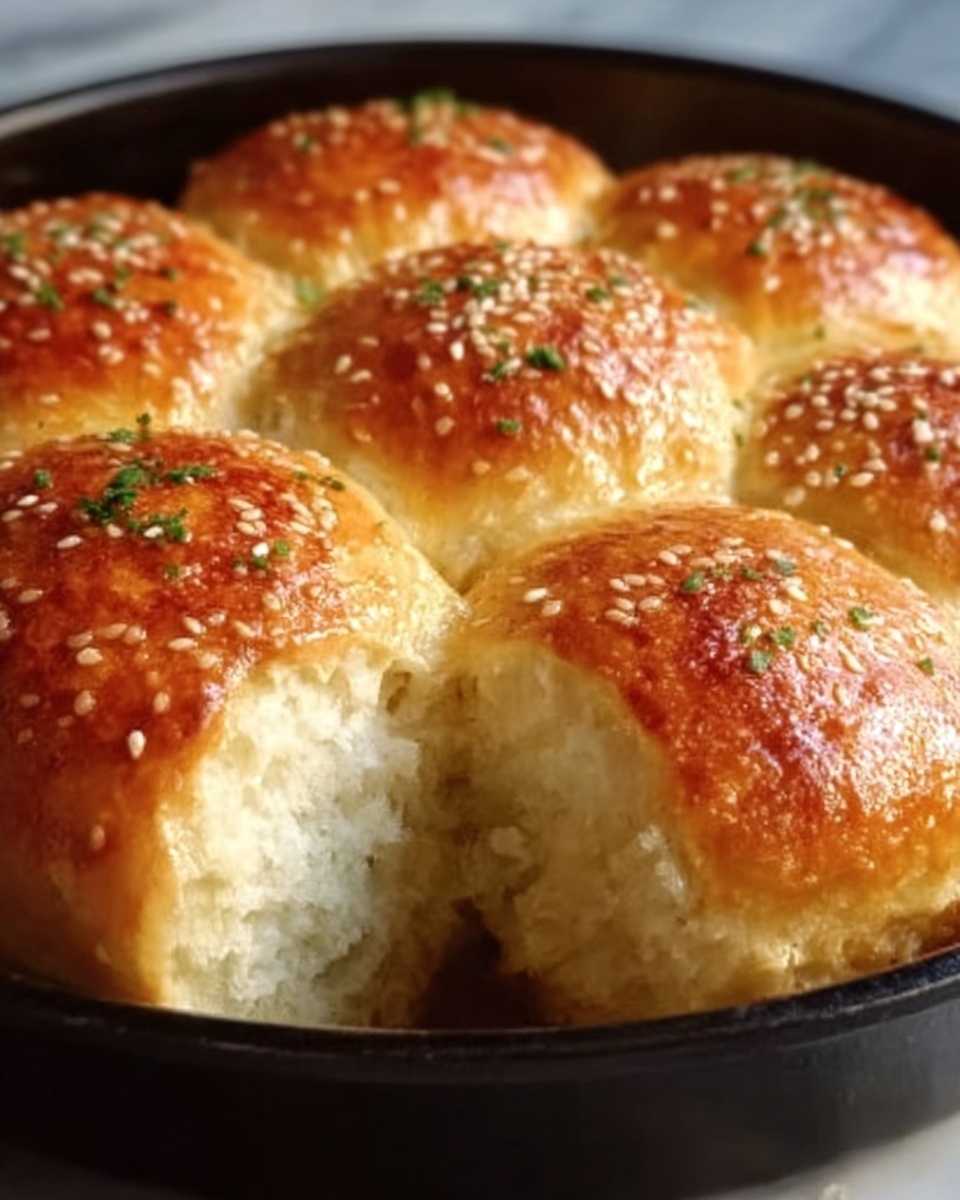
Warm a skillet or griddle over medium heat and arrange the boiled bread pieces on it. Cook each side for 2 to 3 minutes until golden and irresistibly crispy. Press them gently with a spatula to ensure even browning and that delightful crunch that contrasts with the soft interior.
How to Serve No-Oven Stovetop Bread Recipe

Garnishes
This bread truly shines when served warm and fresh. Slather it with creamy butter that melts into every nook, or spread on your favorite jam or honey for a sweet finish. Fresh herbs like parsley or rosemary can also add an aromatic touch if you want to mix savory flavors into your experience.
Side Dishes
No-Oven Stovetop Bread pairs perfectly with hearty soups, stews, or even a vibrant salad. It’s a fantastic companion to a spicy curry or a rich dip, soaking up flavors and rounding out any meal beautifully.
Creative Ways to Present
For a fun twist, try slicing the bread open and stuffing it with grilled veggies, cheese, or deli meats for a quick sandwich. You can even toast these bread rounds briefly with garlic butter for an improv bruschetta base. The versatility really knows no bounds!
Make Ahead and Storage
Storing Leftovers
If you happen to have leftover stovetop bread, store it in an airtight container at room temperature for up to two days. This helps maintain softness without letting the bread dry out or get stale too quickly.
Freezing
For longer storage, wrap the cooled bread pieces tightly in plastic wrap or foil and place them in a freezer-safe bag. Frozen stovetop bread holds well for up to a month and can be pulled out as needed for easy meals or snacks.
Reheating
To revive your bread’s fresh-baked warmth, reheat it in a hot skillet for a few minutes on each side, or wrap it in foil and warm it gently in a toaster oven or stovetop pan. This restores the crust’s crispiness and soft texture inside, bringing it back to life deliciously.
FAQs
Can I use all-purpose flour instead of bread flour?
Absolutely! All-purpose flour works well for this No-Oven Stovetop Bread Recipe, though bread flour will give a slightly chewier texture due to its higher gluten content. Either way, you’ll get tasty results.
What kind of oil is best for this recipe?
Vegetable or canola oil is ideal because of their neutral flavors, but you can experiment with light olive oil or sunflower oil for additional subtle notes in the bread.
Why do we boil the dough before cooking it on the skillet?
Boiling the dough gives the bread a tender, dense crumb and helps develop a smooth outer surface, much like pretzels or bagels. It’s what makes this stovetop bread uniquely soft yet crisp when finished on the pan.
Can I add herbs or spices to the dough?
Definitely! Adding fresh or dried herbs, garlic powder, or even seeds to the dough before the first rise can create exciting flavor variations. Just mix them in with the flour for an evenly seasoned loaf.
What should I do if the dough doesn’t rise?
If your dough isn’t rising, check that your milk wasn’t too hot or cold, as extreme temperatures can kill or inhibit the yeast. Also, make sure your yeast is fresh and active. Giving it a few extra minutes in a warm spot can sometimes help.
Final Thoughts
Nothing beats the satisfaction of pulling fresh bread from the pan, and this No-Oven Stovetop Bread Recipe is a delightful way to achieve that without needing an oven. It’s straightforward, fun, and yields delicious results every time. So gather your ingredients, get ready to knead, boil, and sizzle, and treat yourself to homemade bread that feels both comforting and impressive. You’re going to love it!
Print
No-Oven Stovetop Bread Recipe
- Prep Time: 15 minutes
- Cook Time: 35 minutes
- Total Time: 50 minutes
- Yield: 10 servings
- Category: Bread
- Method: Stovetop
- Cuisine: International
Description
This no-oven stovetop bread recipe yields soft, fluffy, and golden breads cooked entirely on the stove. Ideal for those without an oven, this bread is boiled briefly then pan-cooked to perfection, creating a versatile and delicious homemade bread perfect for breakfasts or snacks.
Ingredients
For the Dough:
- 5 cups flour
- 2 cups warm milk
- 1 cup vegetable or canola oil
- 1 tablespoon dry yeast
- 1 tablespoon granulated sugar
- 1 teaspoon salt
For Boiling the Dough:
- 2.5 – 3 liters of water
- 1 teaspoon salt
Instructions
- Prepare the Dough: In a large mixing bowl, combine warm milk, sugar, and dry yeast. Stir well and let the mixture sit for 5-10 minutes until it becomes frothy, indicating the yeast is activated.
- Combine the Dough: Add the flour, oil, and salt to the frothy yeast mixture. Mix thoroughly until a dough forms. Adjust by adding more flour or milk as needed to reach the right dough consistency.
- Knead the Dough: Transfer the dough to a floured surface and knead it for 8-10 minutes until it becomes smooth and stretchy, which develops the gluten for the bread’s structure.
- Let the Dough Rise: Grease a bowl lightly and place the dough inside. Cover it with a damp cloth and leave it in a warm spot for about 1 hour or until it doubles in size, allowing the yeast to ferment and the dough to rise.
- Prepare for Boiling: Fill a large pot with 2.5 to 3 liters of water and bring it to a rolling boil. Add 1 teaspoon of salt to the boiling water to season the bread while it cooks.
- Shape and Boil the Bread: Punch down the risen dough to release air, then divide and shape it into balls. Drop these balls into the boiling water a few at a time. Boil them for 1-2 minutes until they puff up and float to the surface, indicating they are cooked through.
- Cook on Stovetop: Heat a skillet or griddle over medium heat. Transfer the boiled bread pieces to the skillet and cook each side for 2-3 minutes until golden and crispy. Press lightly with a spatula to ensure even cooking and a nice crust.
- Serve: Serve the stovetop bread warm with butter, jam, or any preferred toppings for a delicious homemade treat.
Notes
- Ensure the milk is warm but not hot to avoid killing the yeast.
- Kneading the dough well is essential for a soft and stretchy texture.
- Boiling the dough balls before pan-cooking ensures a soft interior and light texture similar to traditional bread.
- You can store leftover bread in an airtight container and reheat on a skillet or microwave.
- Optional: Add herbs or spices to the dough for extra flavor.


