
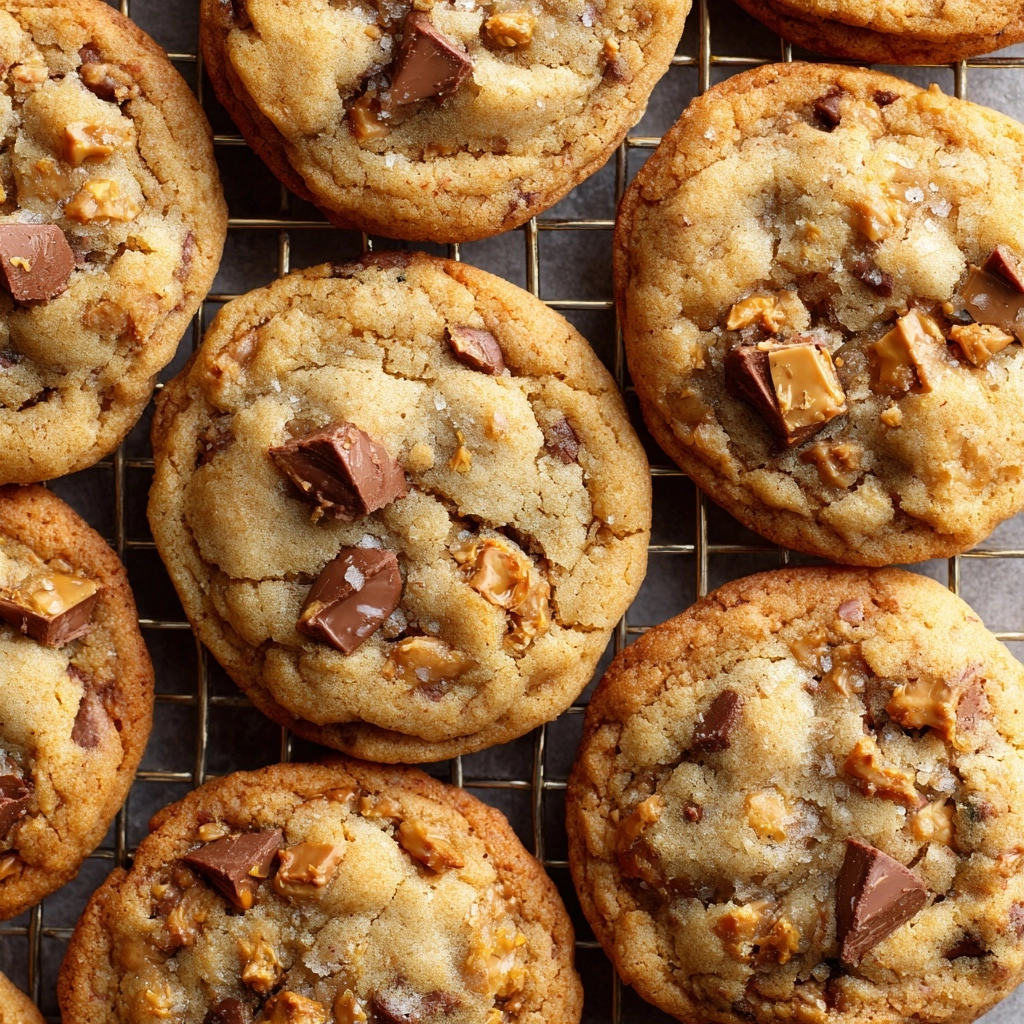
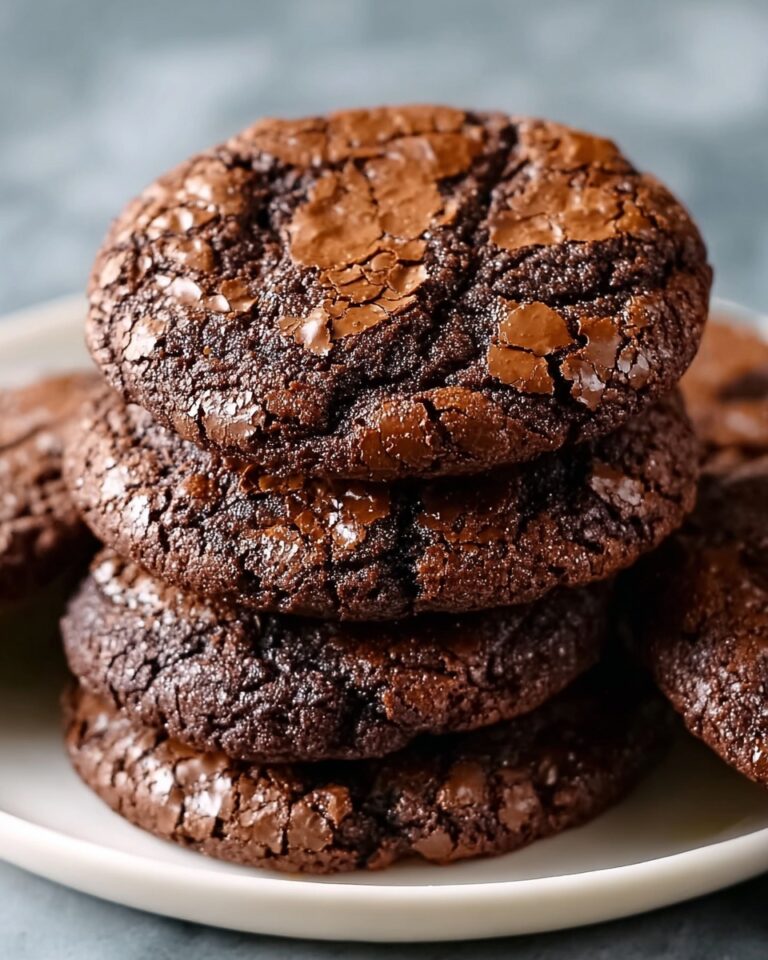
If you’re looking for the ultimate crowd-pleaser, these Peanut Butter Butterfinger Cookies are about to become your new obsession. Combining two beloved flavors in one chewy, crunchy bite, these cookies bring a rich, buttery base together with creamy peanut butter and a heaping helping of Butterfinger candy bits. Every batch bakes up golden on the edges, ridiculously soft in the middle, and is packed with pockets of crispy, chocolatey crunch. This is the cookie that wins bake sales, family game nights, and satisfies every sweet craving — trust me, you’ll want to make extra!
Ingredients You’ll Need
These simple, pantry-friendly ingredients are the secret to rich flavor and perfect texture in every batch. Each one plays an important role, from the creamy fat of butter to that unmistakable crunch that sets these cookies apart.
- Unsalted Butter (1/2 cup, softened): Gives the cookies a rich, melt-in-your-mouth texture and balances out the sweetness.
- Creamy Peanut Butter (1/2 cup): Adds depth, flavor, and that signature chewiness every great peanut butter cookie needs.
- Granulated Sugar (1/2 cup): Sweetens and helps create those crisp edges we all love.
- Brown Sugar (1/2 cup, packed): Adds moisture and a hint of caramel to the cookie base for a chewy center.
- Large Egg (1): Binds everything together for a soft, cohesive dough.
- Vanilla Extract (1 teaspoon): Rounds out the flavors for a more complex, bakery-worthy bite.
- All-Purpose Flour (1 1/4 cups): The structural backbone, giving your cookies just the right amount of lift and tenderness.
- Baking Soda (1/2 teaspoon): Makes your cookies rise ever-so-slightly for a lighter, puffier bake.
- Salt (1/4 teaspoon): Brings all the flavors into harmony and keeps the sweetness in check.
- Butterfinger Candy Bars, chopped (1 1/2 cups): The star ingredient, adding irresistible crunch and chocolate-peanut butter flavor throughout each cookie.
How to Make Peanut Butter Butterfinger Cookies
Step 1: Prep Your Baking Sheets
Start by preheating your oven to 350°F, which is that cookie-perfect sweet spot for gentle browning and soft centers. Line two baking sheets with parchment paper and set them aside — doing this now ensures an easy, non-stick release later and saves you precious cleanup time.
Step 2: Cream the Butters and Sugars
In a large mixing bowl, combine the softened unsalted butter, creamy peanut butter, granulated sugar, and packed brown sugar. Beat them together until light and fluffy, about 2–3 minutes. This step infuses air into your dough for a tender, dreamy cookie base.
Step 3: Add Egg and Vanilla
Crack in your large egg and drizzle in the vanilla extract. Beat until the mixture is smooth, rich, and fully combined for a gorgeous, silky dough. Every cookie’s foundation starts with a well-emulsified base!
Step 4: Mix the Dry Ingredients
In a separate bowl, whisk together the flour, baking soda, and salt. This ensures the leavening agent is evenly distributed, giving you perfect rise and flavor in every bite. Don’t skip this quick step — it makes all the difference.
Step 5: Combine Wet and Dry
Gradually add the dry ingredients into the wet mixture, stirring until just incorporated. It’s important not to overmix here; as soon as the flour disappears, you’re good to go. This keeps your Peanut Butter Butterfinger Cookies soft, not tough!
Step 6: Fold in the Butterfinger Pieces
Gently fold in the chopped Butterfinger bars, reserving a small handful if you want to sprinkle extras on top. The chunks should be distributed all through the dough — every scoop should have plenty of that signature crunch.
Step 7: Scoop and Arrange
Using a tablespoon or small cookie scoop, drop mounds of dough two inches apart on your prepared baking sheets. If you reserved extra Butterfinger, press a few pieces gently onto the tops for a bakery-style look and bonus texture.
Step 8: Bake to Perfection
Bake for 9–11 minutes, or until the edges are lightly golden and the centers look just set. The cookies will continue to finish baking on the sheets out of the oven, so don’t be tempted to overbake!
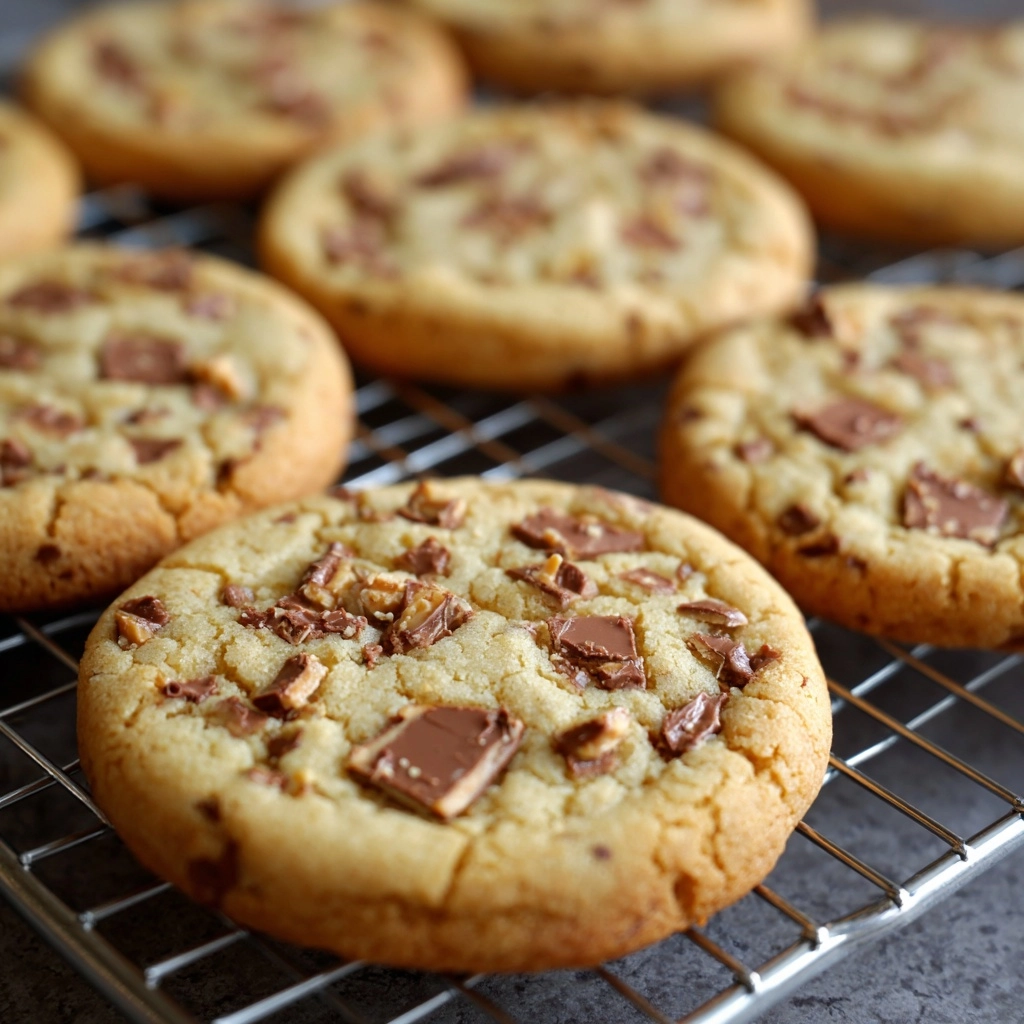
Step 9: Cool Completely
Allow your cookies to cool on the baking sheets for 5 minutes before transferring them to a wire rack. This helps them hold their shape and sets the chewy centers. Once cooled, they’re ready to enjoy!
How to Serve Peanut Butter Butterfinger Cookies
Garnishes
For bakery-style flair, sprinkle more chopped Butterfinger pieces or a light dusting of flaky sea salt on fresh cookies while they’re still warm. A quick drizzle of melted chocolate never hurts, either. These little touches make Peanut Butter Butterfinger Cookies look as crave-worthy as they taste.
Side Dishes
These cookies are rich and sweet, so they pair perfectly with a cold glass of milk or a mug of dark roast coffee. For an indulgent twist, serve alongside vanilla ice cream or even a scoop of peanut butter gelato — the contrast of temperatures and textures is unforgettable.
Creative Ways to Present
Stack cookies high on a cake stand for a dramatic centerpiece, tuck a few into a colorful treat bag for gifting, or create mini ice cream sandwiches by pressing a scoop of ice cream between two cookies. Peanut Butter Butterfinger Cookies also shine on holiday trays or as part of a dessert buffet at your next party!
Make Ahead and Storage
Storing Leftovers
Once cooled, store your cookies in an airtight container at room temperature for up to five days — though they rarely last that long! The flavors meld even more by day two, and they’ll stay delightfully chewy.
Freezing
Want homemade cookies on demand? Freeze finished cookies in a single layer, then transfer to a resealable freezer bag for up to two months. You can also freeze scooped, unbaked dough balls — just bake straight from the freezer, adding 1–2 minutes to the bake time.
Reheating
If you love warm cookies, pop a cooked cookie in the microwave for about 10 seconds or in a low oven for a minute. The Butterfinger bits will get soft and gooey, just like fresh from the oven. Perfect with milk!
FAQs
Can I use crunchy peanut butter instead of creamy?
Absolutely! Using crunchy peanut butter will give your Peanut Butter Butterfinger Cookies an even more intense peanut-y texture. Just keep in mind, the final cookie may be a bit less soft, but if you’re a fan of extra crunch it’s a delicious swap.
What’s the best way to chop Butterfinger bars?
I’ve found the easiest way is to unwrap chilled Butterfinger bars and chop them with a sharp chef’s knife. Chilled bars create less mess and fewer crumbles. If they’re too sticky, pop them in the fridge for 10 minutes first!
Can I double the recipe for a party?
Yes, this recipe easily doubles! Just make sure to use a very large mixing bowl and rotate your baking sheets halfway through to insure even baking. More Peanut Butter Butterfinger Cookies means more happy guests!
Do I need to chill the dough before baking?
Nope, this recipe is designed for instant gratification! You can bake the cookies straight away, though if your kitchen is very warm and the dough feels extra soft, a 10-minute chill won’t hurt.
How do I keep the Butterfinger chunks from melting or disappearing?
Chop your Butterfinger bars and gently fold them into the dough at the very end. For maximum presence, press a few chunks onto each dough ball before baking, so you get that signature crunch in every bite.
Final Thoughts
If you’re craving something sweet, a little nostalgic, and completely irresistible, Peanut Butter Butterfinger Cookies are bound to win your heart. Give this recipe a try and you’ll see why it’s such a beloved favorite — a true hit no matter the occasion!
Print
Peanut Butter Butterfinger Cookies Recipe
- Prep Time: 15 minutes
- Cook Time: 10 minutes
- Total Time: 25 minutes
- Yield: 24 cookies
- Category: Dessert
- Method: Baking
- Cuisine: American
- Diet: Vegetarian
Description
These Peanut Butter Butterfinger Cookies are a delightful treat that combines the rich flavors of peanut butter with the crunch of Butterfinger candy bars. Easy to make and perfect for any occasion!
Ingredients
Cookie Dough:
- 1/2 cup unsalted butter (softened)
- 1/2 cup creamy peanut butter
- 1/2 cup granulated sugar
- 1/2 cup packed brown sugar
- 1 large egg
- 1 teaspoon vanilla extract
- 1 1/4 cups all-purpose flour
- 1/2 teaspoon baking soda
- 1/4 teaspoon salt
Add-ins:
- 1 1/2 cups chopped Butterfinger candy bars
Instructions
- Preheat the oven and prepare baking sheets: Preheat oven to 350°F and line two baking sheets with parchment paper.
- Cream butter and sugars: In a large bowl, cream together butter, peanut butter, granulated sugar, and brown sugar until light and fluffy.
- Add egg and vanilla: Mix in the egg and vanilla extract until well combined.
- Combine dry ingredients: In a separate bowl, whisk together flour, baking soda, and salt.
- Combine wet and dry mixtures: Gradually add the dry ingredients to the wet mixture, stirring until just combined.
- Fold in Butterfinger: Gently fold in the chopped Butterfinger candy bars.
- Bake: Scoop dough onto baking sheets and bake for 9–11 minutes until golden.
- Cool and enjoy: Let the cookies cool on the baking sheet before transferring to a wire rack to cool completely.
Notes
- For extra crunch, sprinkle additional Butterfinger bits on top before baking.
- Store cookies in an airtight container for up to 5 days.
Nutrition
- Serving Size: 1 cookie
- Calories: 170
- Sugar: 14g
- Sodium: 120mg
- Fat: 9g
- Saturated Fat: 4g
- Unsaturated Fat: 4g
- Trans Fat: 0g
- Carbohydrates: 21g
- Fiber: 1g
- Protein: 2g
- Cholesterol: 20mg


