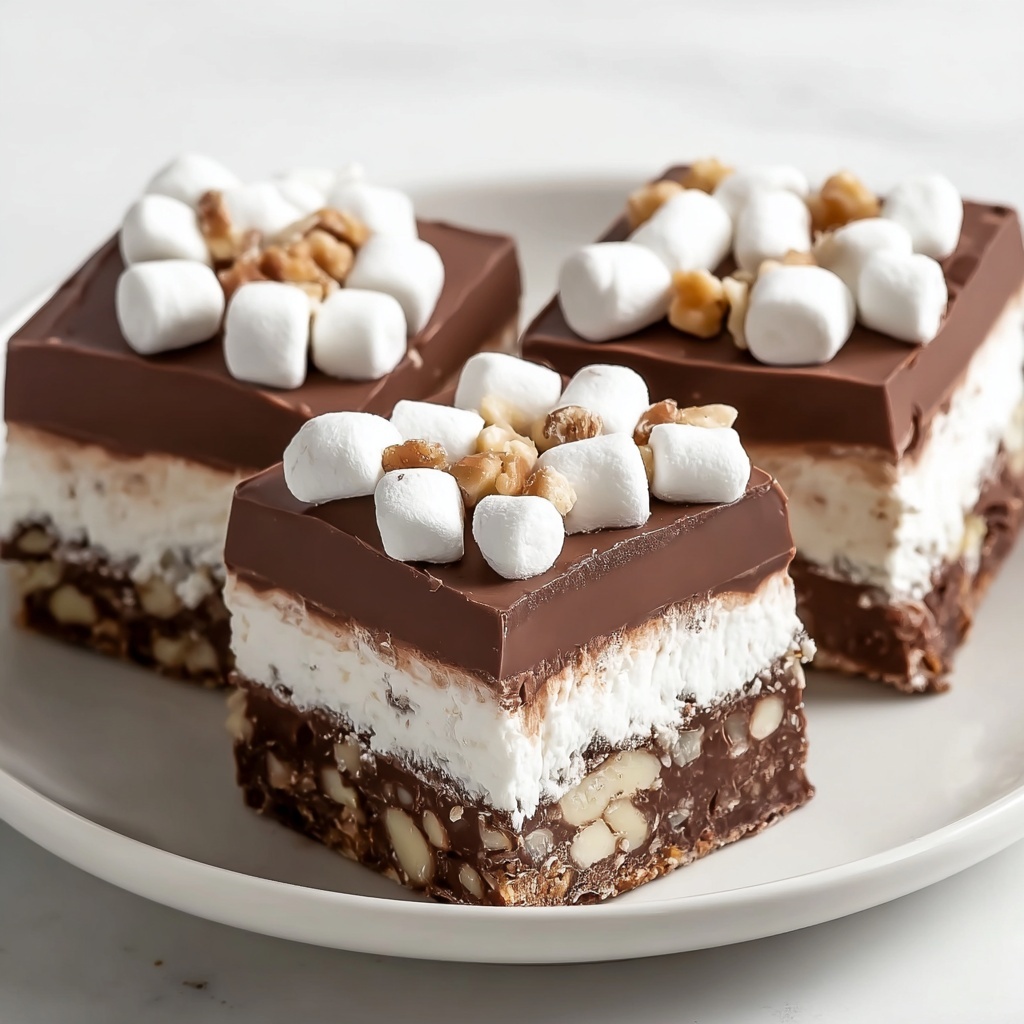
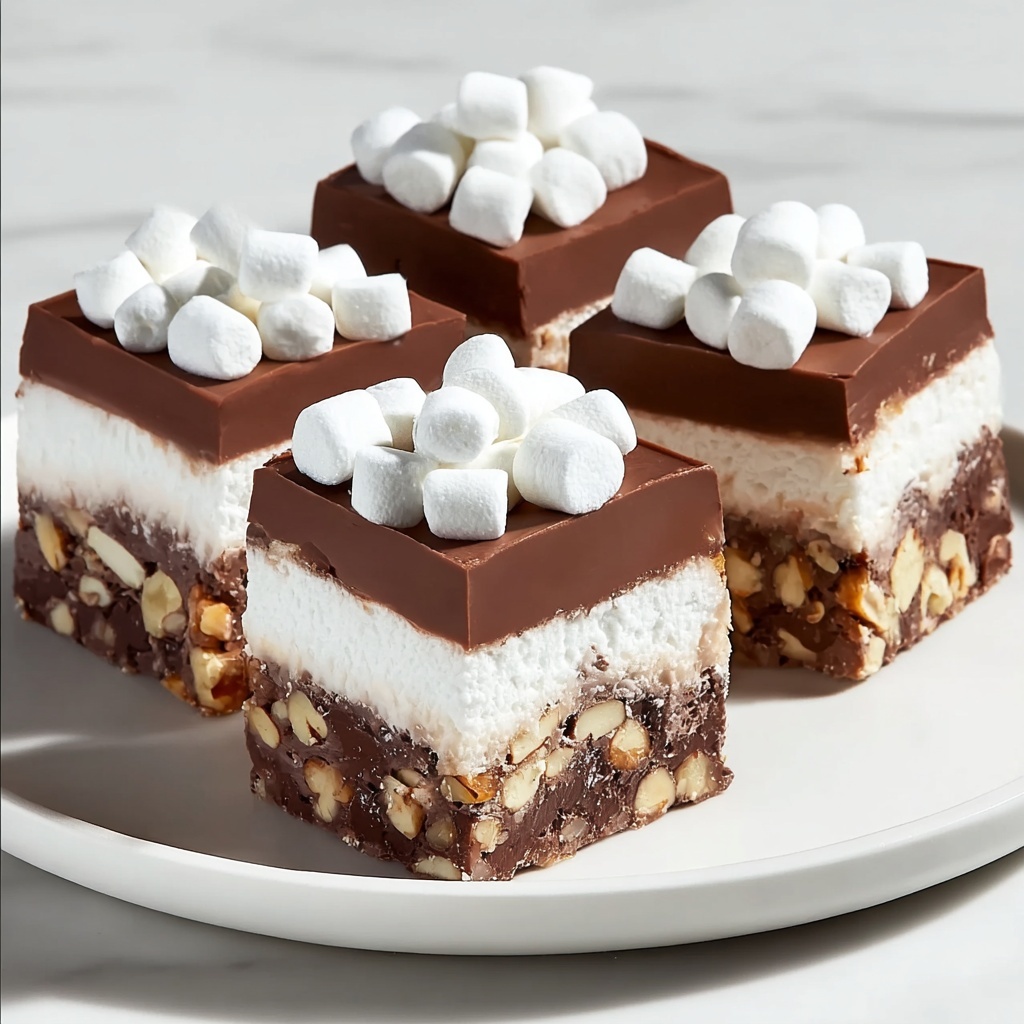
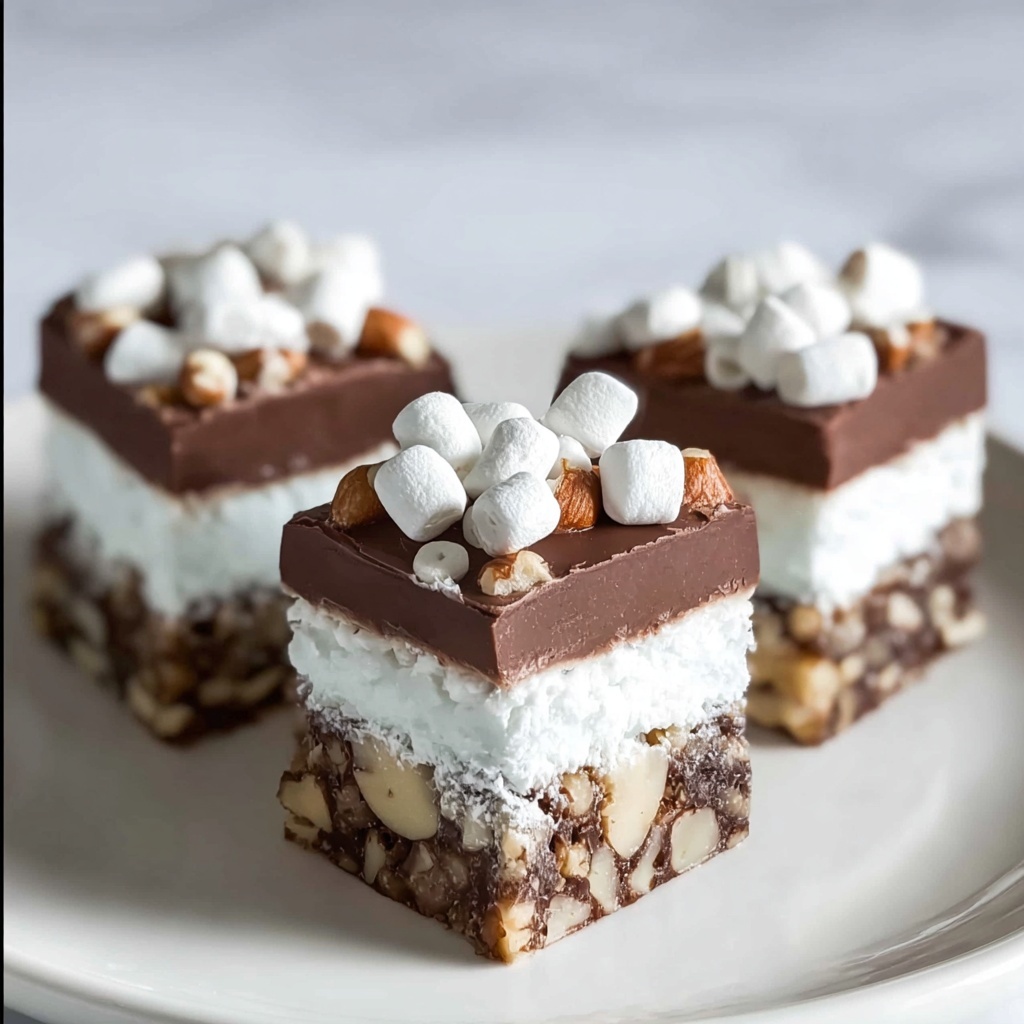
If you have a sweet tooth and crave that perfect blend of creamy, crunchy, and chewy all at once, you are going to absolutely love this Rocky Road Ice Cream Bars Recipe. It’s a delightful twist on the classic Rocky Road ice cream, served in convenient bar form. These bars combine rich chocolate, fluffy marshmallows, and crunchy nuts into a frozen treat that’s both nostalgic and irresistible. Whether you’re serving them at a summer party or enjoying a cool dessert on a cozy night in, this recipe is a guaranteed crowd-pleaser that’s surprisingly simple to make at home.
Ingredients You’ll Need
Getting the ingredients right is key for the perfect Rocky Road Ice Cream Bars Recipe. Each item plays a crucial role in the final texture and flavor, balancing creaminess, sweetness, and crunch in every bite.
- 2 cups heavy cream: This provides the luscious creaminess that makes the bars so silky and smooth.
- 1 cup sweetened condensed milk: It adds natural sweetness and a creamy body without the need for extra sugar.
- 1 cup mini marshmallows: These bring that iconic fluffy chewiness that melts in your mouth.
- 1 cup chopped nuts (walnuts or almonds): Choose your favorite for a satisfying crunch and nutty flavor contrast.
- 1 cup chocolate chips: Melts just enough to coat the bars in chocolate goodness without overwhelming.
- 1 teaspoon vanilla extract: A subtle but essential flavor booster that ties everything together beautifully.
How to Make Rocky Road Ice Cream Bars Recipe
Step 1: Combine Cream and Condensed Milk
Start by pouring the heavy cream and sweetened condensed milk into a large mixing bowl. Whisk them together gently until well combined; this is the creamy base where all the magic begins.
Step 2: Add Vanilla Extract
Next, stir in the teaspoon of vanilla extract. This little addition elevates the flavor, giving the ice cream bars a lovely aromatic depth that perfectly complements the chocolate and nuts.
Step 3: Fold in Mix-Ins
Now, it’s time for the fun part—gently mix in the mini marshmallows, chopped nuts, and chocolate chips. Be careful not to overmix; you want these delightful bits to remain mostly intact for bursts of texture in each bite.
Step 4: Freeze the Mixture
Pour the entire mixture into a prepared baking pan and spread it out evenly. This sets the stage for your Rocky Road Ice Cream Bars. Pop it into the freezer and allow it to chill for at least six hours until it’s firm enough to cut.
Step 5: Slice and Serve
Once frozen solid, remove from the freezer and slice into bars. These homemade Rocky Road Ice Cream Bars are now ready to deliver a wonderful combination of creamy, crunchy, and chewy with every bite.
How to Serve Rocky Road Ice Cream Bars Recipe
Garnishes
For an extra touch of delight, sprinkle some shaved chocolate or a dusting of cocoa powder over the bars before serving. You could also drizzle a tiny bit of melted chocolate or add a few whole nuts on top for an elegant presentation that matches the indulgent flavors.
Side Dishes
Serve these bars alongside a fresh fruit salad to cut through the richness, or pair them with a cup of hot coffee or espresso to balance the sweetness with a hint of bitterness. They also go wonderfully with whipped cream if you’re aiming for extra decadence.
Creative Ways to Present
Why stop at just bars? You can get creative by using mini silicone molds for bite-sized Rocky Road “bites,” or sandwiching these bars between two thin cookies for a fun, ice cream sandwich twist. Wrapping individual bars in parchment and tying with twine makes a charming gift or party favor too.
Make Ahead and Storage
Storing Leftovers
Keep any leftover Rocky Road Ice Cream Bars in an airtight container in the freezer to maintain their freshness and prevent ice crystals from forming. Proper storage will preserve their texture and flavor for up to two weeks.
Freezing
This recipe is designed to be frozen, so freezing is straightforward—just make sure to cover the pan tightly with plastic wrap or a lid before placing it in the freezer. This ensures the bars freeze evenly and maintain their creamy texture.
Reheating
Since these are ice cream bars, reheating is not recommended. Instead, allow them to soften slightly at room temperature for 5-10 minutes before serving to enjoy a perfect balance of firmness and creaminess.
FAQs
Can I use a dairy-free alternative for the heavy cream?
Yes, you can substitute heavy cream with coconut cream or another rich non-dairy cream, but be aware that the flavor and texture will shift slightly. Coconut cream adds a pleasant tropical twist.
Is it possible to add different nuts or extras?
Absolutely! Feel free to experiment with pecans, pistachios, or even dried fruit like cherries or raisins to personalize your Rocky Road Ice Cream Bars Recipe.
How long do the bars need to freeze before cutting?
Freeze the mixture for at least six hours, preferably overnight, to ensure the bars are firm enough to cut cleanly without melting or crumbling.
Can I make these bars without a mixer?
Yes, since the base is a simple blend of heavy cream and sweetened condensed milk, whisking by hand works perfectly fine as long as you mix the ingredients until smooth and combined.
What’s the best pan to use for freezing these bars?
Use a shallow baking pan or loaf pan lined with parchment paper so you can easily lift the frozen block out and slice the bars without scraping the pan.
Final Thoughts
There’s something incredibly satisfying about making your own Rocky Road Ice Cream Bars Recipe at home, from mixing the simple yet flavorful ingredients to slicing into that rich, creamy frozen treat. This dessert is comforting, nostalgic, and perfect for sharing with friends and family. I can’t recommend enough giving it a try—you might just find your new favorite homemade summer indulgence!
Print
Rocky Road Ice Cream Bars Recipe
- Prep Time: 15 minutes
- Cook Time: 0 minutes
- Total Time: 6 hours 15 minutes
- Yield: 12 servings
- Category: Dessert
- Method: No-Cook
- Cuisine: American
Description
These Rocky Road Ice Cream Bars are a delightful no-bake treat combining creamy texture with mini marshmallows, crunchy nuts, and rich chocolate chips. Perfect for hot days or any time you crave a sweet and satisfying frozen dessert.
Ingredients
Ice Cream Base
- 2 cups heavy cream
- 1 cup sweetened condensed milk
- 1 teaspoon vanilla extract
Mix-ins
- 1 cup mini marshmallows
- 1 cup chopped nuts (walnuts or almonds)
- 1 cup chocolate chips
Instructions
- Prepare the Base: In a large mixing bowl, combine the heavy cream and sweetened condensed milk. Stir gently until fully incorporated, creating a smooth and creamy base.
- Add Flavor: Mix in the vanilla extract thoroughly to infuse the base with a warm, sweet aroma and flavor.
- Incorporate Mix-ins: Gently fold in the mini marshmallows, chopped nuts, and chocolate chips, ensuring an even distribution without deflating the cream.
- Freeze the Mixture: Pour the combined mixture into a prepared baking pan, spreading it evenly. Cover and place it in the freezer.
- Set and Firm Up: Freeze the mixture for at least 6 hours or until it is completely firm and set to bar-like consistency.
- Serve: Once frozen solid, cut into bars of your preferred size and serve immediately for a refreshing and indulgent frozen treat.
Notes
- Use a lined pan with parchment paper for easier removal of bars.
- You can substitute nuts according to your preference or omit for a nut-free version.
- Ensure the mix is well chilled before cutting to prevent melting.
- Store leftover bars in an airtight container in the freezer to maintain freshness.


