
If you’re dreaming of a nostalgic treat that brings childhood outdoor fun right into your bowl, the S’mores Snow Ice Cream Recipe is an absolute must-try. This delightfully creamy, chocolaty, and marshmallow-studded dessert captures all the magic of traditional s’mores but in a refreshing, snowy ice cream form that’s perfect for snowy days or just a playful twist on ice cream time. Combining fluffy fresh snow with warm vanilla, rich cocoa, and crunchy graham crackers creates an unbeatable medley of texture and flavor that will have you grinning with every spoonful.
Ingredients You’ll Need
The beauty of the S’mores Snow Ice Cream Recipe is in its simplicity – just a handful of ingredients that each play a starring role in creating that perfect sweet, creamy, and crunchy experience. Every element adds its flavor, texture, or visual appeal, making this recipe both fun and satisfying.
- 4-5 cups clean snow: Fresh snow is the base and gives the ice cream its magic light, fluffy texture.
- 1 cup milk: Brings creaminess and helps bind all ingredients smoothly together.
- 1/4 cup sugar: Sweetens the ice cream perfectly without overpowering other flavors.
- 1 teaspoon vanilla extract: Adds warmth and depth, enhancing the overall taste.
- 2 teaspoons cocoa powder: Gives that rich chocolate essence essential for s’mores flavor.
- 1/2-1 cup mini marshmallows: These little puffs add chewy sweetness and a fun texture contrast.
- 2-3 graham crackers: Crush them up for that classic, crunchy s’mores bite in every spoonful.
How to Make S’mores Snow Ice Cream Recipe
Step 1: Prepare the Base Mixture
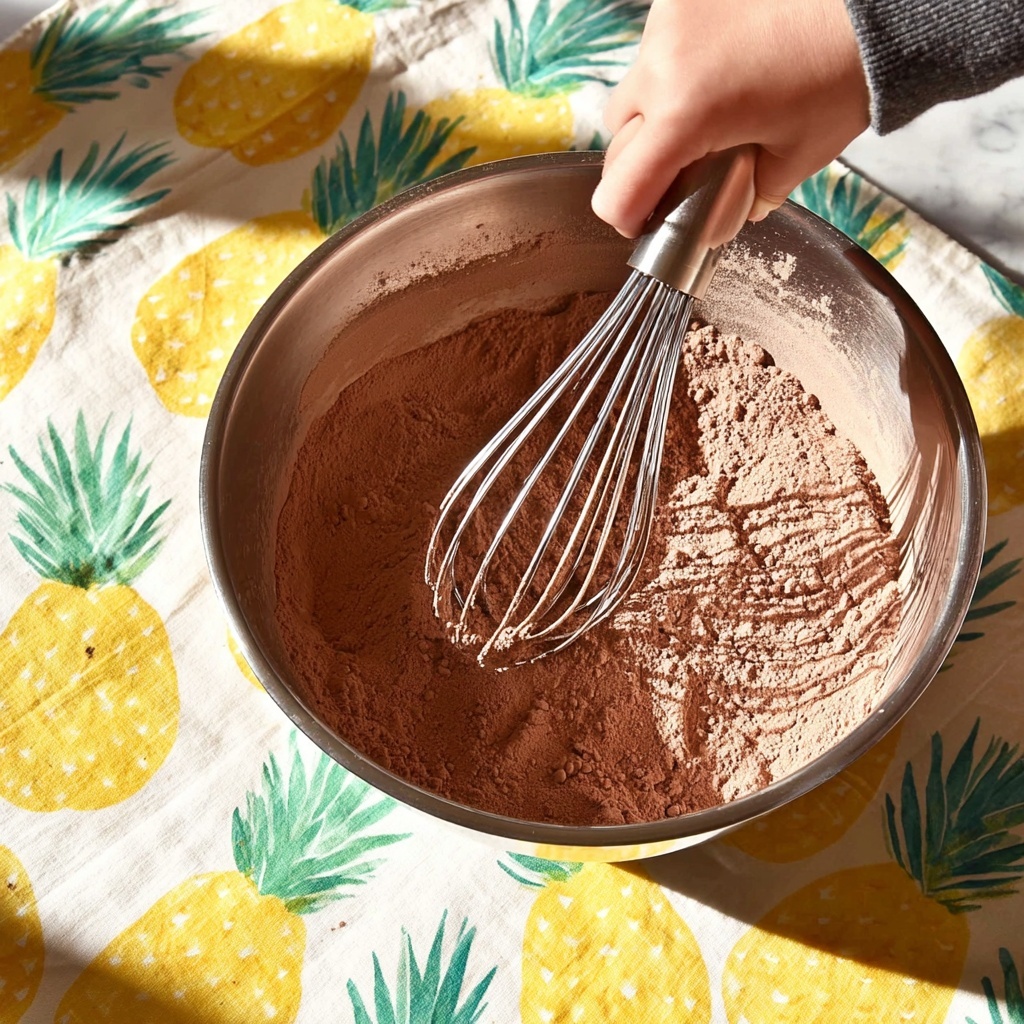
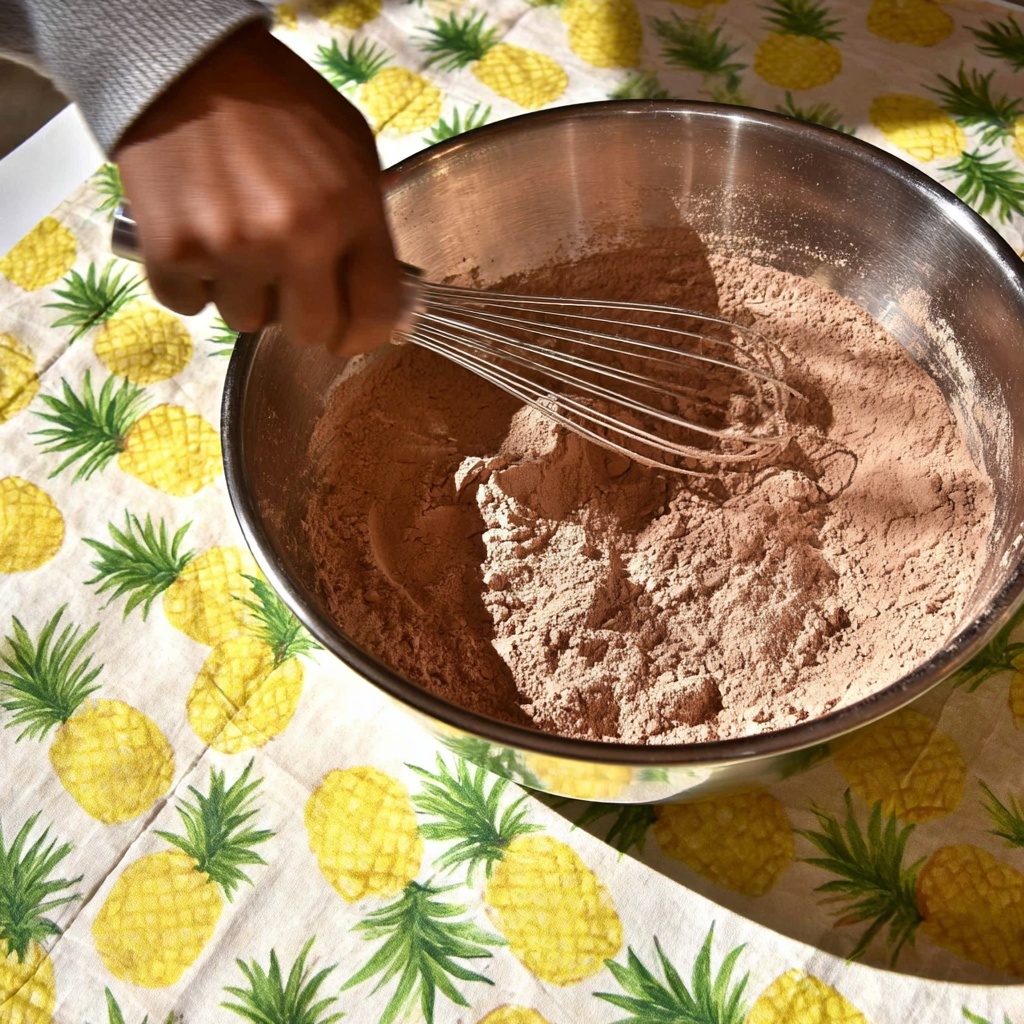
Start by whisking together the milk, sugar, vanilla extract, and cocoa powder in a large mixing bowl. This rich, chocolaty base is what transforms the simple fresh snow into a flavorful, creamy ice cream foundation. Stir just until the sugar is dissolved and everything is combined evenly.
Step 2: Fold in the Snow
Gradually add about 4 cups of clean, fresh snow into the bowl. Gently fold it into your chocolate milk mixture, adding more snow if needed until you reach the consistency of soft serve ice cream. The snow brings that light, airy texture and coolness that makes this dessert so special and refreshing.
Step 3: Mix in Marshmallows and Graham Crackers
Now it’s time for the fun part. Toss in mini marshmallows and crushed graham crackers. These ingredients bring that classic s’mores crunch and chewiness to balance out the creamy snow ice cream. Stir them gently so they’re evenly distributed without losing their shape.
Step 4: Chill and Set
Cover your bowl and place it in the freezer or outdoors if it’s below freezing temperature for about 30 to 40 minutes. This chill lets the flavors settle and the mixture firm up to a perfect scoopable texture, ready to delight your taste buds.
Step 5: Scoop and Serve
Once chilled, scoop portions into bowls or cups. Don’t wait too long before serving since fresh snow ice cream is best enjoyed immediately for the fluffiest texture. Get ready to dive into a bowl full of frosty, chocolaty, marshmallowy goodness!
How to Serve S’mores Snow Ice Cream Recipe
Garnishes
A sprinkle of extra crushed graham crackers on top or a few mini marshmallows toasted lightly with a kitchen torch adds an eye-catching finishing touch that amplifies the s’mores vibe. You could also drizzle a bit of chocolate syrup for extra indulgence.
Side Dishes
This S’mores Snow Ice Cream Recipe pairs wonderfully with simple snacks like fruit slices or even a warm mug of hot chocolate, making your dessert experience feel like a cozy campfire evening no matter where you are.
Creative Ways to Present
Serve the ice cream in mason jars or rustic bowls to capture that outdoorsy s’mores spirit. Layering it with extra marshmallows and broken graham crackers inside clear glasses makes a stunning visual treat that’s perfect for parties or family gatherings.
Make Ahead and Storage
Storing Leftovers
If by some miracle you have leftovers, store the snow ice cream in a tightly sealed container in the freezer. However, be aware that the texture may change as the snow melts and refreezes, becoming less fluffy and more icy.
Freezing
Freezing is best done immediately after preparation, but keeping this dessert in the freezer for more than a day is not recommended if you want to maintain its light and creamy texture. It’s best enjoyed fresh for that true snow ice cream experience.
Reheating
Since this is an icy, frozen treat, reheating is not applicable. Instead, just scoop straight from the freezer, allowing a few moments for softening if necessary.
FAQs
Can I use canned or bottled snow?
While fresh snow is ideal for the texture and purity of this recipe, in some places where fresh snow is unavailable, crushed ice from a blender can be a substitute. Just note that it might affect the texture slightly.
What if I don’t have mini marshmallows?
You can use regular marshmallows cut into smaller pieces or even marshmallow fluff folded in at the end for that sweet, gooey effect typical of s’mores.
Is this recipe safe to eat with fresh snow?
Always make sure to gather clean, fresh snow from an uncontaminated area away from roads, animals, and pollution to keep this dessert safe and wholesome.
Can I make this recipe vegan?
Yes! Substitute regular milk with any plant-based milk like almond or oat milk and choose vegan marshmallows to keep it deliciously friendly to a vegan diet.
How long does the S’mores Snow Ice Cream last before it melts?
Because of the snow base, it melts faster than traditional ice cream. It’s best to enjoy it immediately after scooping for optimal texture and flavor.
Final Thoughts
This S’mores Snow Ice Cream Recipe is such a playful and heartwarming treat that brings winter magic straight to your table. Whether you’re indulging after a snowy adventure or looking for an unforgettable way to enjoy a classic campfire favorite, this recipe will steal your heart and your taste buds. Grab some snow, gather your ingredients, and make a batch to share the joy of s’mores in a wholly unique and refreshing way!
Print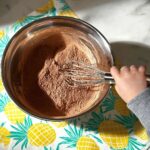
S’mores Snow Ice Cream Recipe
- Prep Time: 40 minutes
- Cook Time: 0 minutes
- Total Time: 40 minutes
- Yield: 4 servings
- Category: Dessert
- Method: No-Cook
- Cuisine: American
Description
This delightful S’mores Snow Ice Cream recipe transforms fresh clean snow into a creamy, sweet treat reminiscent of classic campfire s’mores. Combining milk, sugar, vanilla, cocoa powder, mini marshmallows, and crushed graham crackers, it’s a fun, no-bake dessert perfect for cold days or when you want a nostalgic frozen treat without an ice cream maker.
Ingredients
Base Ingredients
- 4–5 cups clean snow
- 1 cup milk
- 1/4 cup sugar
- 1 teaspoon vanilla extract
- 2 teaspoons cocoa powder
Add-ins
- 1/2–1 cup mini marshmallows
- 2–3 graham crackers, crushed
Instructions
- Prepare the chocolate milk mixture: In a large mixing bowl, combine the milk, sugar, vanilla extract, and cocoa powder. Stir well until the sugar has dissolved completely and the mixture is smooth and homogeneous.
- Add the snow gradually: Spoon 4 cups of clean, fresh snow into the chocolate milk mixture. Gently fold it in to combine, adding more snow as needed to reach your preferred ice cream-like consistency. Mix until fully combined.
- Incorporate marshmallows and graham crackers: Fold in the mini marshmallows and crushed graham crackers evenly throughout the snow ice cream mixture. Cover the bowl.
- Set to chill: Transfer the covered bowl to the freezer or outside if the temperature is below freezing. Allow it to chill and firm up for 30-40 minutes.
- Serve: Scoop the snow ice cream into bowls or cones and serve immediately for the best texture and flavor experience.
Notes
- Use only clean, fresh snow to ensure safety for consumption.
- The amount of snow can be adjusted to achieve your desired ice cream consistency.
- You can substitute graham crackers with digestive biscuits if preferred.
- This recipe is best served immediately after chilling to maintain texture.
- For a richer flavor, use whole milk, but any milk type will work depending on dietary preference.


