If you’ve ever dreamed of baking your own rustic, tangy breads right at home, getting started with a reliable sourdough culture is the first step. The Sourdough Starter Recipe I’m sharing today is a straightforward yet magical process that transforms simple flour and water into a lively, bubbly mixture bursting with wild yeast and natural flavor. This starter not only brings delightful complexity to your baked goods but also connects you to an ancient tradition that makes every loaf uniquely yours.
Ingredients You’ll Need
The beauty of this Sourdough Starter Recipe lies in its simplicity. Using just a few essential ingredients, each element plays a vital role: the flour provides the food for yeast and bacteria, while the water activates and hydrates everything to get fermentation going.
- Whole wheat flour: Packed with nutrients and natural wild yeast, this gives your starter a strong, healthy beginning on Day 1.
- Unbleached all-purpose flour: A neutral, versatile flour perfect for daily feedings that encourage steady fermentation.
- Filtered water: Free from chlorine and chemicals that can inhibit yeast growth, ensuring your starter thrives.
How to Make Sourdough Starter Recipe
Step 1: Mix Your Initial Ingredients
Start by combining 1 cup of whole wheat flour with 1/2 cup of filtered water in a large glass jar or non-reactive container. Stir it thoroughly until there’s no dry flour left, creating a thick, sticky batter. Cover the jar loosely with a lid or cloth, allowing air in but keeping dust out. Leave it at room temperature for 24 hours to invite wild yeasts and bacteria to begin their work.
Step 2: Begin Your Daily Feedings
On the second day, your starter might still look quiet and undisturbed — that’s perfectly normal. Discard half of the mixture (around 1/2 cup) to keep the population balanced and then feed it with 1 cup of unbleached all-purpose flour and 1/2 cup of filtered water. Give it a solid stir, cover loosely again, and rest at room temperature for another 24 hours.
Step 3: Repeat Feeding and Watch for Signs
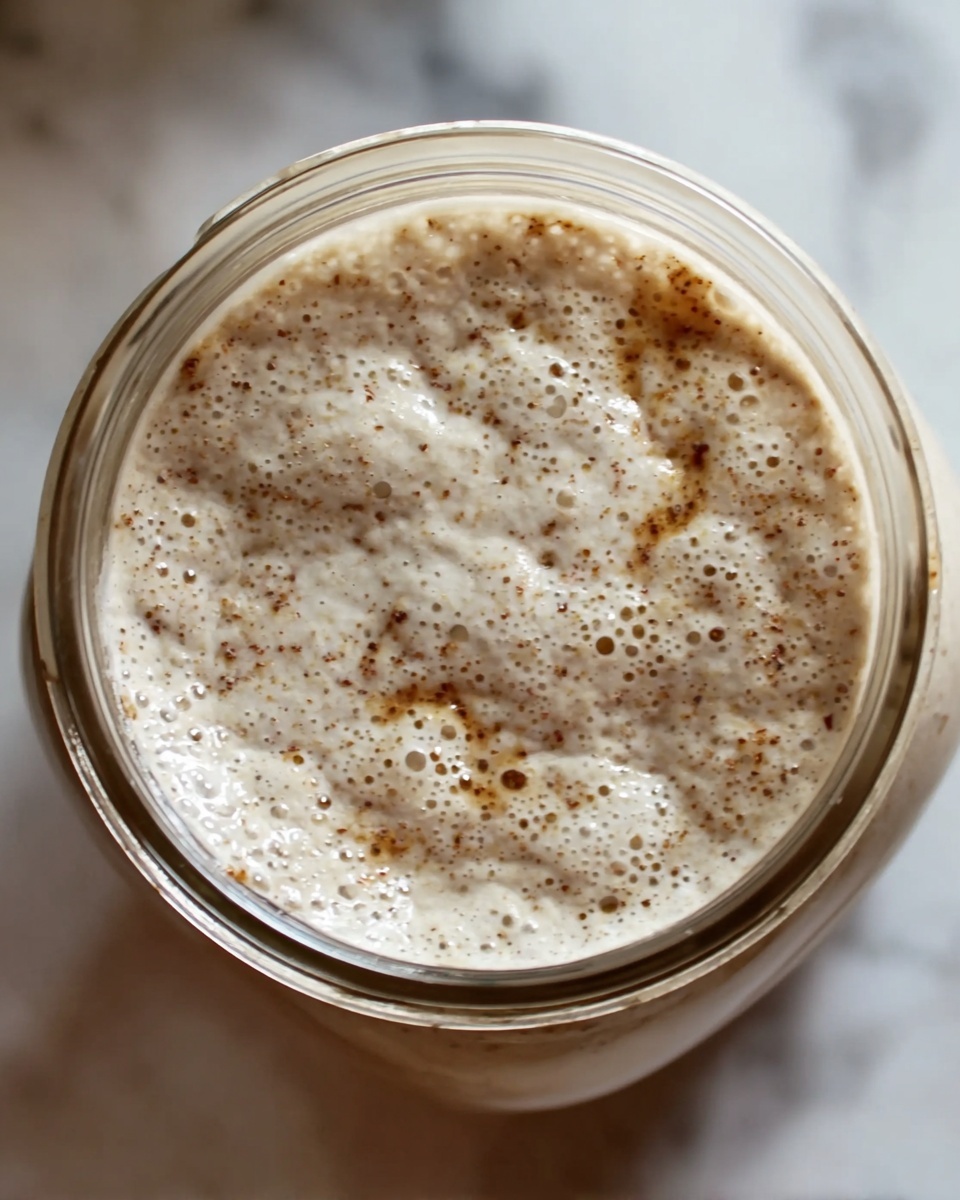
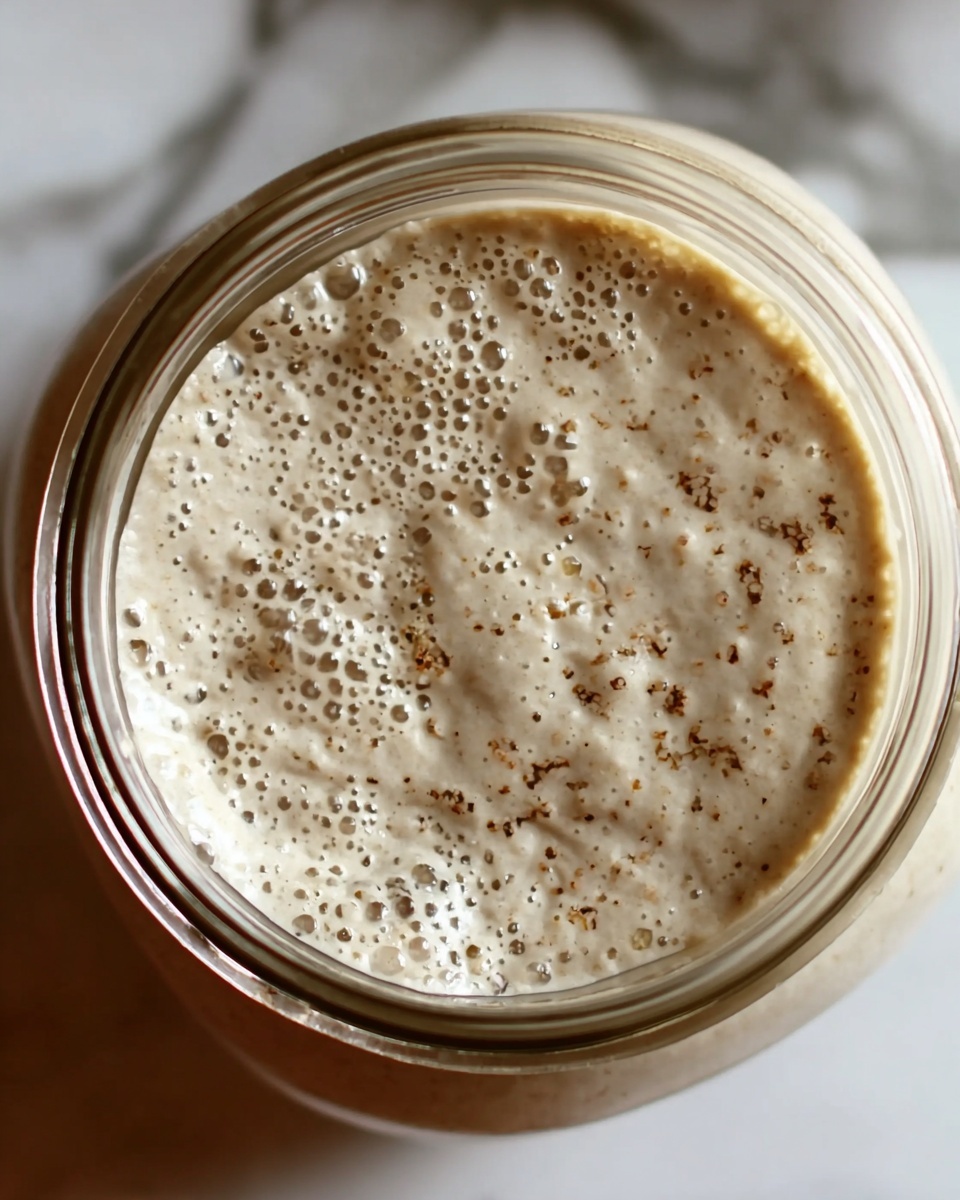
From Day 3 to Day 7, keep repeating the discard and feeding routine daily. As you go along, start looking for bubbles on the surface and a pleasantly sour aroma — these are signs your starter is becoming active and healthy. By about Day 4 or 5, that signature tangy smell should become noticeable, hinting at all the fermentation magic happening inside.
Step 4: Assess Readiness and Adjust
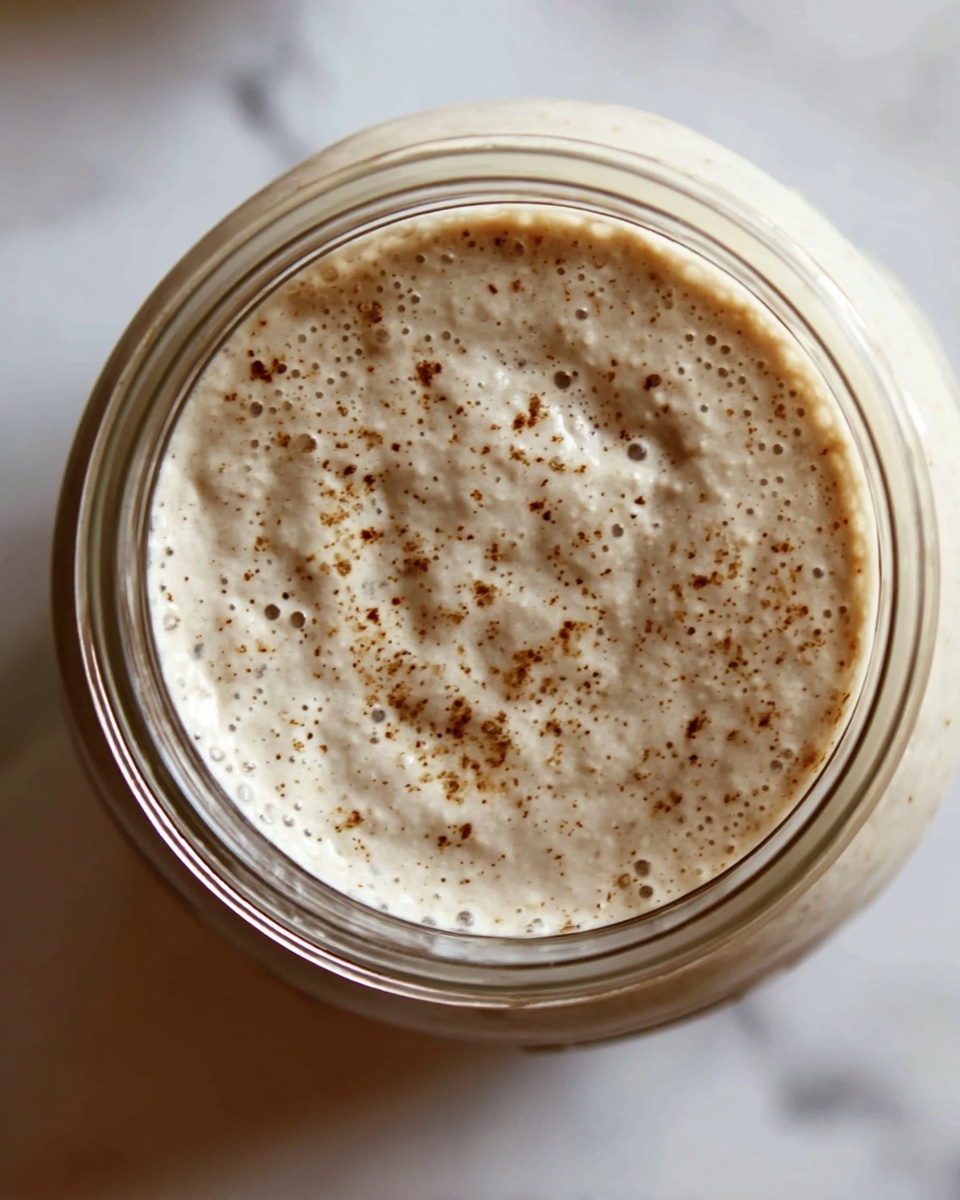
By Day 6 or 7, your starter should double in size within 4 to 6 hours of feeding and smell distinctly sour but inviting. This means it’s primed and ready to lend life to your breads. If it’s not quite there yet, don’t worry — continue daily feedings for a few more days until it gets stronger. Keep the container loosely covered to encourage airflow while protecting the starter from unwanted particles.
Step 5: Maintain Your Starter
Once established, your starter can be stored in the refrigerator and fed weekly to keep it lively. When you want to bake, bring it out a few hours before use, feed it, and let it come back to life. This routine keeps your wild yeast population vigorous and ready to leaven dough whenever inspiration strikes.
How to Serve Sourdough Starter Recipe
Garnishes
While you probably won’t serve a sourdough starter on its own, the aroma and bubbles signal that it’s ready to transform into stunning breads and pastries. When baking with your starter, consider garnishing finished loaves with a sprinkle of oat flakes, seeds, or a light dusting of flour to showcase the beautiful crust that results from this natural leaven.
Side Dishes
Sourdough bread made from your starter pairs wonderfully with soups, cheeses, and fresh salads. Its tangy depth adds a perfect counterpoint to creamy spreads or rich stews, making it indispensable at any meal. Try a hearty bowl of tomato soup and fresh sourdough slices for a cozy, comforting experience.
Creative Ways to Present
Once your starter is thriving, get creative by experimenting with different flours or feeding schedules to tweak the flavor profile. Use it not only for traditional bread but also pancakes, pizza dough, or even crackers. Serving warm sourdough pancakes or crispy flatbreads from your own Sourdough Starter Recipe will delight friends and family, adding that irresistible homemade charm to every bite.
Make Ahead and Storage
Storing Leftovers
After feeding your starter, you might have a bit left over. Store any excess in a sealed jar in the fridge, and feed it about once a week. This slows down the activity but keeps the culture healthy so you won’t have to start over if you take a break from baking.
Freezing
If you want to pause your starter for longer periods, freezing is an option. Transfer the starter to an airtight container or freezer bag and freeze it. When you’re ready to bake again, thaw in the refrigerator and resume regular feedings to revive its culture.
Reheating
Your starter itself does not require reheating, but when baking, warm the dough after mixing to encourage rising. Feeding the starter 4 to 6 hours before baking allows it to become active and bubbly—this natural leavening is what brings your baked goods to life.
FAQs
Why do I need to discard half the starter before feeding?
Discarding helps control the starter’s size and acidity levels, preventing it from becoming overly sour and ensuring the yeast have enough fresh flour to thrive. It’s an essential part of maintaining a healthy, balanced culture.
Can I use a different type of flour?
Absolutely! While whole wheat and all-purpose flour work best for getting and keeping your starter active, you can experiment with rye or spelt for different flavors and activity. Just note that different flours might ferment at slightly different rates.
What temperature is best for fermenting the starter?
The ideal room temperature is around 70 to 75 degrees Fahrenheit. Too cold and the fermentation slows down; too warm and it might become overly sour or encourage unwanted bacteria.
How do I know when the starter is ready to use?
Your starter is ready when it consistently doubles in size within 4 to 6 hours after feeding and smells pleasantly tangy but not unpleasant or cheesy. It should be bubbly and lively, a sign that it can leaven dough effectively.
Can I skip using filtered water?
Using filtered or dechlorinated water is highly recommended because chlorine and other chemicals in tap water can inhibit wild yeast growth. If you must use tap water, let it sit uncovered for a few hours before using to allow chlorine to dissipate.
Final Thoughts
Embarking on your sourdough baking journey with this Sourdough Starter Recipe is not only rewarding but genuinely fun. Watching a simple mixture evolve into a vigorous, bubbling starter that brings flavor and life to bread is an experience every baker deserves. So go ahead, nurture your starter, and get ready to fill your home with the irresistible aroma of fresh, homemade sourdough!
Print
Sourdough Starter Recipe
- Prep Time: 10 minutes (daily)
- Cook Time: 0 minutes
- Total Time: 7 days (approximately 60–70 minutes of hands-on time in total)
- Yield: About 1 cup of active sourdough starter
- Category: Basics
- Method: Fermentation
- Cuisine: Global
- Diet: Vegan
Description
Learn how to create a lively and robust sourdough starter from scratch using just whole wheat and all-purpose flour combined with filtered water. This natural fermentation process cultivates wild yeast and beneficial bacteria, resulting in a flavorful, tangy starter perfect for baking delicious sourdough bread and other recipes.
Ingredients
Day 1
- 1 cup (120g) whole wheat flour
- 1/2 cup (120ml) filtered water
Feedings (Days 2–7)
- 1 cup (120g) unbleached all-purpose flour
- 1/2 cup (120ml) filtered water
- Additional flour and water as needed for daily feedings
Instructions
- Initial Mix: On Day 1, combine the whole wheat flour and filtered water in a large glass jar or a non-reactive container. Stir thoroughly until no dry flour remains, then cover loosely with a lid or cloth to allow airflow. Let it rest at room temperature (70–75°F) for 24 hours.
- First Feeding: On Day 2, check your starter; it may not show many changes yet. Discard about half (approximately 1/2 cup) of the starter. Feed it with 1 cup all-purpose flour and 1/2 cup filtered water, stir well, cover loosely, and let it rest at room temperature for another 24 hours.
- Daily Feedings: Repeat the discard and feeding routine daily from Day 3 through Day 7. Each day, remove half of the starter and replenish with 1 cup all-purpose flour and 1/2 cup water. Cover loosely and leave at room temperature.
- Observation of Activity: Around Day 4 or 5, look for bubbles forming on the surface and detect a pleasant tangy smell indicating yeast activity. If not visible, continue feedings as scheduled.
- Starter Maturity: By Day 6 or 7, your starter should double in volume within 4 to 6 hours after feeding and have a sour aroma. This indicates it’s ready to use in baking. If it hasn’t reached this stage, continue daily feedings until it does.
- Storage and Maintenance: Once mature, store your starter in the refrigerator and feed it weekly to maintain its activity. Before baking, feed the starter and allow it to become active by resting it at room temperature for 4 to 6 hours.
Notes
- Use filtered or dechlorinated water to avoid inhibiting wild yeast growth.
- You may switch entirely to all-purpose flour after Day 1 or blend with whole wheat or rye flour to develop different flavors.
- Keep your container loosely covered to allow airflow while preventing contamination.
- Consistent room temperature between 70–75°F optimizes yeast activity.


