
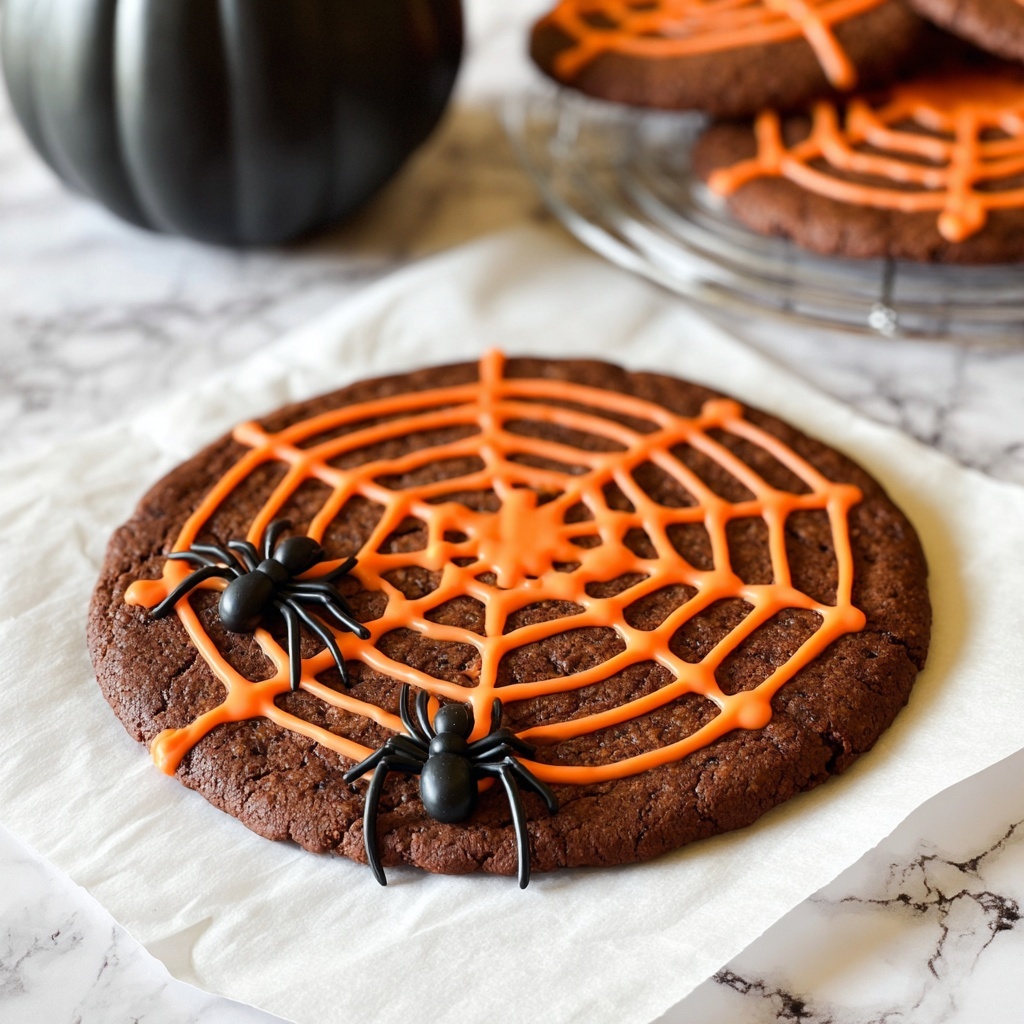
If you’ve ever wanted to wow your friends or family with a dessert that looks as impressive as it tastes, this Spider Web Cookie Recipe is exactly the treat you need. Combining the rich, chocolaty goodness of a chocolate chip cookie with the spooky fun of a classic spider web design, this easy-to-make recipe is perfect for any occasion where you want to add a little festive flair. It’s surprisingly simple to prepare, yet the final product is so charming and delicious that everyone will be asking for the secret behind your baking brilliance!
Ingredients You’ll Need
The beauty of this Spider Web Cookie Recipe lies in its simplicity—just a handful of ingredients come together to create something truly special. Each ingredient plays a crucial role, from the cookie dough that forms the soft, chewy base, to the cocoa that deepens the flavor and color, and the frosting that brings the spider web to life with vibrant hues.
- 1 package (16.5 ounces) Pillsbury refrigerated chocolate chip cookie roll: The base of your cookie, pre-made dough saves time and ensures consistent texture.
- 1/3 cup unsweetened baking cocoa: Adds rich chocolate flavor and dark color, perfect for a spooky twist.
- 1/2 cup creamy vanilla frosting: Smooth and sweet, this frosting will become your colorful canvas for the spider web design.
- 5 drops red food coloring: Combines with yellow to create that perfect vibrant orange shade for the frosting.
- 9 drops yellow food coloring: Warms up the frosting color, giving it the bright feel of a Halloween pumpkin’s glow.
- Plastic black spiders: The ultimate finishing touch – spooky, fun, and perfect for a playful presentation (or make your own with Oreos and candy).
How to Make Spider Web Cookie Recipe
Step 1: Prepare Your Oven and Pan
Start by preheating your oven to 350 degrees Fahrenheit. Line a 12-inch pizza pan with parchment or wax paper, creating a simple, non-stick surface that makes baking and cleanup a breeze. This step sets the stage for a perfectly shaped cookie that will hold all your decorating efforts with pride.
Step 2: Mix the Cocoa Into the Cookie Dough
Get your refrigerated cookie dough into the bowl of an electric mixer and pour the unsweetened cocoa on top. Using the dough hook attachment at medium speed, beat until the cocoa is fully incorporated—this usually takes a couple of minutes. This step transforms your cookie dough into a lovely, chocolaty canvas with a darker hue, making the spider web design pop even more brilliantly.
Step 3: Roll and Bake the Cookie
Transfer the dough onto your prepared pan and carefully roll it into a 10-inch circle. This size is ideal for showcasing the web design. Bake the cookie for 8 to 10 minutes until set but still soft. Once baked, remove it from the oven and allow it to cool completely so the frosting won’t melt on contact.
Step 4: Color and Pipe the Frosting
Warm the creamy vanilla frosting in a microwave-safe bowl for about 15 seconds, just until it’s slightly melted and smooth. Add your drops of red and yellow food coloring, mixing until you achieve a vibrant orange shade that perfectly complements the chocolate base. Transfer the frosting into a small ziplock bag and snip off one corner to create a piping tool. Starting from the center of your cooled cookie, pipe a spiral of frosting outward.
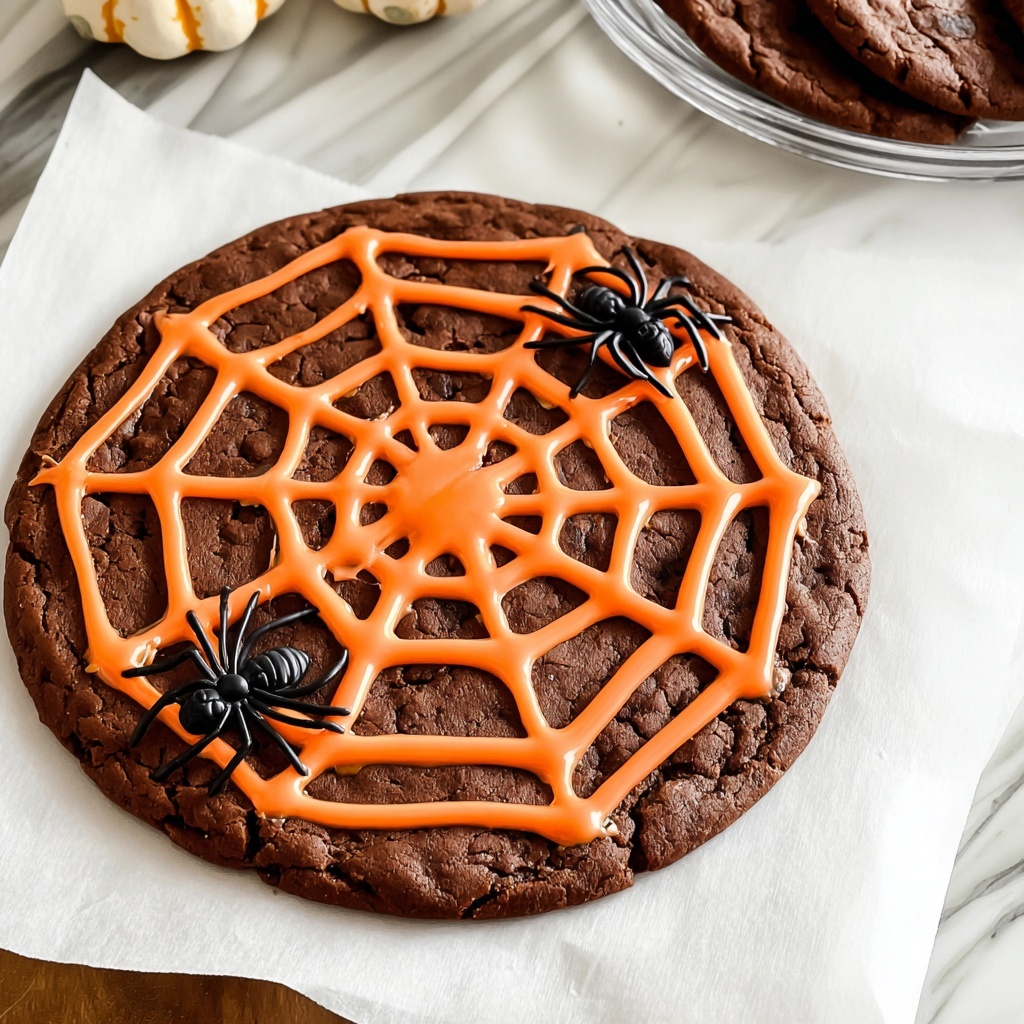
Step 5: Create the Spider Web Design
With a knife or toothpick, drag lines outward from the center of the spiral at 1-inch intervals. This simple motion turns your spiral into a spooky and beautiful spider web that will impress everyone. Let the frosting set for about 10 minutes to firm up before adding your finishing touch.
Step 6: Add Your Spiders and Slice
Top your masterpiece with plastic spiders for that extra-creepy vibe—if you want, you can get creative and craft edible spiders from Oreos or candies like M&M’s. Slice your cookie into wedges, serve, and watch the delighted reactions as everyone enjoys this show-stopping dessert. (Remember, don’t eat the plastic spiders!)
How to Serve Spider Web Cookie Recipe
Garnishes
The spider web frosting is already the star garnish, but you can elevate it by adding edible glitter or tiny candy “eyes” for an even more playful appearance. Fresh mint leaves or a sprinkle of powdered sugar dusted lightly around the edge can add contrast and a touch of elegance to your spooky presentation.
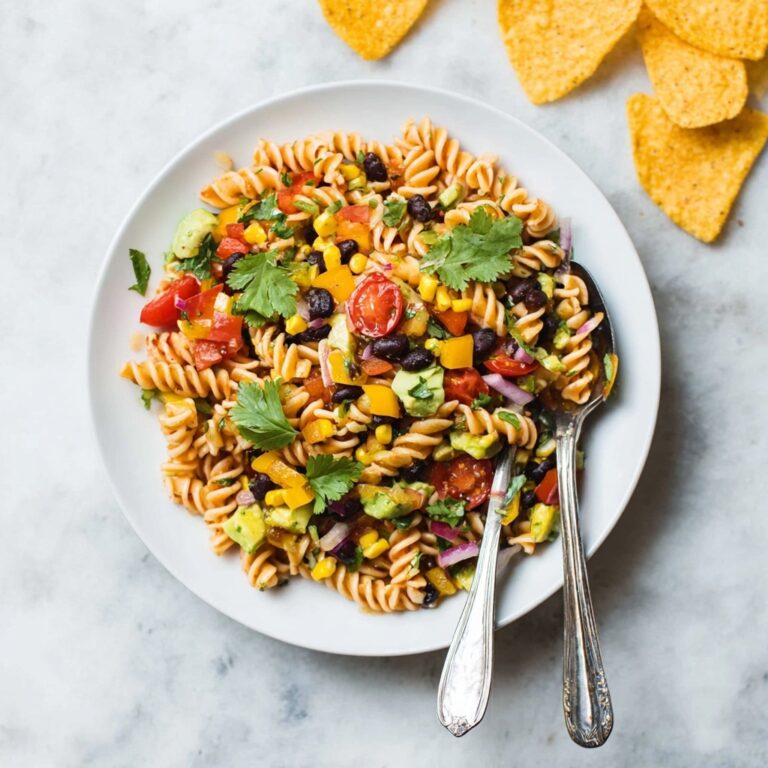
Side Dishes
This cookie is fantastic on its own but pairs beautifully with a scoop of vanilla or pumpkin ice cream for a truly indulgent experience. You could also serve it alongside a warm cup of spiced cider or a frothy hot chocolate to keep the cozy vibes going and enhance the festive mood.
Creative Ways to Present
Try serving your Spider Web Cookie Recipe on a rustic wooden board for a natural, farmhouse look or place it on a black or orange platter to keep the Halloween theme strong. Adding a few candy corn pieces or mini pumpkins around the plate can transform your cookie into the centerpiece of the dessert table. For a kids’ party, offer little plastic spiders on toothpicks so guests can “capture” their own spider before eating.
Make Ahead and Storage
Storing Leftovers
If you happen to have any leftovers from this delight (though it’s hard not to devour it all at once), store the cookie in an airtight container at room temperature. It will stay fresh and chewy for 2 to 3 days, keeping that perfect balance of soft cookie and tasty frosting intact.
Freezing
You can freeze the baked cookie before frosting, tightly wrapped in plastic wrap and foil. When ready to enjoy, thaw it completely, then decorate with your frosting and add your spider web design. This option allows you to prepare parts in advance and enjoy fresh decorating whenever the mood strikes.
Reheating
Warm a slice gently in the microwave for about 10 seconds to revive the gooey texture without melting the frosting too much. This little heat boost can make your Spider Web Cookie Recipe taste freshly baked all over again, perfect for cozy night treats or last-minute guests.
FAQs
Can I make the spider web frosting without food coloring?
Absolutely! If you prefer a natural look, you can skip the food coloring and use plain vanilla frosting for a subtle, classic look. Alternatively, use natural food dyes for a less intense color that still looks festive.
What if I don’t have an electric mixer?
You can still make this recipe by mixing the cocoa into the dough by hand with a sturdy spoon or your hands. It might take a little longer to get an even mix, but it’s definitely doable and still delicious!
Is it safe to eat the plastic spiders?
No, the plastic spiders are strictly for decoration only. Be sure to remove them before eating or supervise kids during serving to avoid accidental ingestion.
Can I use homemade cookie dough instead of refrigerated dough?
Yes, a homemade chocolate chip cookie dough works great! Just make sure it has a soft, pliable consistency so you can roll it out easily and bake it evenly for the best results.
What occasions are best for the Spider Web Cookie Recipe?
This recipe shines during Halloween parties, spooky-themed events, or any time you want to add a little fun and creativity to your baking. It’s also a fantastic project to make with kids who love decorating and crafting edible art.
Final Thoughts
There is something truly magical about a dessert that brings joy through both its taste and its eye-catching design. This Spider Web Cookie Recipe is a guaranteed crowd-pleaser, blending ease, flavor, and festive fun in one delicious package. Give it a try at your next gathering and prepare to bask in the compliments and happy smiles—it’s a treat everyone will remember!
Print
Spider Web Cookie Recipe
- Prep Time: 10 minutes
- Cook Time: 10 minutes
- Total Time: 20 minutes
- Yield: 8 servings
- Category: Dessert
- Method: Baking
- Cuisine: American
Description
Delightfully spooky and fun, this Spider Web Cookie recipe transforms a classic chocolate chip cookie dough into an eye-catching Halloween treat. Featuring a rich chocolate cookie base decorated with vibrant orange frosting piped into a creepy spider web design, topped with plastic spiders for a festive touch. Perfect for parties and kids’ snacks!
Ingredients
Cookie Dough
- 1 package (16.5 ounces) Pillsbury refrigerated chocolate chip cookie roll
- 1/3 cup unsweetened baking cocoa
Frosting
- 1/2 cup creamy vanilla frosting (e.g. Pillsbury creamy vanilla frosting)
- 5 drops red food coloring
- 9 drops yellow food coloring
Decoration
- Plastic black spiders (or make your own using Oreos, M&M’s, etc.)
Instructions
- Preheat and Prepare Pan: Preheat your oven to 350°F (175°C). Line a 12-inch pizza pan with parchment or wax paper to prevent sticking and set aside.
- Mix Cocoa into Dough: Place the chocolate chip cookie dough into the bowl of an electric mixer. Pour the unsweetened baking cocoa over the dough. Using the dough hook attachment, beat on medium speed until the cocoa is fully incorporated into the dough, about 2 minutes.
- Roll and Bake Dough: Transfer the cocoa-infused dough onto the prepared pan. Roll it out into a 10-inch circle evenly. Bake in the preheated oven for 8 to 10 minutes until set. Remove from oven and allow to cool completely on the pan.
- Prepare Frosting: Place the creamy vanilla frosting in a microwave-safe bowl. Microwave for about 15 seconds or until just softened but not melted. Stir in 5 drops of red and 9 drops of yellow food coloring to create a bright orange frosting. Transfer the colored frosting into a small ziplock bag and snip off one corner to use as a piping bag.
- Create Spider Web Design: Starting from the center of the cooled cookie, pipe a continuous spiral of orange frosting outward to the edge. Using the tip of a knife, swiftly drag from the center outward through the frosting at roughly 1-inch intervals to form the classic spider web pattern. Let frosting set for 10 minutes.
- Decorate and Serve: Place plastic black spiders on top of the spider web for a creepy effect. Slice the cookie into wedges and serve. Remember, do not eat the plastic spiders!
Notes
- Make sure the cookie is completely cooled before decorating to prevent the frosting from melting.
- For a homemade alternative, you can use vanilla frosting mixed with your own food coloring.
- If you want an edible spider decoration, consider using mini Oreos or chocolate candies shaped like spiders.
- Be careful when using food coloring to avoid staining your hands and surfaces.
- Adjust baking time slightly if your oven runs hot or cool.


