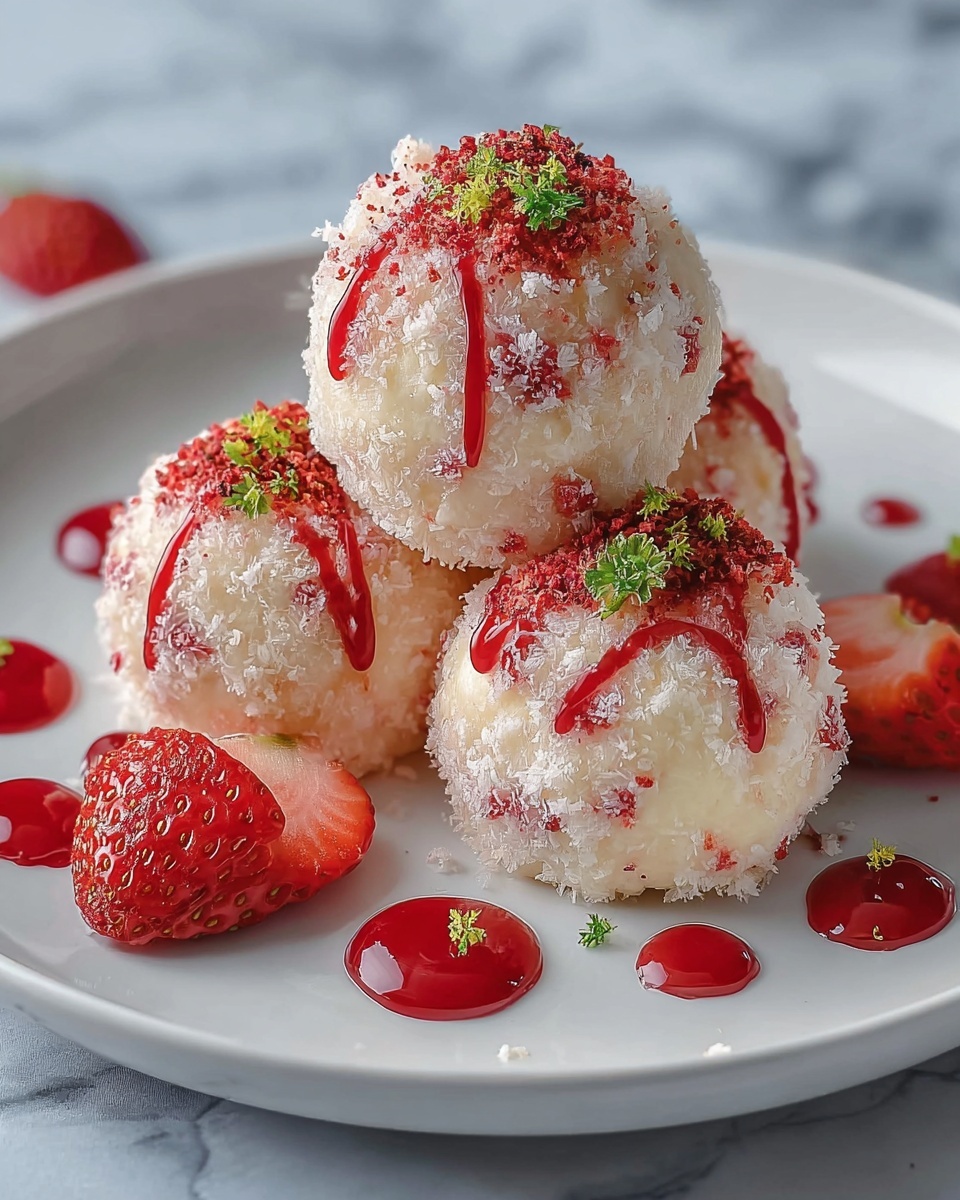
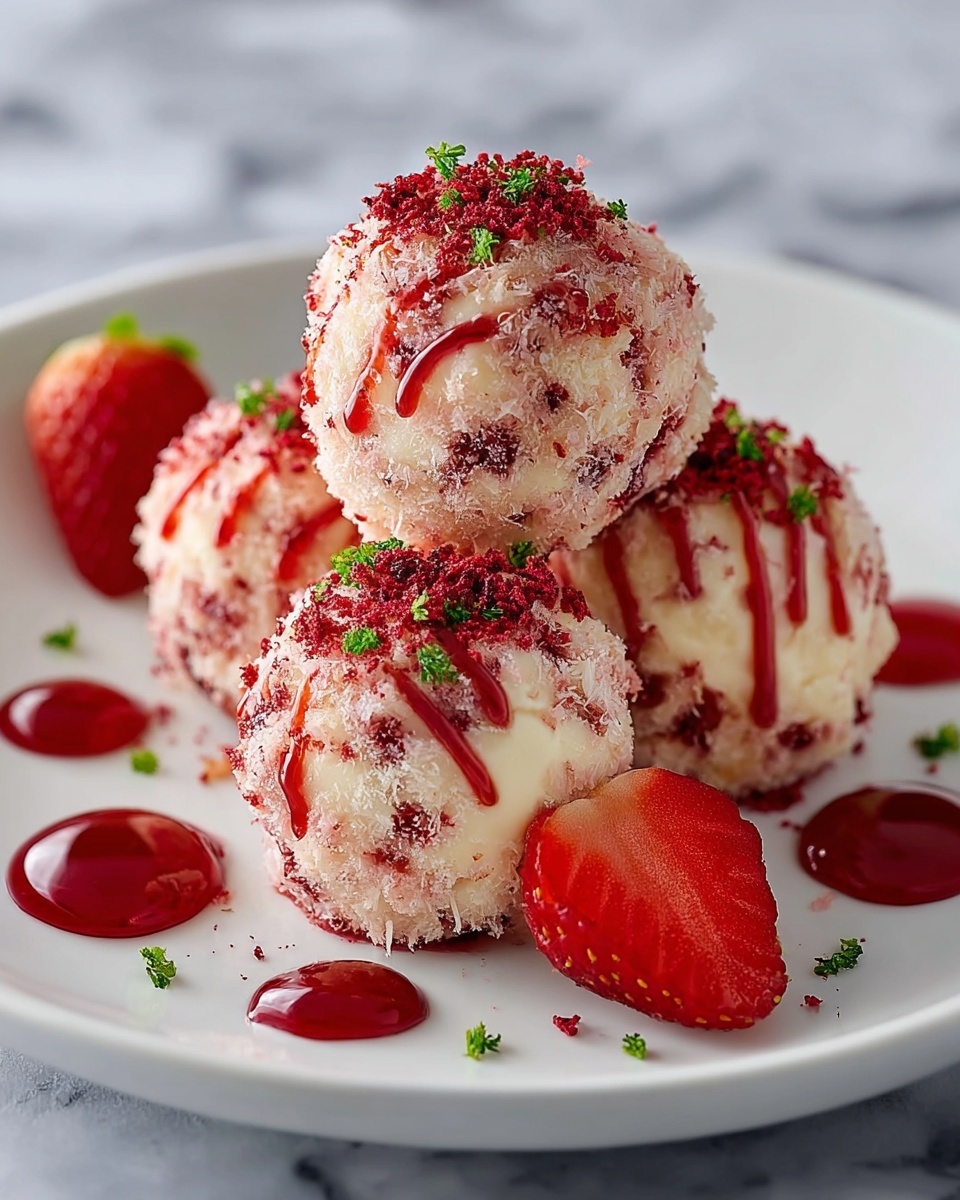
If you have been searching for a snack that is as delicious as it is nourishing, look no further than Strawberry Cheesecake Protein Balls: The Ultimate Healthy Snack Recipe. These little bites perfectly balance the sweet tanginess of strawberries with the creamy indulgence of cheesecake, all packed into a protein-rich, no-bake snack that will keep your energy high and your taste buds happy. The blend of wholesome oats, protein powder, and a touch of honey creates a cheerful mix of flavors and textures that feels more like a treat than a health boost.
Ingredients You’ll Need
Preparing these strawberry cheesecake protein balls is surprisingly simple, relying on a handful of ingredients that each play a special role. From flavor to texture, every item contributes to the irresistible charm of this snack.
- Rolled oats: Provide a chewy texture and a hearty base full of fiber.
- Vanilla protein powder (whey or plant-based): Adds essential protein and a smooth, creamy flavor.
- Freeze-dried strawberries, crushed: Infuse the mixture with intense fruity sweetness without adding moisture.
- Cream cheese, softened: Creates the luscious cheesecake-like creaminess that defines these protein balls.
- Honey or maple syrup: Gently sweetens and helps bind the ingredients together.
- Coconut oil, melted: Adds richness and a hint of tropical flavor while aiding in binding.
- Unsweetened almond milk (or any milk): Adjusts the consistency to make the mixture easy to roll.
- Vanilla extract: Enhances all the flavors with subtle warmth and depth.
- Pinch of salt: Balances the sweetness and brightens the overall taste.
- Optional shredded coconut: Provides a delightful coating to add texture and visual appeal.
How to Make Strawberry Cheesecake Protein Balls: The Ultimate Healthy Snack Recipe
Step 1: Combine Dry Ingredients
Start by tossing the rolled oats, vanilla protein powder, crushed freeze-dried strawberries, and a pinch of salt into a large mixing bowl. Whisking them together now ensures the flavor and texture distribute evenly throughout each ball. This step sets the foundation for a snack that is bursting with strawberry and cheesecake delight right from the first bite.
Step 2: Soften Cream Cheese
Make sure your cream cheese is softened to help it blend effortlessly with the other ingredients. If it is still cold from the fridge, pop it into the microwave for 15-20 seconds, but watch carefully so it doesn’t melt completely. The cream cheese is crucial in lending that signature creamy cheesecake quality to the protein balls.
Step 3: Add Wet Ingredients
To your dried mixture, add the softened cream cheese, honey or maple syrup, melted coconut oil, vanilla extract, and almond milk. Each ingredient plays a role: the honey sweetens, the coconut oil adds richness, the milk helps with the perfect consistency, and the vanilla deepens the flavor profile.
Step 4: Mix it All Together
Stir the ingredients thoroughly until you achieve a uniform, slightly sticky mixture. This is the point where your Strawberry Cheesecake Protein Balls: The Ultimate Healthy Snack Recipe really starts coming together, showcasing a balanced blend of creamy, chewy, and fruity that will wow your taste buds.
Step 5: Check Consistency
If the mixture feels too dry and crumbly, add almond milk a tablespoon at a time to loosen it up. If it’s too wet and doesn’t hold shape, sprinkle in extra rolled oats or protein powder gradually. Getting the right consistency makes rolling these into perfect little balls a breeze.
Step 6: Chill the Dough
Pop the bowl into the fridge for 15-20 minutes. Chilling firms up the dough, making it easier to handle while intensifying the flavors as everything melds together beautifully.
Step 7: Prepare Your Work Station
Set yourself up for rolling success by pouring shredded coconut if you’re using it into a shallow dish and lining a plate or baking sheet with parchment paper. This preparation lets you smoothly transition through the rolling process without any mess or sticking hassle.
Step 8: Roll the Balls
Scoop out about a tablespoon of the dough and gently roll it between your palms into a neat, smooth ball. If your hands stick too much, dampen them slightly with water—this little trick helps you shape the protein balls perfectly every time.
Step 9: Coating (Optional)
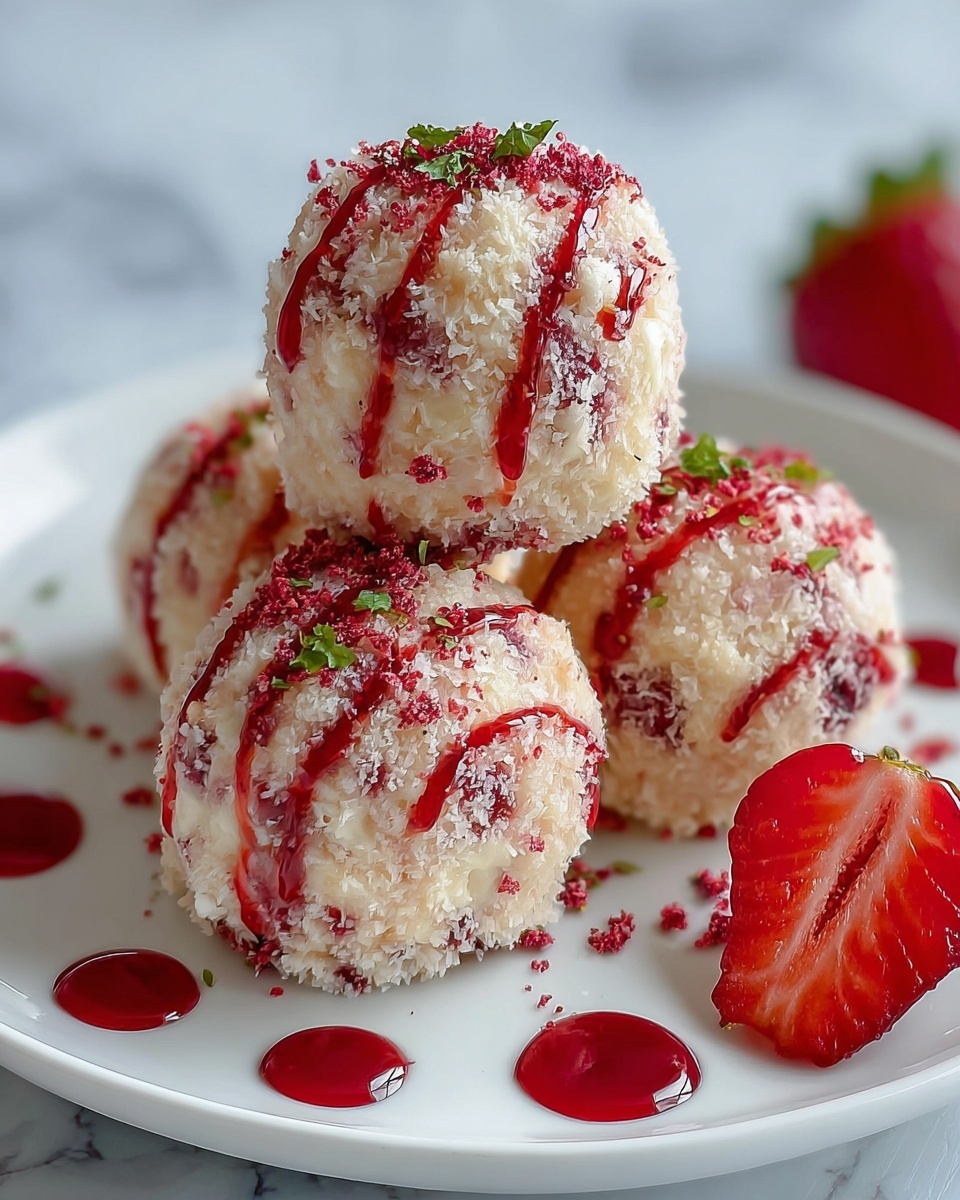
For an extra touch of texture and a beautiful finish, roll each protein ball in shredded coconut until well coated. Press the coconut onto the surface gently so it sticks without falling off. This gives each bite a lovely crunch that contrasts the creamy center.
Step 10: Place on Baking Sheet
Arrange your protein balls evenly on the prepared baking sheet, making sure they are spaced apart. This allows them to firm up well without squishing together.
Step 11: Final Chill
Pop the baking sheet with your Strawberry Cheesecake Protein Balls: The Ultimate Healthy Snack Recipe into the refrigerator for at least 30 minutes. This final chill helps the flavors settle in and firms up their texture for the perfect bite.
Step 12: Storing
Once chilled, transfer your protein balls to an airtight container. They will keep fresh in the fridge for up to one week or can be frozen for up to a month. If freezing, thaw them in the refrigerator before enjoying to retain their ideal texture and flavor.
How to Serve Strawberry Cheesecake Protein Balls: The Ultimate Healthy Snack Recipe
Garnishes
While the optional shredded coconut already adds a little style, you can elevate presentation by sprinkling chopped freeze-dried strawberries or a light dusting of cinnamon. A few fresh strawberry slices on the side also complement the flavors and give an inviting pop of color.
Side Dishes
Serve your protein balls alongside a refreshing green smoothie or a chilled yogurt parfait for a balanced snack or light breakfast. They also pair wonderfully with a handful of nuts or fresh fruit for a wholesome and satisfying combo that keeps energy steady throughout your day.
Creative Ways to Present
Get playful by skewering a couple of protein balls on a decorative toothpick together with a small strawberry for a charming snack on-the-go. You can also box them up in pretty cupcake liners for gifting or lunchbox treats that bring a smile whenever opened.
Make Ahead and Storage
Storing Leftovers
Keep any leftover protein balls in an airtight container inside the refrigerator. They stay fresh and delicious for up to a week, making them perfect for grab-and-go snacks during busy days or a quick post-workout bite.
Freezing
For longer storage, freeze your Strawberry Cheesecake Protein Balls: The Ultimate Healthy Snack Recipe in a sealed container or freezer bag. They can last up to a month, maintaining their wonderful flavors and texture when properly thawed.
Reheating
Since these protein balls are best served chilled, reheating is not necessary. Simply thaw frozen balls in the refrigerator for a few hours before enjoying. If you prefer, allow them to sit at room temperature for 10-15 minutes for a slightly softer texture.
FAQs
Can I use fresh strawberries instead of freeze-dried?
Fresh strawberries add moisture, which can change the texture of your protein balls. Freeze-dried strawberries are preferred because they provide concentrated flavor without extra liquid, keeping the mixture easy to roll.
Is it possible to make this recipe vegan?
Absolutely! Use a plant-based vanilla protein powder, substitute cream cheese with a vegan cream cheese alternative, and replace honey with maple syrup for a fully vegan version that’s just as delicious.
How long do these protein balls last outside the fridge?
Since they contain cream cheese, it’s best to keep these protein balls refrigerated until serving and not leave them out for more than 1-2 hours to maintain freshness and safety.
Can I add other flavors to the mixture?
Definitely! Consider mixing in some lemon zest for brightness, a pinch of cinnamon for warmth, or even a handful of mini chocolate chips for an indulgent twist. Just be mindful of altering the moisture and texture balance.
What is the best protein powder to use?
Choose a vanilla-flavored protein powder that you enjoy, whether whey or plant-based. The vanilla flavor complements the strawberry and cheesecake notes perfectly and keeps your protein balls tasting naturally sweet and creamy.
Final Thoughts
There’s something truly joyful about making and eating Strawberry Cheesecake Protein Balls: The Ultimate Healthy Snack Recipe. They blend wholesome nutrition and luscious flavor in every single bite. Whether you need a quick morning boost, a satisfying afternoon pick-me-up, or a guilt-free treat anytime, these protein balls will become your new favorite snack companion. Give it a try, and I promise you’ll be coming back for more.
Print
Strawberry Cheesecake Protein Balls: The Ultimate Healthy Snack Recipe
- Prep Time: 15 minutes
- Cook Time: 0 minutes
- Total Time: 45 minutes
- Yield: 12-15 protein balls
- Category: Snack
- Method: No-Cook
- Cuisine: American
- Diet: Low Fat
Description
These Strawberry Cheesecake Protein Balls are a delicious and healthy snack, perfect for a quick energy boost or a post-workout treat. Packed with protein and natural sweetness from freeze-dried strawberries and honey, they combine creamy cheesecake flavors with a wholesome oat base. No baking required, these easy-to-make protein balls are ideal for meal prep and convenient snacking.
Ingredients
Dry Ingredients
- 1 cup rolled oats
- 1/2 cup vanilla protein powder (whey or plant-based)
- 1/4 cup freeze-dried strawberries, crushed
- Pinch of salt
Wet Ingredients
- 1/4 cup cream cheese, softened
- 2 tablespoons honey or maple syrup
- 1 tablespoon coconut oil, melted
- 1/4 cup unsweetened almond milk (or any milk)
- 1/4 teaspoon vanilla extract
Optional
- 1/4 cup shredded coconut for rolling
Instructions
- Combine Dry Ingredients: In a large mixing bowl, add the rolled oats, vanilla protein powder, crushed freeze-dried strawberries, and a pinch of salt. Whisk to combine.
- Soften Cream Cheese: Ensure the cream cheese is softened by microwaving it for 15-20 seconds if needed, being careful not to melt it.
- Add Wet Ingredients: Add the softened cream cheese, honey or maple syrup, melted coconut oil, vanilla extract, and almond milk to the bowl with the dry ingredients.
- Mix it All Together: Mix all ingredients until well combined. The mixture should be fairly uniform and slightly sticky.
- Check Consistency: If the mixture is too dry, add almond milk one tablespoon at a time. If too wet, add more rolled oats or protein powder one tablespoon at a time until the desired consistency is achieved.
- Chill the Dough: Place the dough in the refrigerator for 15-20 minutes to firm up.
- Prepare Work Station: If using shredded coconut, pour it into a shallow dish. Line a plate or baking sheet with parchment paper.
- Roll the Balls: Scoop out about a tablespoon of mixture at a time. Roll between your palms to form smooth, round balls. Dampen hands if the mixture sticks.
- Coating (Optional): Roll each protein ball in shredded coconut until coated, gently pressing the coconut into the balls.
- Place on Baking Sheet: Arrange the protein balls on the parchment-lined baking sheet, spacing them apart.
- Final Chill: Refrigerate the balls for at least 30 minutes to set.
- Storing: Transfer the protein balls to an airtight container. Store in the refrigerator for up to one week or freeze for up to one month. Thaw in the refrigerator before eating.
Notes
- Use plant-based protein powder for a vegan option, but ensure cream cheese is substituted with a vegan alternative.
- Freeze-dried strawberries give intense flavor without moisture; do not substitute with fresh strawberries to avoid wet mixture.
- Adjust sweetness to taste by varying honey or maple syrup quantity.
- Dampening hands helps prevent sticking when rolling the balls.
- Protein balls freeze well and make convenient grab-and-go snacks.


