
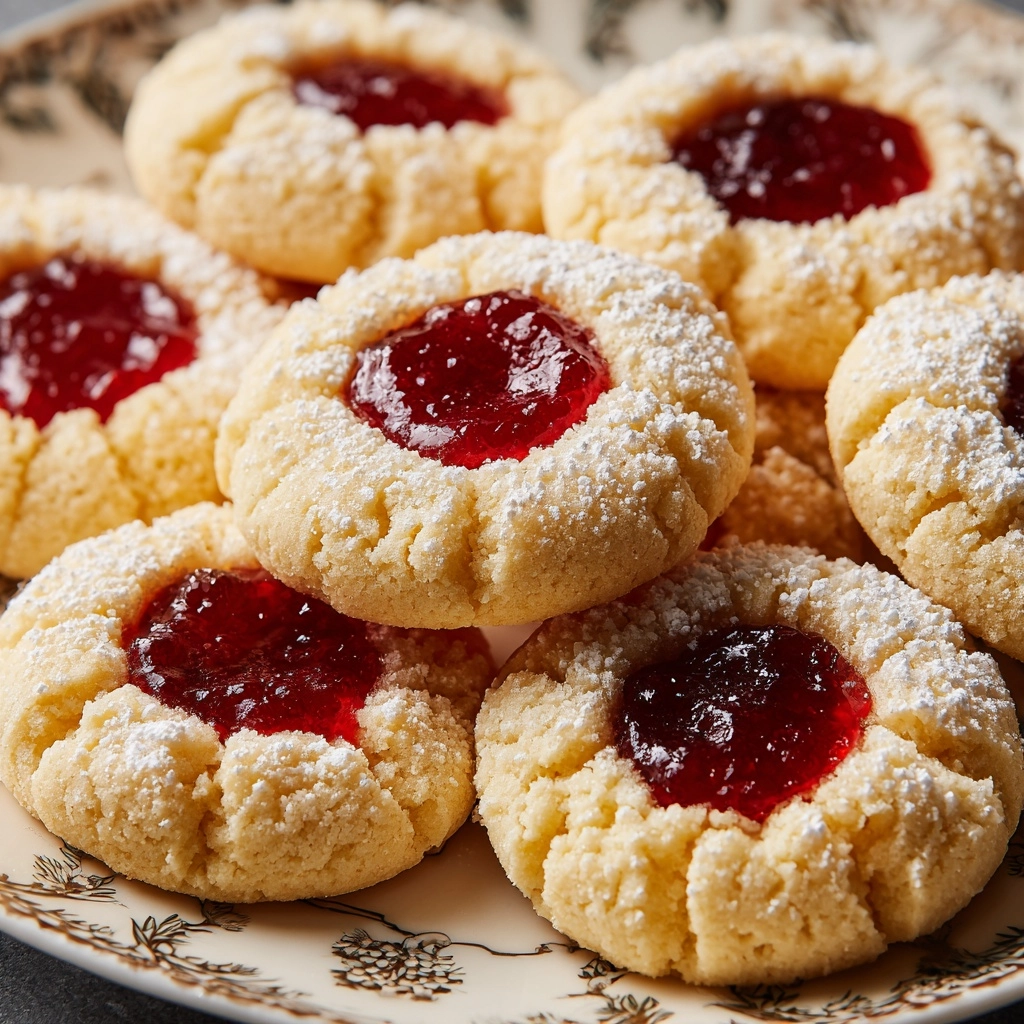
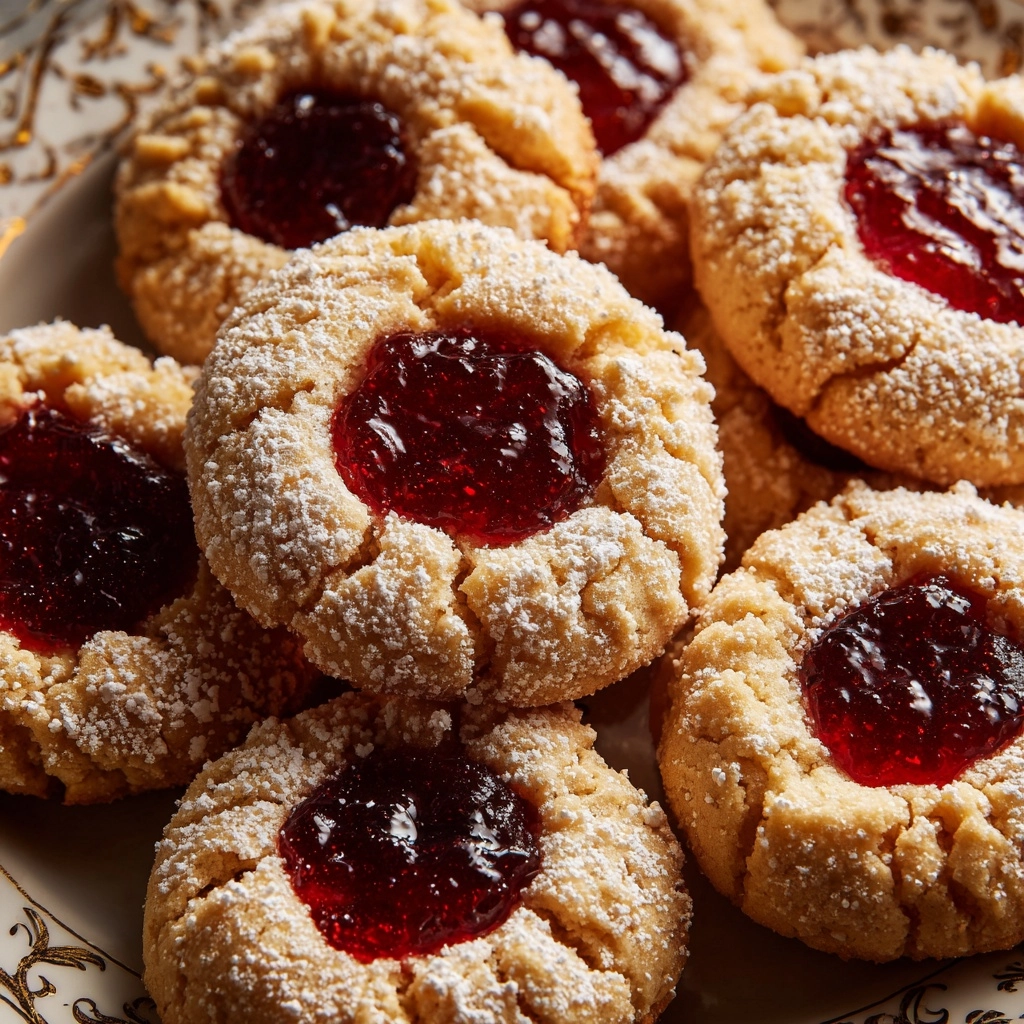
If you’re on the hunt for a classic cookie that brings together melt-in-your-mouth butteriness and a pop of sweet, fruity jam, Thumbprint Cookies are your new best friend. These cookies are as beautiful as they are delicious: soft and tender centers, crisp golden edges, and jewel-bright dollops of flavorful preserves. I love making them for holidays, special gatherings, or just to brighten up an ordinary afternoon. Bite into one, and you’ll find it’s impossible to eat just one — this recipe will quickly become a cherished favorite in your baking rotation!
Ingredients You’ll Need
The magic of Thumbprint Cookies lies in their simplicity. With a few staple ingredients, each chosen for their role in taste and texture, you’ll have a dough that’s blissfully buttery and a filling that sparkles with flavor. Let’s break down what you need and how each component shines.
- Unsalted butter (1 cup, softened): Provides that rich, melt-in-your-mouth texture that makes these cookies irresistibly tender.
- Granulated sugar (2/3 cup): Gives the cookies just the right amount of sweetness and helps achieve their signature light crumb.
- Vanilla extract (1/2 teaspoon): Adds a subtle warmth and depth, enhancing both the dough and the jam’s aroma.
- Almond extract (1/2 teaspoon, optional): Lends a lovely nutty note that pairs perfectly with fruit preserves (try not to skip if you love almond flavor!).
- All-purpose flour (2 cups): Forms the sturdy foundation of the dough, keeping each cookie perfectly tender and shapely.
- Salt (1/4 teaspoon): Balances the sweetness and brings out all the best flavors in the dough.
- Fruit preserves or jam (1/2 cup): The star of the show — choose raspberry, strawberry, apricot, or your favorite for a bright, flavorful center.
- Powdered sugar (for dusting, optional): Adds a delicate, bakery-style finish and a hint of extra sweetness.
How to Make Thumbprint Cookies
Step 1: Prep Your Oven and Baking Sheet
Start by preheating your oven to 350°F (175°C). Line a large baking sheet with parchment paper for easy cleanup and to ensure the cookies bake evenly with golden bottoms.
Step 2: Cream the Butter and Sugar
In a large mixing bowl, beat the softened butter and granulated sugar together until the mixture turns light and fluffy. This step is key for achieving the airy, tender texture Thumbprint Cookies are known for, so don’t rush it — let your mixer work for several minutes.
Step 3: Add the Flavors
Mix in the vanilla extract and, if you like a little nutty nuance, the almond extract. These flavorings elevate the dough and blend beautifully with any jam you choose for your thumbprints.
Step 4: Incorporate the Dry Ingredients
Gradually add the all-purpose flour and salt to your butter mixture. Stir gently until everything comes together into a soft, slightly crumbly dough. Be careful not to overmix — you want a tender bite, not a tough one!
Step 5: Shape the Cookies
Scoop out pieces of dough and roll them into 1-inch balls. Arrange them on your prepared baking sheet, spacing each about two inches apart. Using your thumb or the back of a small spoon, gently press a well into the center of each dough ball — this will create the perfect pocket for your fruity filling.
Step 6: Fill with Jam
Spoon about 1/2 teaspoon of your favorite preserves or jam into each indentation. Don’t worry if they look a bit rustic; part of the charm of Thumbprint Cookies comes from their homey appearance and colorful variety!
Step 7: Bake and Cool
Slide the baking sheet into your oven and bake for 12–15 minutes, or until the edges of your cookies are just turning golden. Let them cool on the baking sheet for a few minutes to set before moving them to a wire rack. Optional: Once completely cool, dust lightly with powdered sugar for an elegant finish.
How to Serve Thumbprint Cookies
Garnishes
A gentle dusting of powdered sugar just before serving takes Thumbprint Cookies from charming to truly show-stopping. For extra flair, you can nestle a tiny sprinkle of finely chopped pistachios or lemon zest on top of the jam center. These little touches add both visual pop and a delicious hint of flavor.
Side Dishes
Pair these delightful cookies with a soothing cup of tea, fresh coffee, or a tall glass of cold milk. They’re perfect alongside a simple fruit platter or array of mixed berries for a festive touch. For celebrations, try serving them with a scoop of vanilla ice cream for an ultra-indulgent treat.
Creative Ways to Present
Arrange Thumbprint Cookies on a colorful platter using different jam flavors to create a rainbow effect — the jewel-toned centers will absolutely stun! For gift-giving, tuck them into a decorative tin or stack them in cellophane bags tied with ribbon. They also make a gorgeous addition to holiday cookie swaps or dessert buffets.
Make Ahead and Storage
Storing Leftovers
If you somehow have any Thumbprint Cookies left after the first day, keep them fresh by storing in an airtight container at room temperature for up to five days. They’ll stay soft and jammy, making them perfect for tucking into lunchboxes or savoring with your next cup of coffee.
Freezing
To freeze, place cooled cookies in a single layer on a baking sheet and freeze until solid, then transfer to freezer-safe bags or containers. They’ll keep well for up to two months. You can also freeze the shaped, unbaked dough (without jam) and bake freshly whenever a craving strikes.
Reheating
For the best flavor and texture, let frozen Thumbprint Cookies thaw at room temperature. If you prefer them warm, pop them in a 300°F oven for 3–4 minutes. This will revive their buttery aroma and give them that fresh-from-the-oven feel.
FAQs
Can I use different types of jam or preserves?
Absolutely! Thumbprint Cookies are a fantastic canvas for a wide range of jams or preserves. Try everything from classic raspberry and strawberry to tangy apricot, blueberry, or even lemon curd for a bright citrus twist.
Why did my Thumbprint Cookies spread too much?
Spreading happens if your dough is too warm or if there’s too much butter. Chilling the shaped dough balls before baking helps your cookies retain their beautiful shape. Also, make sure to measure your flour accurately.
Can I make these cookies gluten-free?
Yes, you can use a 1:1 gluten-free flour blend. The texture may be slightly different, but you’ll still get those signature tender bites and fruity centers. Check that your jam is gluten-free as well for a completely safe treat.
Do I need to use almond extract?
Almond extract is optional but adds an extra layer of flavor. If you’re not a fan or if anyone has allergies, simply leave it out. The vanilla alone makes these Thumbprint Cookies plenty delicious.
Can I double the recipe?
Definitely! This is a perfect recipe for doubling, especially during holidays or for gifting. Just make sure to bake in batches so your cookies have enough room to spread on the baking sheet.
Final Thoughts
If you’ve never experienced the joy of baking Thumbprint Cookies from scratch, you’re in for a real treat. These cookies have a way of spreading happiness and nostalgia with every single bite. Give them a try, experiment with your favorite jams, and watch them disappear faster than you’d imagine!
Print
Thumbprint Cookies Recipe
- Prep Time: 15 minutes
- Cook Time: 15 minutes
- Total Time: 30 minutes
- Yield: 24 cookies
- Category: Dessert
- Method: Baking
- Cuisine: American
- Diet: Vegetarian
Description
These classic Thumbprint Cookies are a delightful treat that’s perfect for any occasion. With a buttery cookie base and a sweet jam center, these cookies are sure to be a hit with everyone.
Ingredients
Cookies:
- 1 cup unsalted butter (softened)
- 2/3 cup granulated sugar
- 1/2 teaspoon vanilla extract
- 1/2 teaspoon almond extract (optional)
- 2 cups all-purpose flour
- 1/4 teaspoon salt
Filling:
- 1/2 cup fruit preserves or jam (such as raspberry, strawberry, or apricot)
- Powdered sugar for dusting (optional)
Instructions
- Preheat the oven: Preheat the oven to 350°F (175°C) and line a baking sheet with parchment paper.
- Mix butter and sugar: In a large mixing bowl, cream the softened butter and sugar together until light and fluffy.
- Add extracts: Mix in the vanilla extract and almond extract if using.
- Add dry ingredients: Gradually add the flour and salt, mixing until a soft dough forms.
- Shape the cookies: Scoop the dough into 1-inch balls and place them on the prepared baking sheet, spacing them about 2 inches apart.
- Add filling: Use your thumb or the back of a spoon to gently press a well into the center of each cookie. Fill each indentation with about 1/2 teaspoon of your chosen jam or preserves.
- Bake: Bake for 12–15 minutes, or until the edges are just lightly golden.
- Cool and serve: Allow the cookies to cool on the baking sheet for a few minutes before transferring to a wire rack to cool completely. Dust with powdered sugar if desired before serving.
Notes
- To keep the jam from spreading too much, chill the shaped dough balls for 15 minutes before baking.
- You can use different jams to create a variety plate.
- Store in an airtight container at room temperature for up to 5 days.
Nutrition
- Serving Size: 1 cookie
- Calories: 110
- Sugar: 6g
- Sodium: 35mg
- Fat: 6g
- Saturated Fat: 4g
- Unsaturated Fat: 2g
- Trans Fat: 0g
- Carbohydrates: 12g
- Fiber: 0g
- Protein: 1g
- Cholesterol: 15mg


