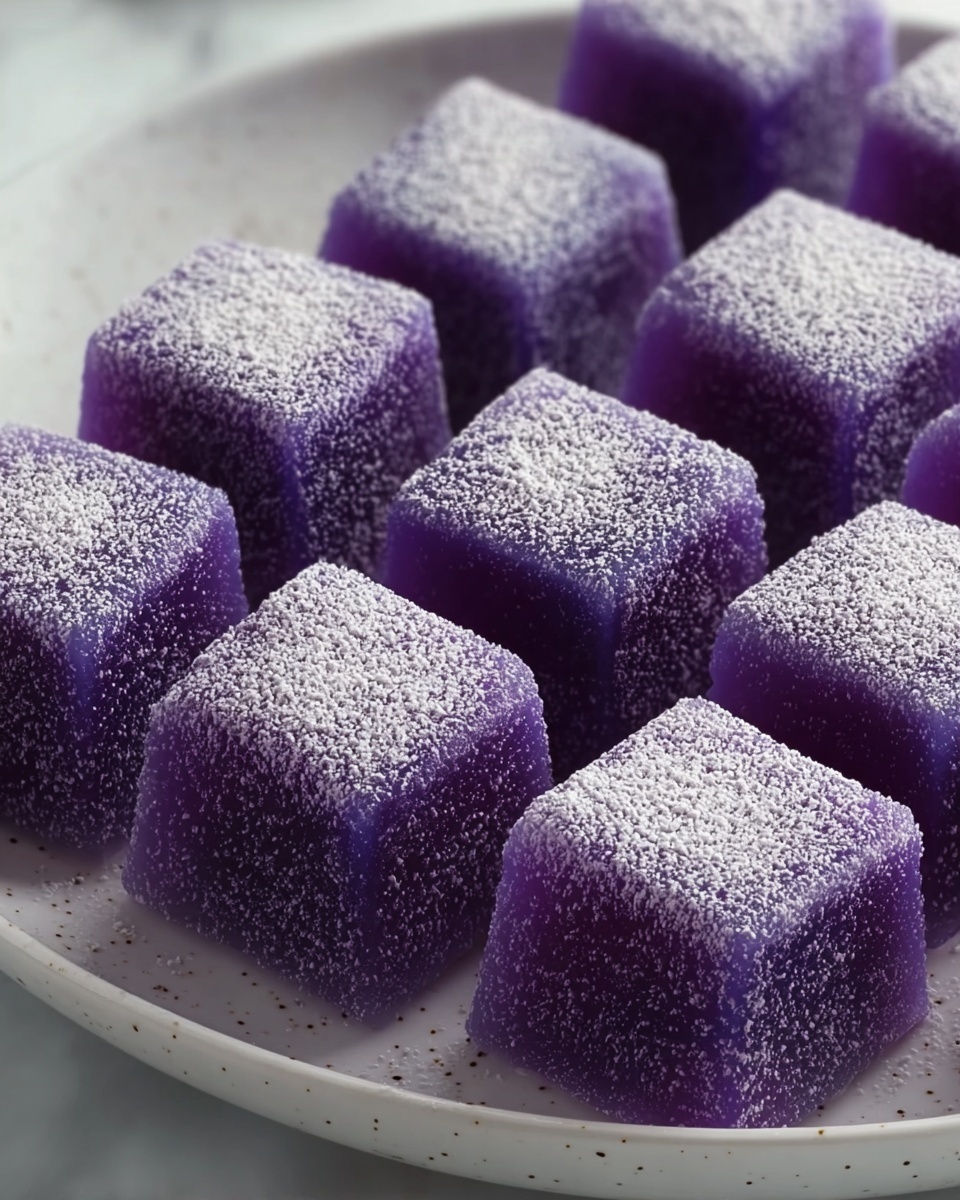
If you’re on the lookout for a dessert that’s both irresistibly soft and naturally gluten-free, look no further than Velvety Ube Mochi: Your New Favorite Gluten-Free Treat Recipe. This delightful fusion of chewy mochi texture and the vibrant purple hue of ube creates a dessert that’s not only eye-catching but full of rich, creamy flavors that will have you swooning bite after bite. The combination of coconut milk’s tropical sweetness and the unmistakable nutty charm of ube makes every slice feel like a little celebration of taste and texture.
Ingredients You’ll Need
Crafting Velvety Ube Mochi: Your New Favorite Gluten-Free Treat Recipe is surprisingly straightforward because each ingredient plays a key role in building its luscious texture and flavor. From the richness of butter to the unique flavor burst of ube extract, these essentials come together in perfect harmony.
- Unsalted Butter (or coconut oil for dairy-free): Adds moisture and a creamy mouthfeel that’s vital for softness.
- Granulated Sugar (or coconut sugar for less refined option): Sweetens the batter while ensuring a tender crumb.
- Large Eggs (room temperature recommended): Bind the batter and contribute to that velvety texture.
- Ube Extract (fresh ube if available): Delivers the iconic vibrant purple color and that unique, earthy sweetness.
- Mochiko (Glutinous Rice Flour): The heart of mochi’s signature chewiness; no substitute will quite match.
- Baking Powder: A gentle lift that keeps the mochi tender and light.
- Evaporated Milk (or full-fat coconut milk for dairy-free): Brings a delightful creaminess that enhances the flavor depth.
- Coconut Milk (full-fat recommended): Adds luscious richness and heightens the tropical notes.
How to Make Velvety Ube Mochi: Your New Favorite Gluten-Free Treat Recipe
Step 1: Prepare Your Wet Ingredients
Start by melting your unsalted butter or coconut oil until just warm, then whisk it together with sugar and eggs at room temperature. This ensures the sugar dissolves nicely and the eggs incorporate smoothly, creating the base of your mochi’s luxuriously smooth batter.
Step 2: Mix in the Ube Extract
Next, add in the ube extract for that gorgeous purple hue and signature flavor. If you have fresh ube on hand, grated and cooked, even better—the freshness will shine through. Stir this into your wet mixture with care, allowing the color to brighten as it melds.
Step 3: Combine Dry Ingredients Separately
In another bowl, sift together mochiko and baking powder. This ensures an even distribution of the leavening agent and prevents any lumps, critical for achieving that perfect mochi chewiness.
Step 4: Alternate Adding Dry and Milks
Gradually fold the mochiko mixture into the wet ingredients, alternating with evaporated milk and coconut milk. This technique keeps the batter smooth and creamy, preventing it from becoming too dense while building layers of rich flavor.
Step 5: Bake to Perfection
Pour your luscious batter into a greased pan and bake at the right temperature for about 45 minutes. The baking time is key here—too short and you risk gooey centers, too long and it loses that delicate mochi softness. When a toothpick comes out mostly clean, your Velvety Ube Mochi: Your New Favorite Gluten-Free Treat Recipe is ready to cool.
How to Serve Velvety Ube Mochi: Your New Favorite Gluten-Free Treat Recipe
Garnishes
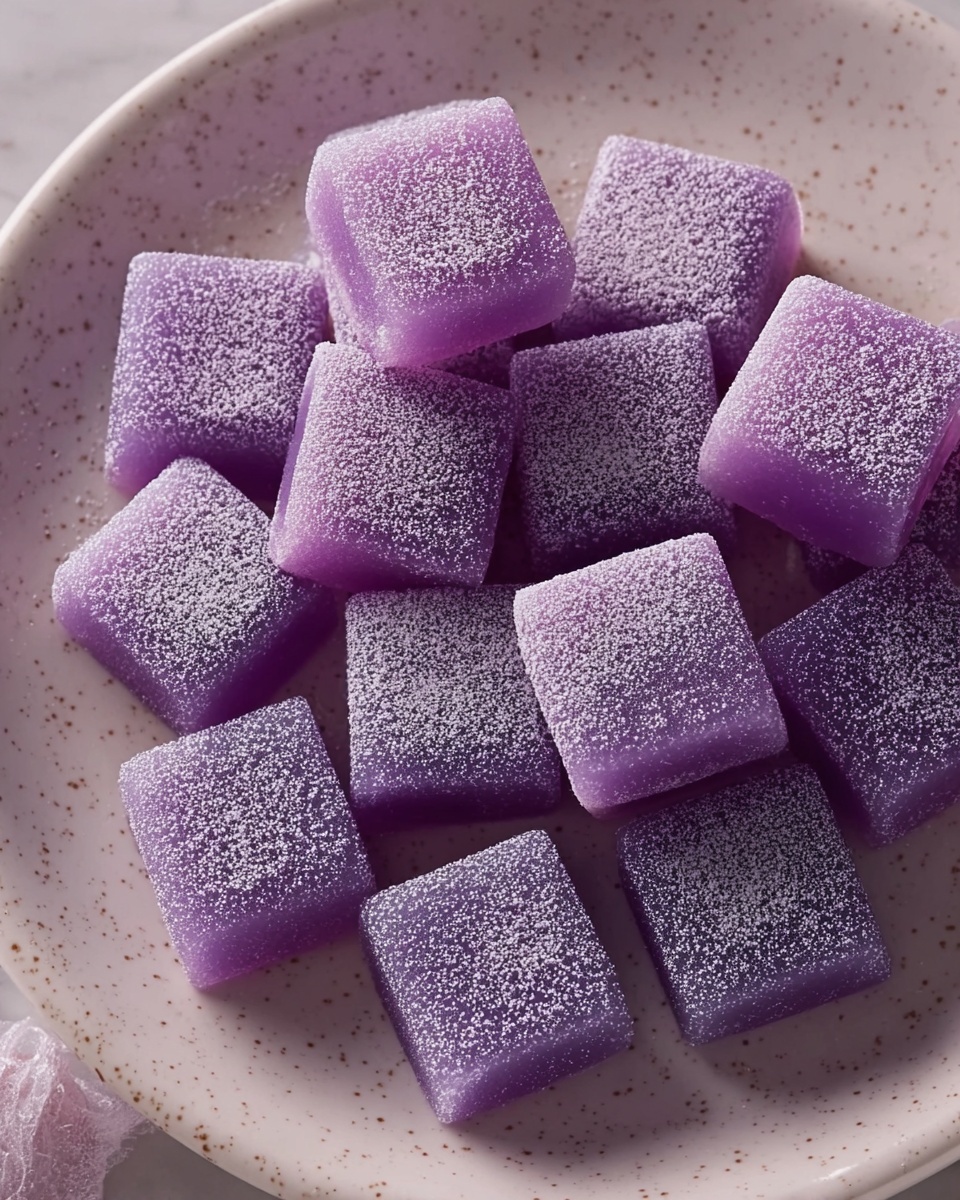
A gentle dusting of toasted coconut flakes or a sprinkle of powdered sugar can elevate the mochi’s sweetness while adding a subtle crunch. For an extra touch, a dollop of whipped coconut cream complements the ube’s earthy tones beautifully.
Side Dishes
Serve this mochi slice alongside a cup of hot green tea or matcha latte to balance the dessert’s richness. Fresh tropical fruits like mango or pineapple chunks also pair wonderfully, refreshing the palate between bites.
Creative Ways to Present
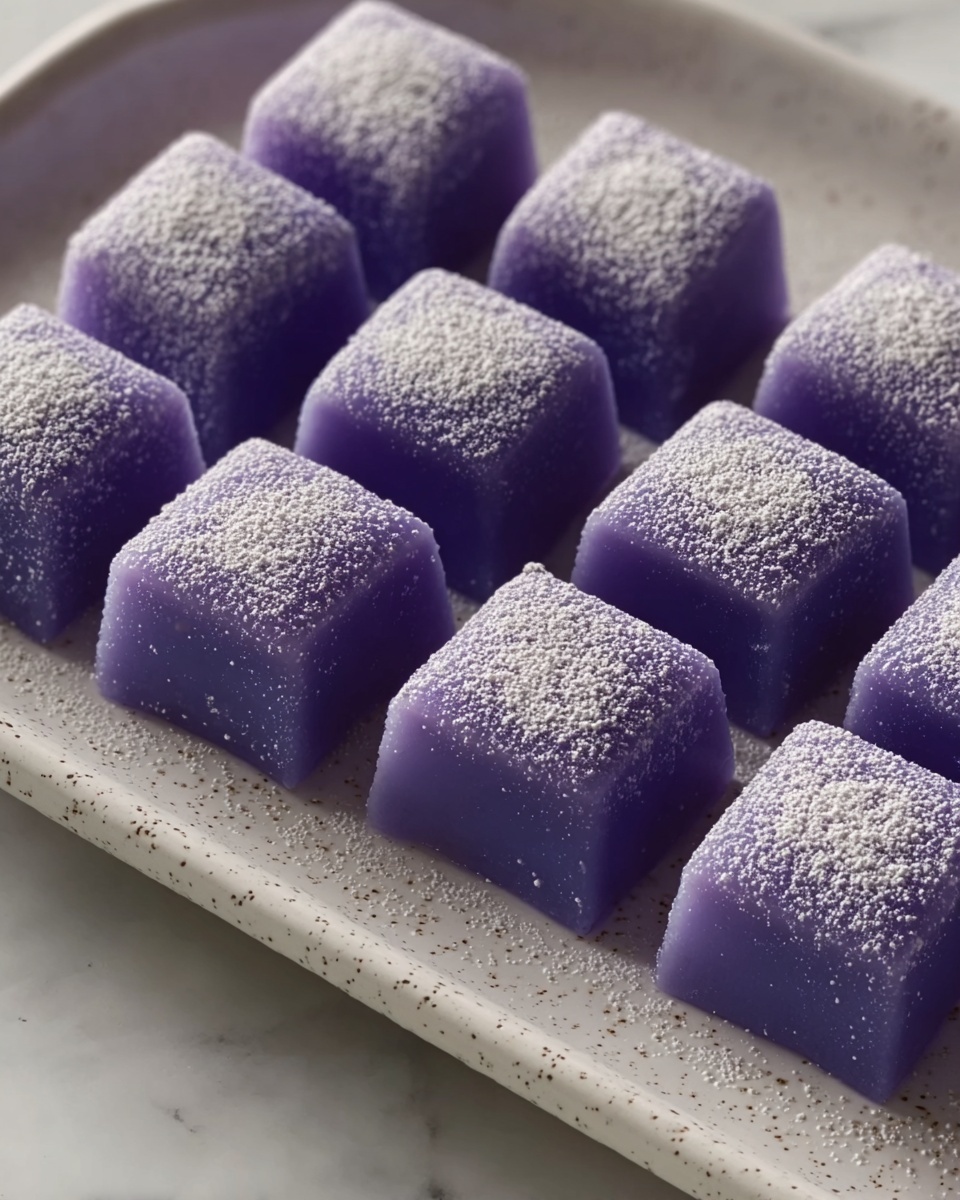
Elevate your presentation by slicing the mochi into bite-sized cubes and serving them on a decorative platter with small forks. You might also drizzle a little condensed milk or coconut caramel sauce over the top for that wow factor at parties or gatherings.
Make Ahead and Storage
Storing Leftovers
Velvety Ube Mochi: Your New Favorite Gluten-Free Treat Recipe keeps well in an airtight container at room temperature for up to two days. For best texture, avoid refrigeration whether possible, as this can make the mochi firm.
Freezing
If you want to enjoy your mochi later, wrap slices individually in plastic wrap and place them in a freezer-safe bag. Frozen mochi can last up to one month without losing much of its signature chewiness.
Reheating
To enjoy day-old or frozen mochi, gently reheat in a microwave for 15-20 seconds. This quick warming refreshes the soft texture and revives the dessert’s velvety feel, making it taste freshly baked.
FAQs
Can I use fresh ube instead of ube extract?
Absolutely! Fresh ube brings an even richer, more natural flavor to your mochi. Just make sure to cook and mash it well before incorporating into your batter for smooth mixing.
Is mochiko the same as regular rice flour?
Mochiko is specifically glutinous rice flour, which is crucial for that chewy mochi texture. Regular rice flour won’t provide the same stretchy, soft consistency, so it’s best to use mochiko.
Can I make this recipe dairy-free?
Yes! Substitute unsalted butter with coconut oil and use full-fat coconut milk instead of evaporated milk. This keeps the dessert rich while keeping it completely dairy-free without sacrificing flavor.
How do I know when the mochi is baked properly?
Check by inserting a toothpick into the center. It should come out mostly clean but may have a few moist crumbs—that indicates the perfect velvety texture rather than being dry or cakey.
Can I halve the recipe for a smaller batch?
Sure! Just keep the ratios the same and adjust your baking time accordingly. A smaller pan may bake a bit faster, so start checking for doneness at around 30 minutes.
Final Thoughts
I can’t emphasize enough how much joy Velvety Ube Mochi: Your New Favorite Gluten-Free Treat Recipe brings to the table. It’s a beautiful way to celebrate ube’s unique flavor while indulging in a dessert that’s naturally gluten-free and decadently soft. Whether you’re new to mochi or a seasoned fan, give this recipe a try—you might just find your new favorite treat!
Print
Velvety Ube Mochi: Your New Favorite Gluten-Free Treat Recipe
- Prep Time: 10 minutes
- Cook Time: 45 minutes
- Total Time: 55 minutes
- Yield: 12 slices
- Category: Dessert
- Method: Baking
- Cuisine: Filipino
- Diet: Gluten Free
Description
Experience the delightful texture and unique flavor of this Velvety Ube Mochi, a gluten-free Filipino-inspired treat that’s perfect for any occasion. Made with ube extract and glutinous rice flour, this mochi boasts a soft, chewy texture with a rich, buttery taste, making it an irresistible dessert or snack.
Ingredients
Wet Ingredients
- 1/2 cup Unsalted Butter (or coconut oil for dairy-free)
- 3 large Eggs (use room temperature for better mixing)
- 1 cup Evaporated Milk (or full-fat coconut milk for dairy-free)
- 1 cup Coconut Milk (full-fat recommended for richness)
- 2 teaspoons Ube Extract (fresh ube can be used if available)
Dry Ingredients
- 1 cup Mochiko (Glutinous Rice Flour) (no direct substitute for similar texture)
- 1 teaspoon Baking Powder
- 1 cup Granulated Sugar (or coconut sugar for less refined option)
Instructions
- Prepare Wet Ingredients: In a mixing bowl, melt the unsalted butter or coconut oil and allow to cool slightly. Beat the three room-temperature eggs until fluffy, then add the ube extract, evaporated milk, and coconut milk, mixing until combined.
- Combine Dry Ingredients: In a separate bowl, whisk together mochiko, baking powder, and granulated sugar (or coconut sugar) ensuring even distribution.
- Mix Batter: Gradually add the dry ingredients into the wet ingredients, stirring continuously to form a smooth, lump-free batter with a velvety consistency.
- Prepare Baking Pan: Grease an 8×8 inch baking pan with butter or coconut oil to prevent sticking.
- Pour and Bake: Pour the batter into the prepared pan, spreading evenly. Bake in a preheated oven at 350°F (175°C) for 45 minutes or until the top is set and a toothpick inserted comes out clean.
- Cool and Serve: Allow the mochi to cool completely in the pan before slicing into 12 pieces. Serve at room temperature or chilled as desired.
Notes
- For a dairy-free alternative, substitute unsalted butter with coconut oil and evaporated milk with full-fat coconut milk.
- Fresh ube can be used instead of ube extract if available, which may enhance the natural flavor.
- Ensure eggs are at room temperature to achieve better mixing and a smooth batter.
- Do not substitute mochiko with regular rice flour, as it will affect the chewy texture of mochi.
- Store leftovers in an airtight container at room temperature for up to 2 days or refrigerate for up to 5 days.


